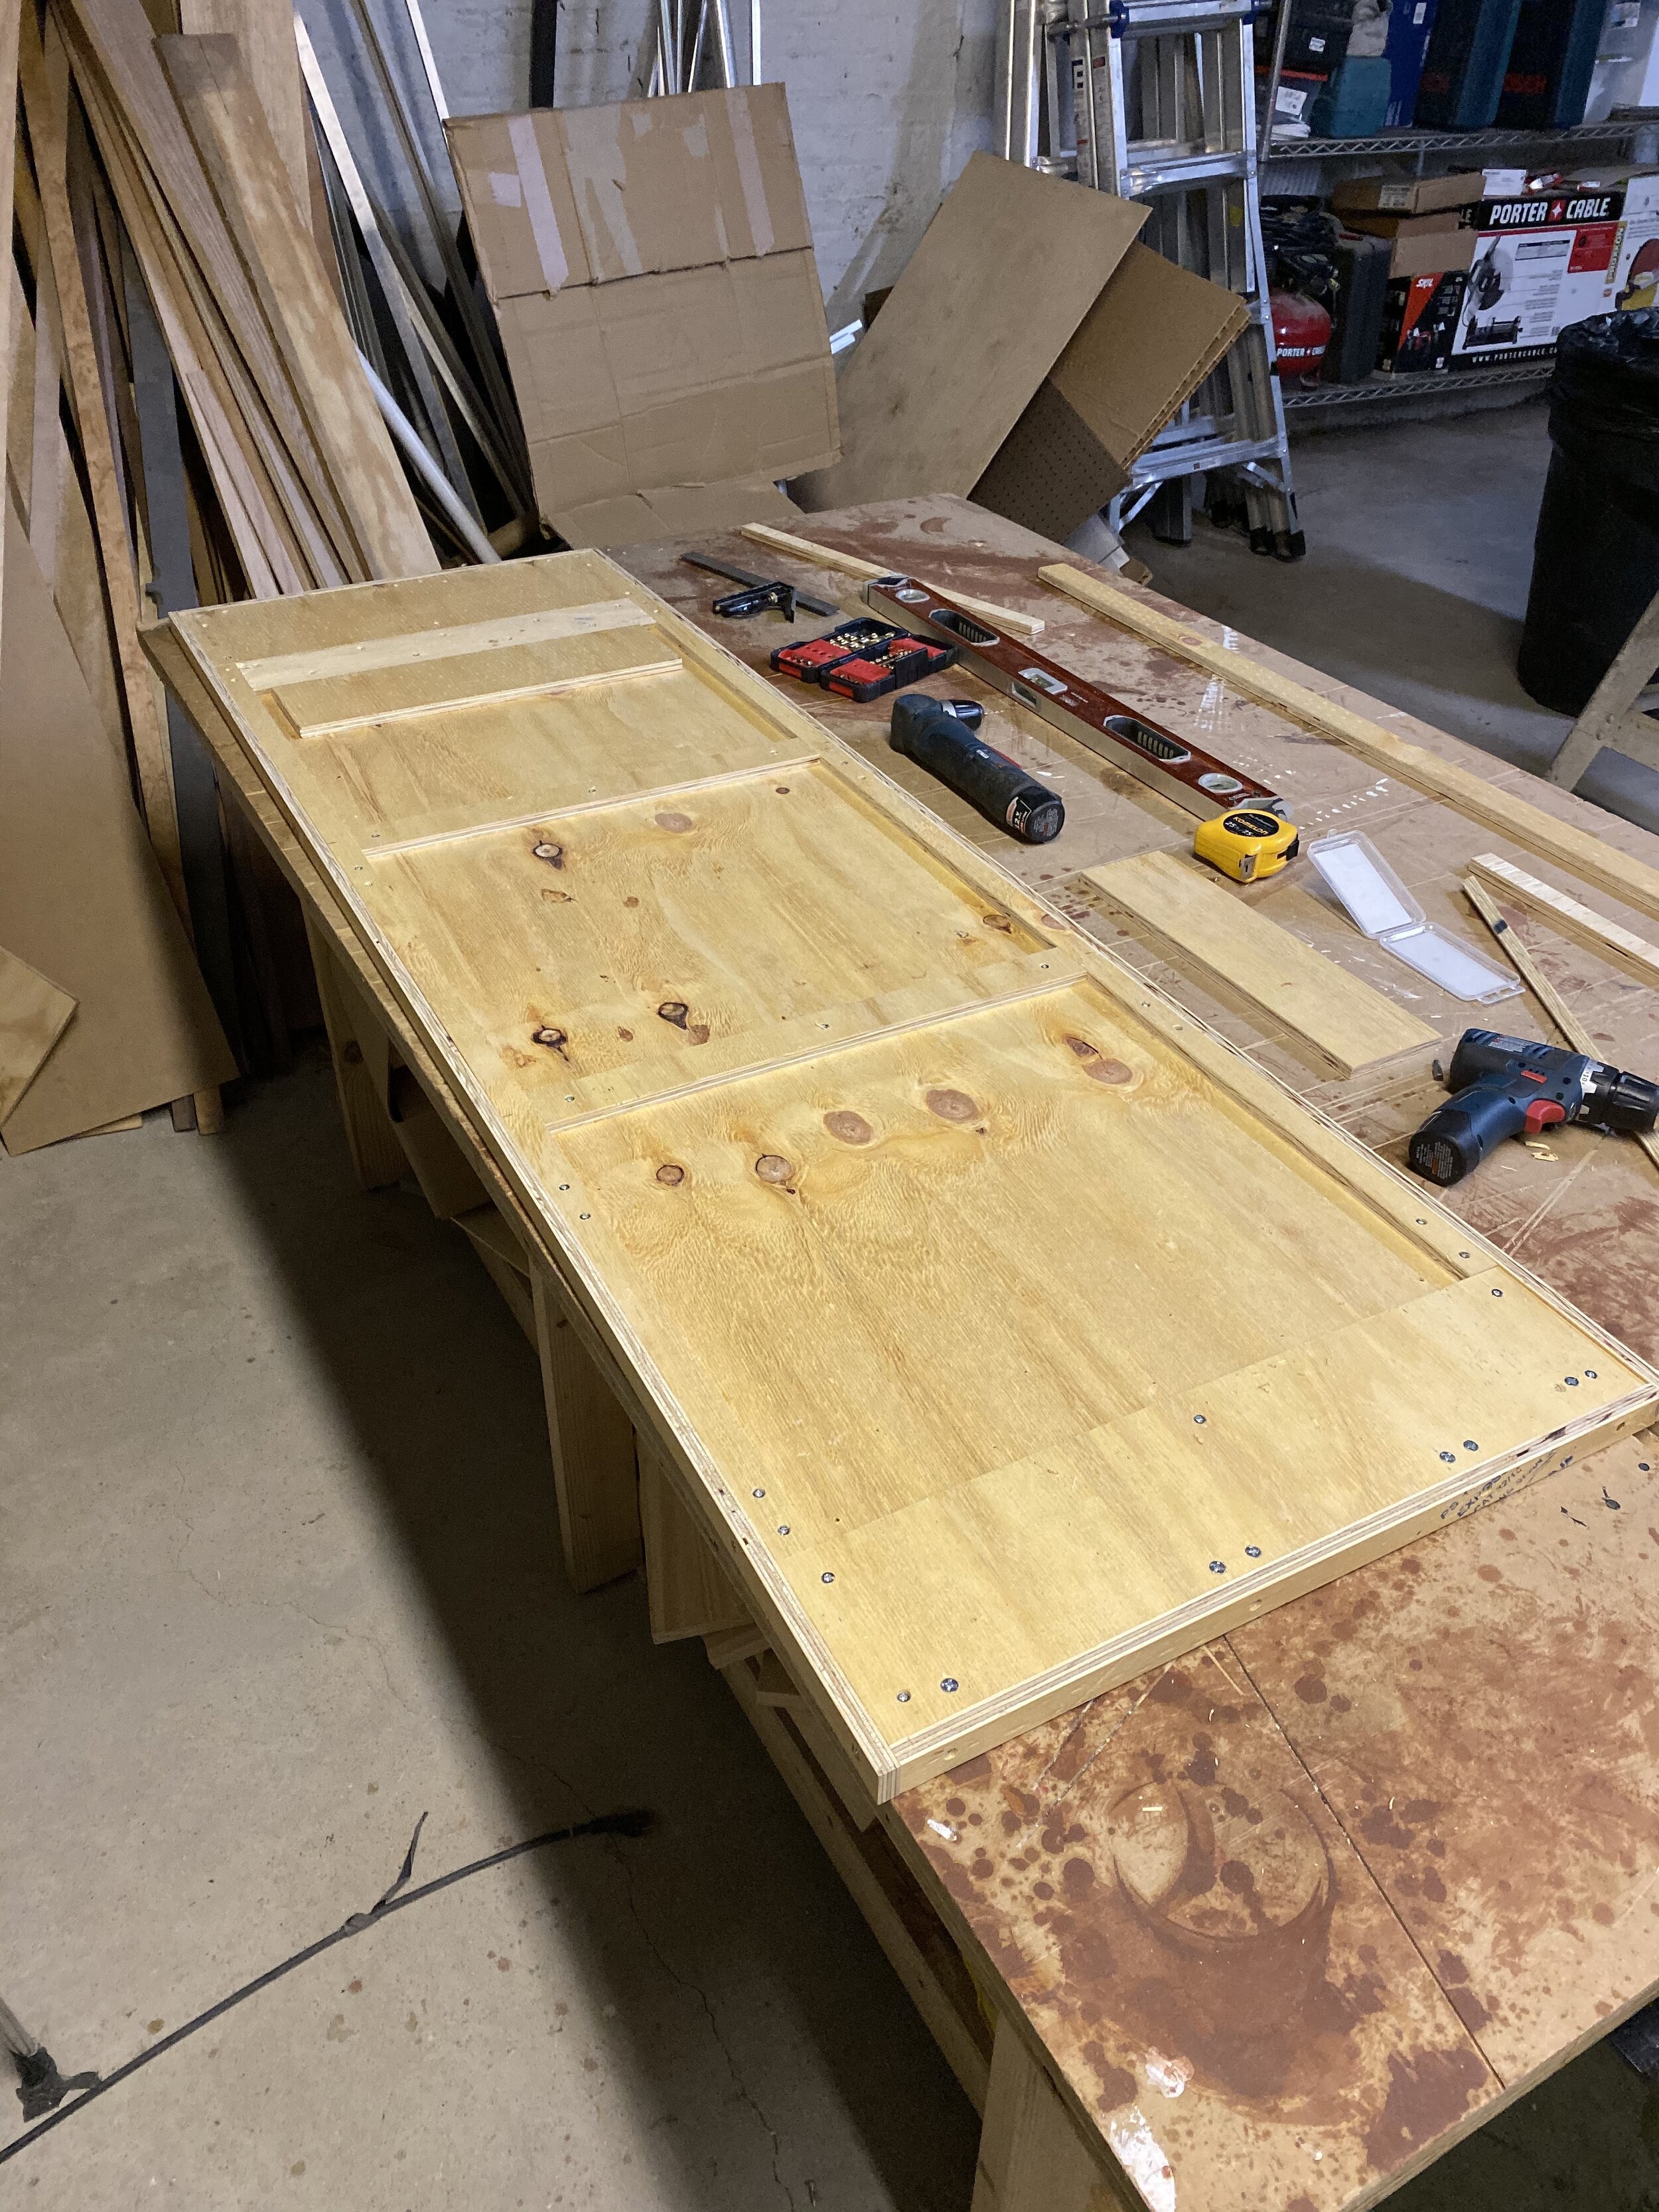
the back of the frame that will hold the plant pouches.

PLANT WALL PROCESS

 the back of the frame that will hold the plant pouches.
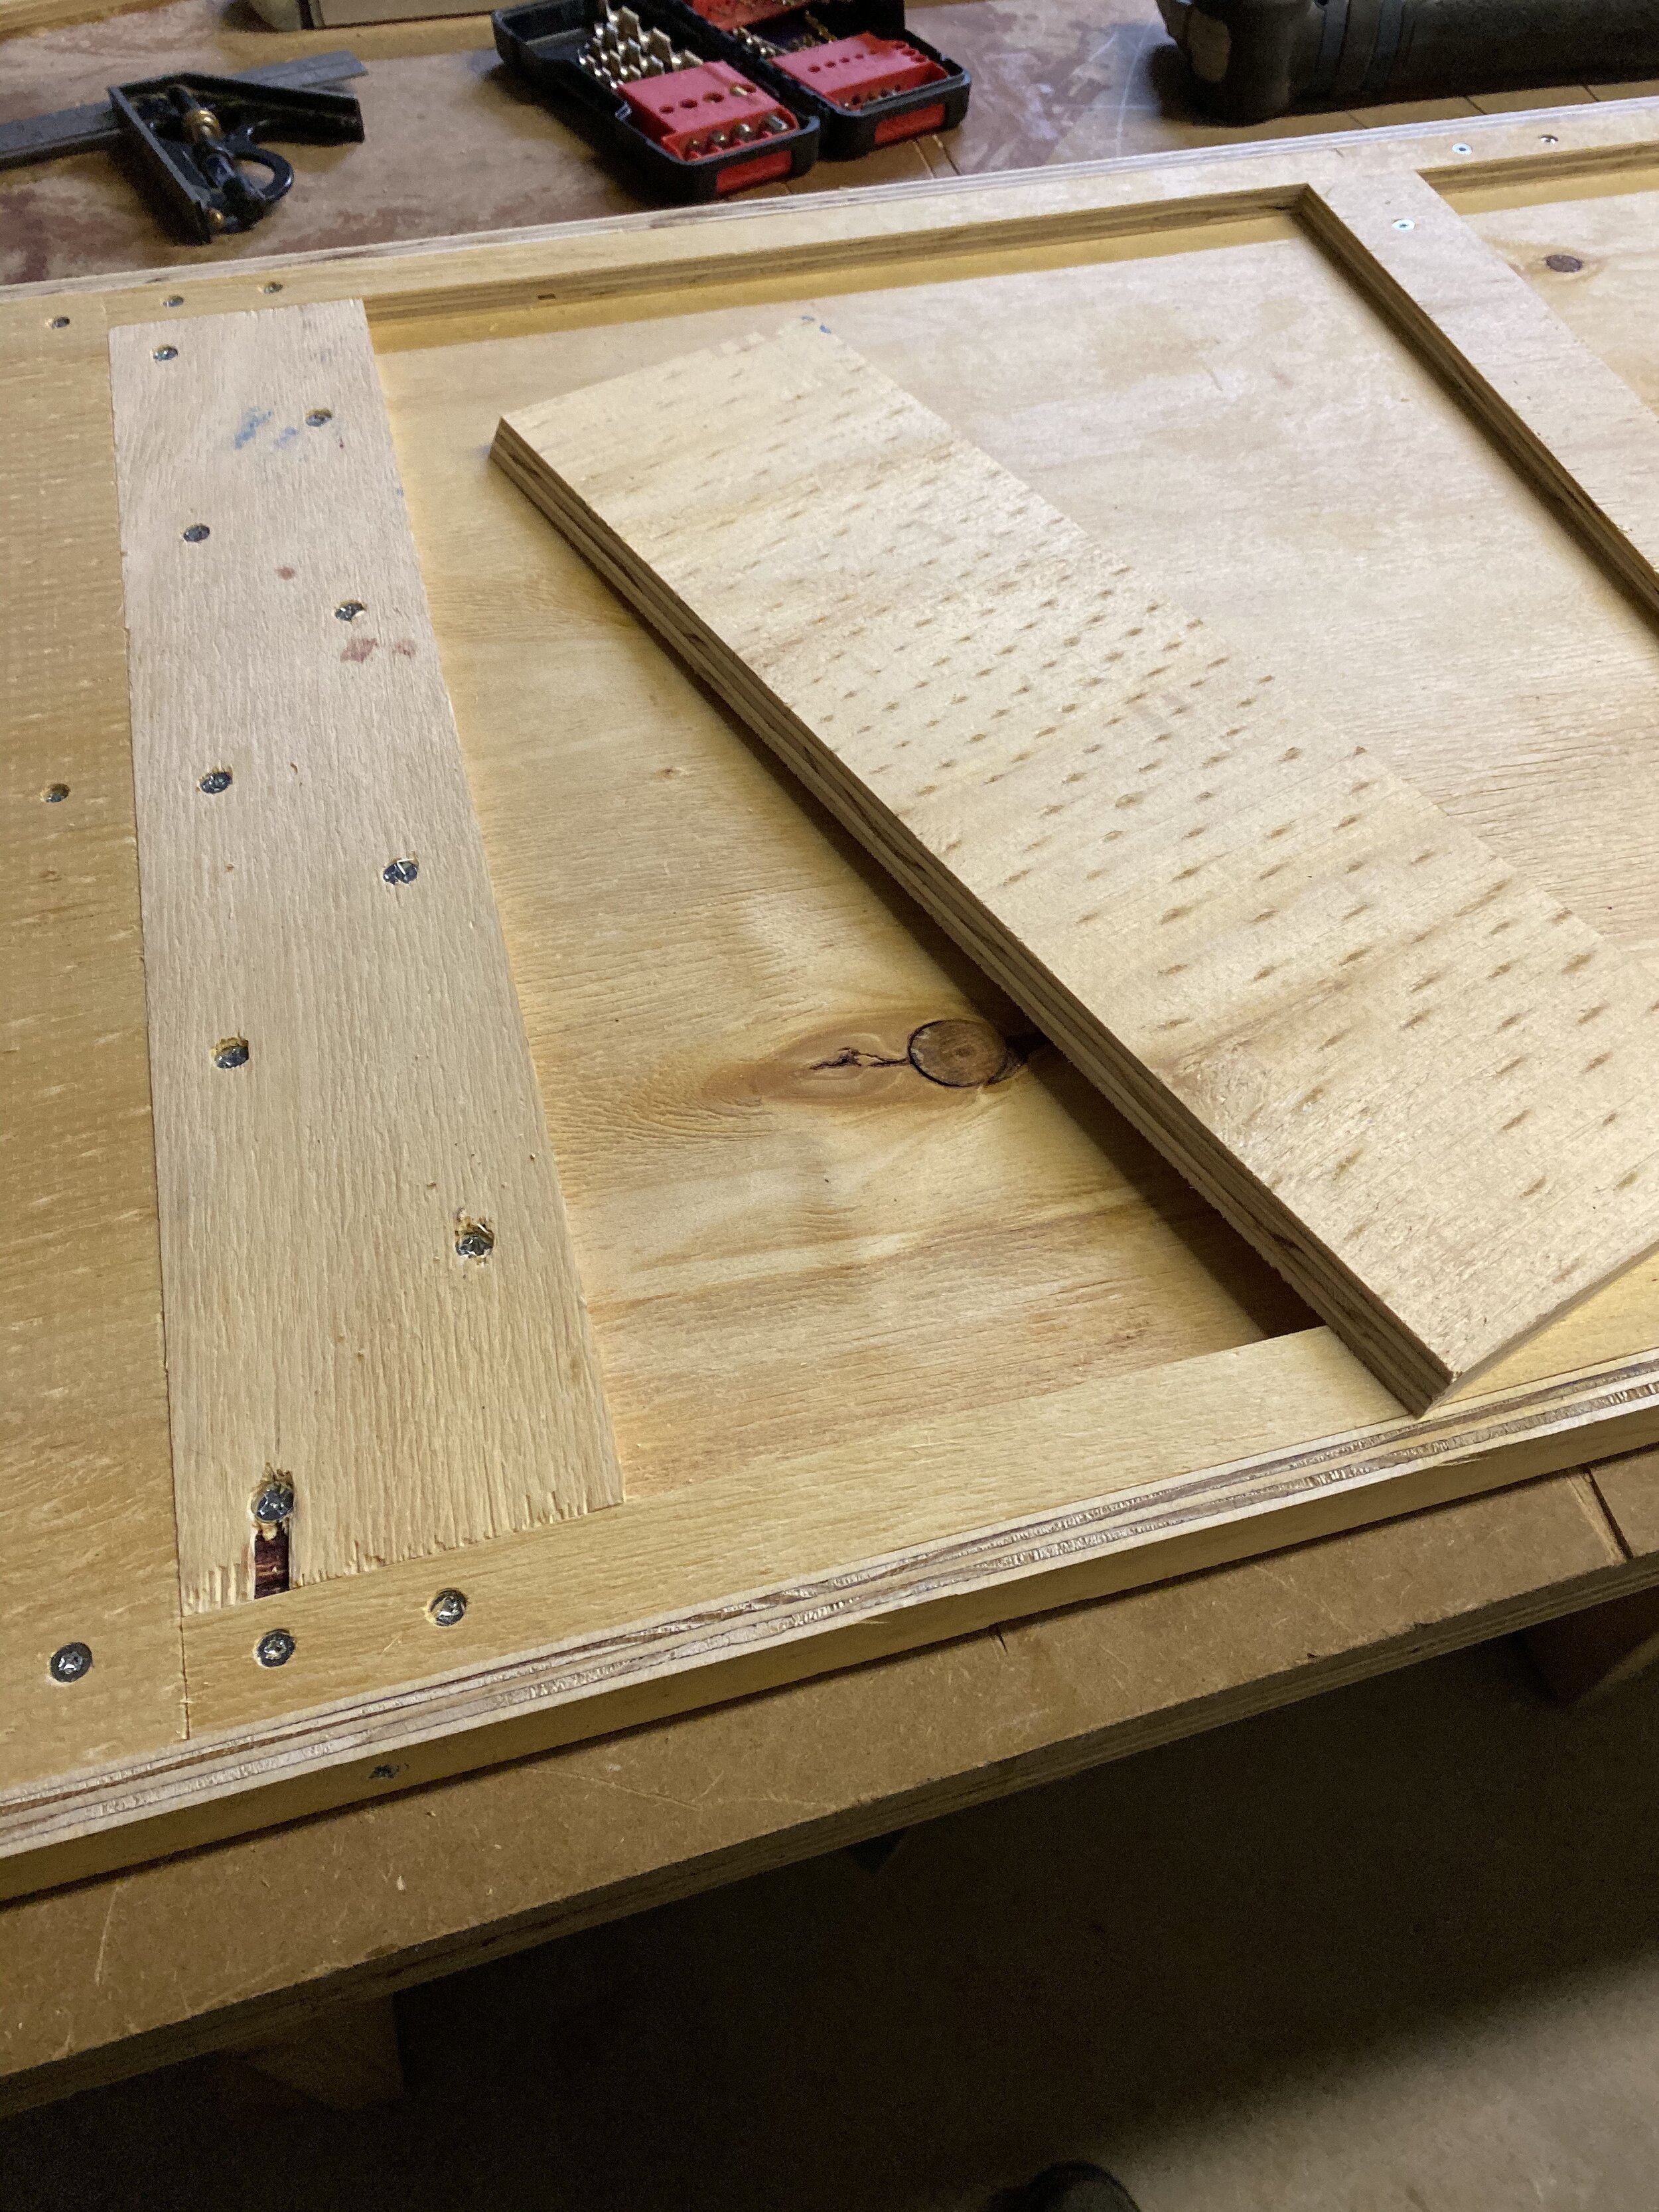
the back of the frame that will hold the plant pouches.

 the frame will be secured to the wall with a simple french cleat.
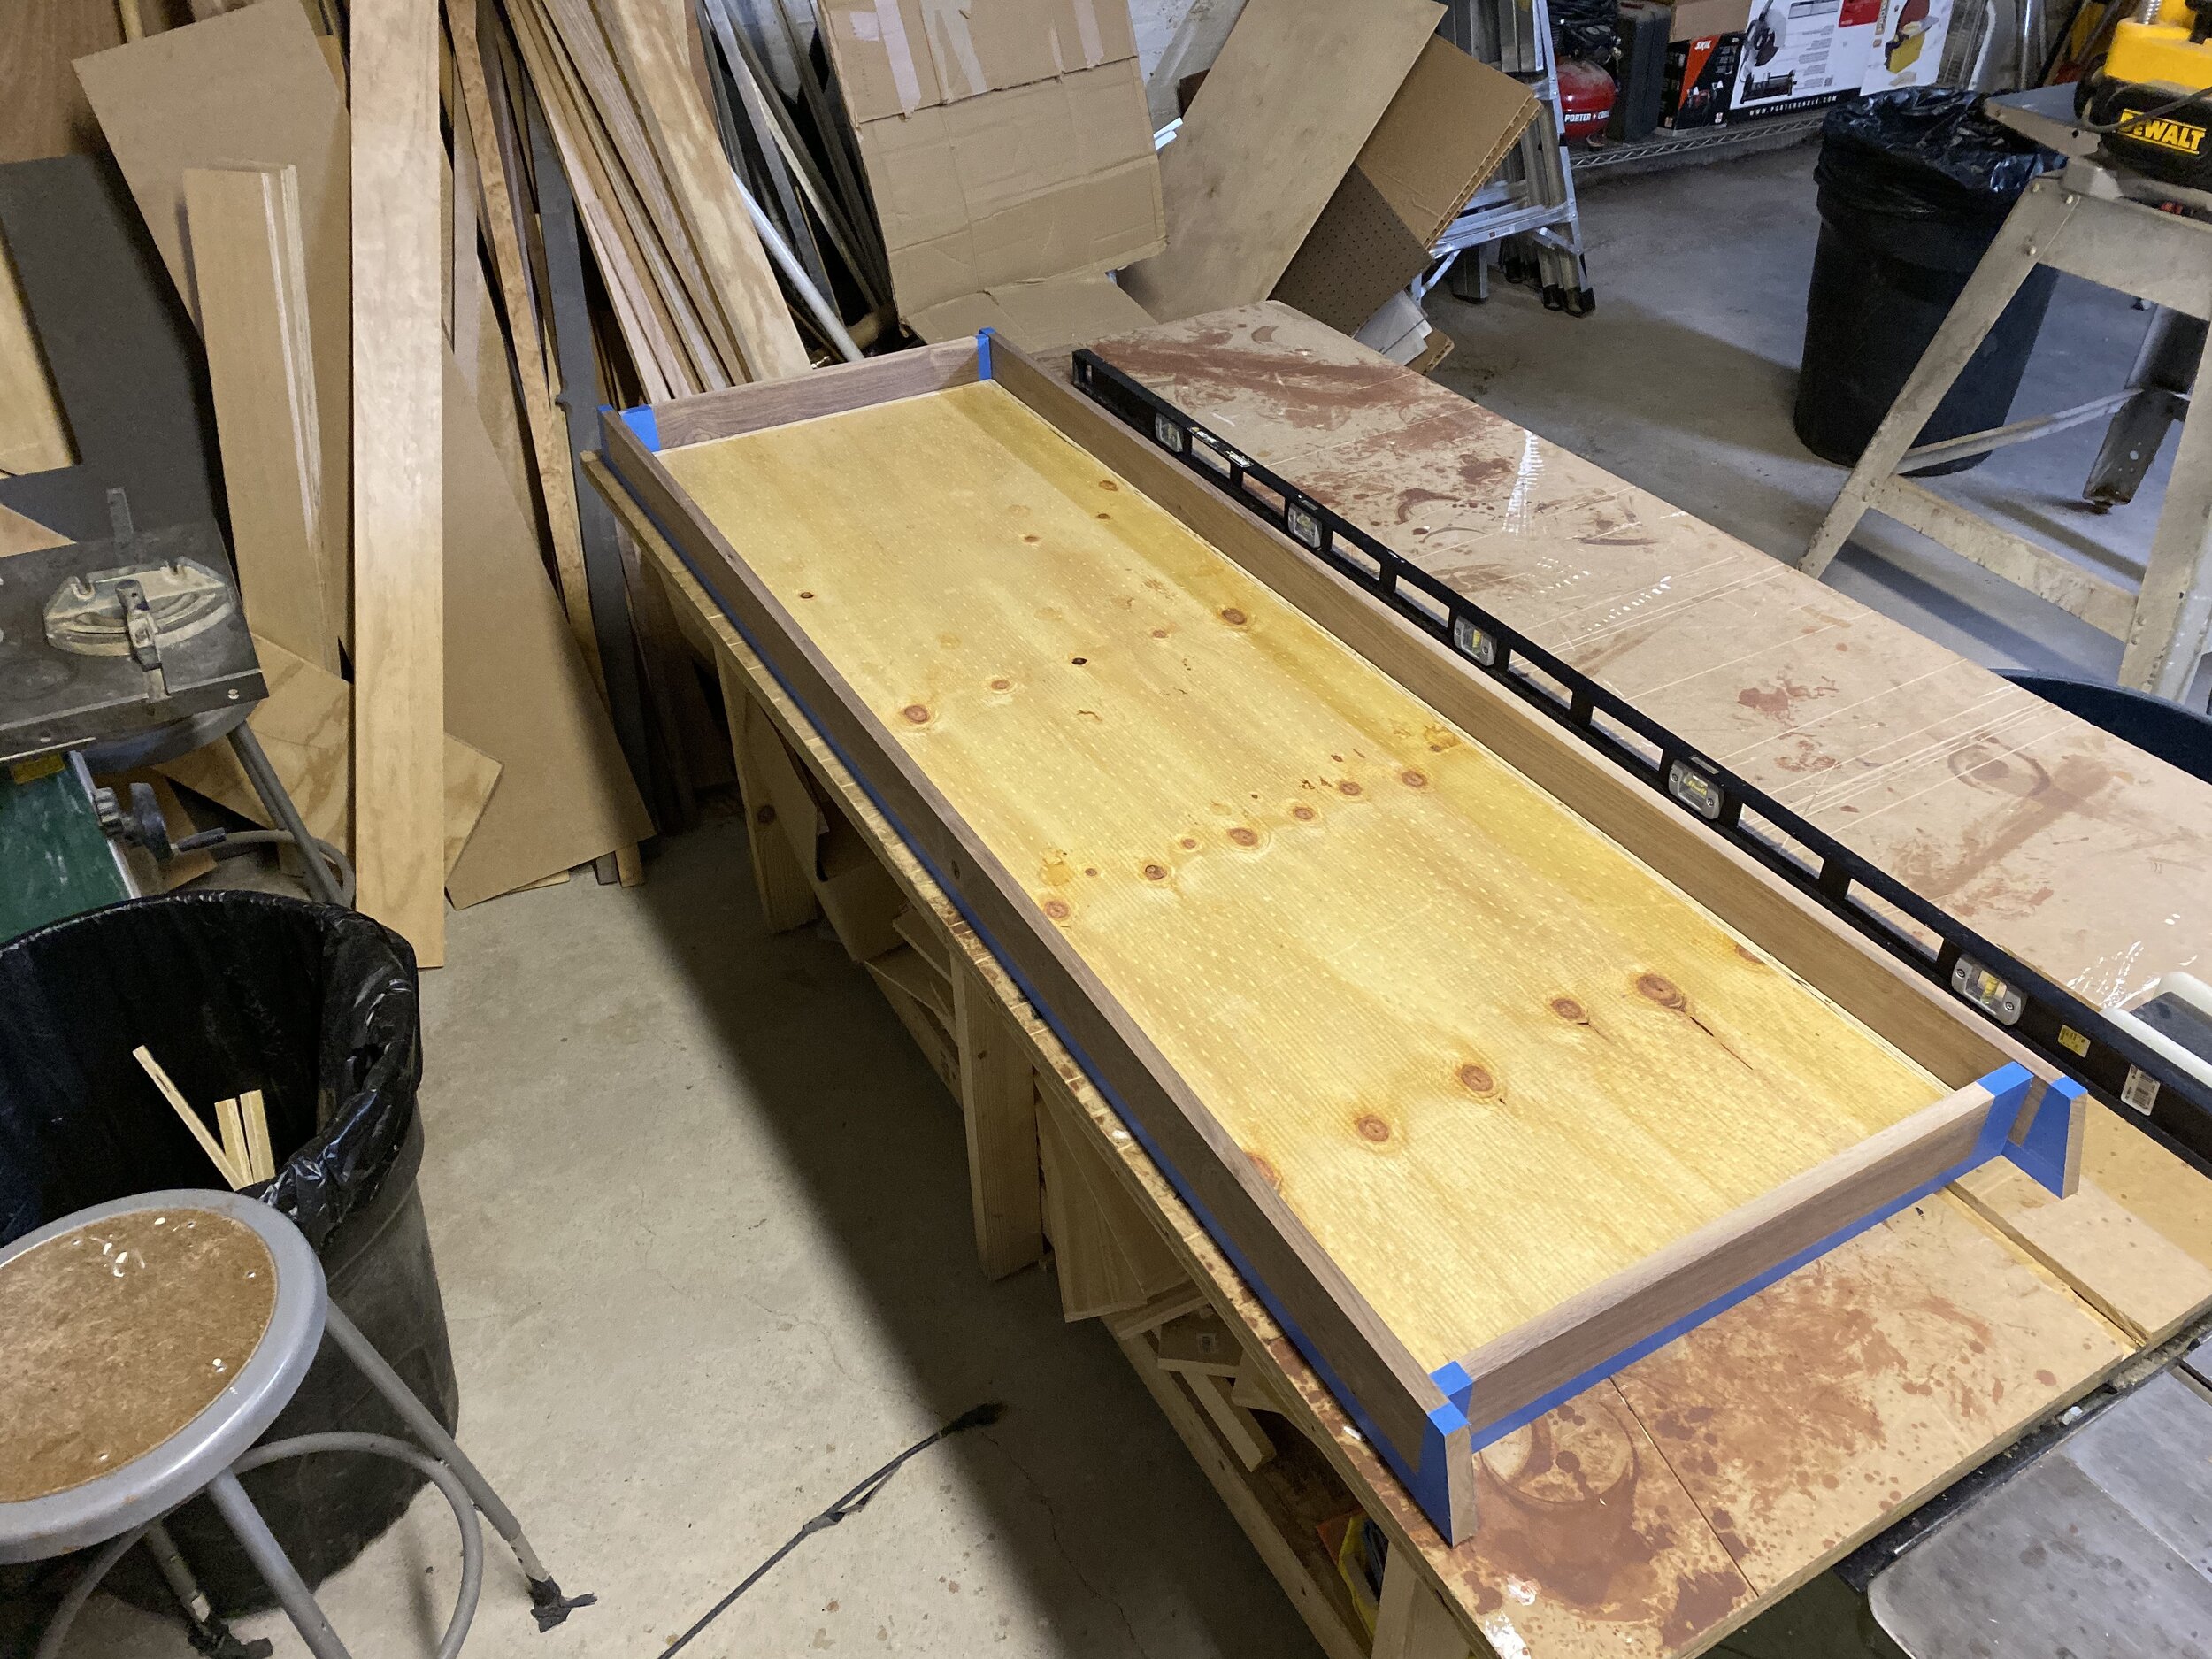
the frame will be secured to the wall with a simple french cleat.

 a preview of the walnut sides that will border the plant wall.
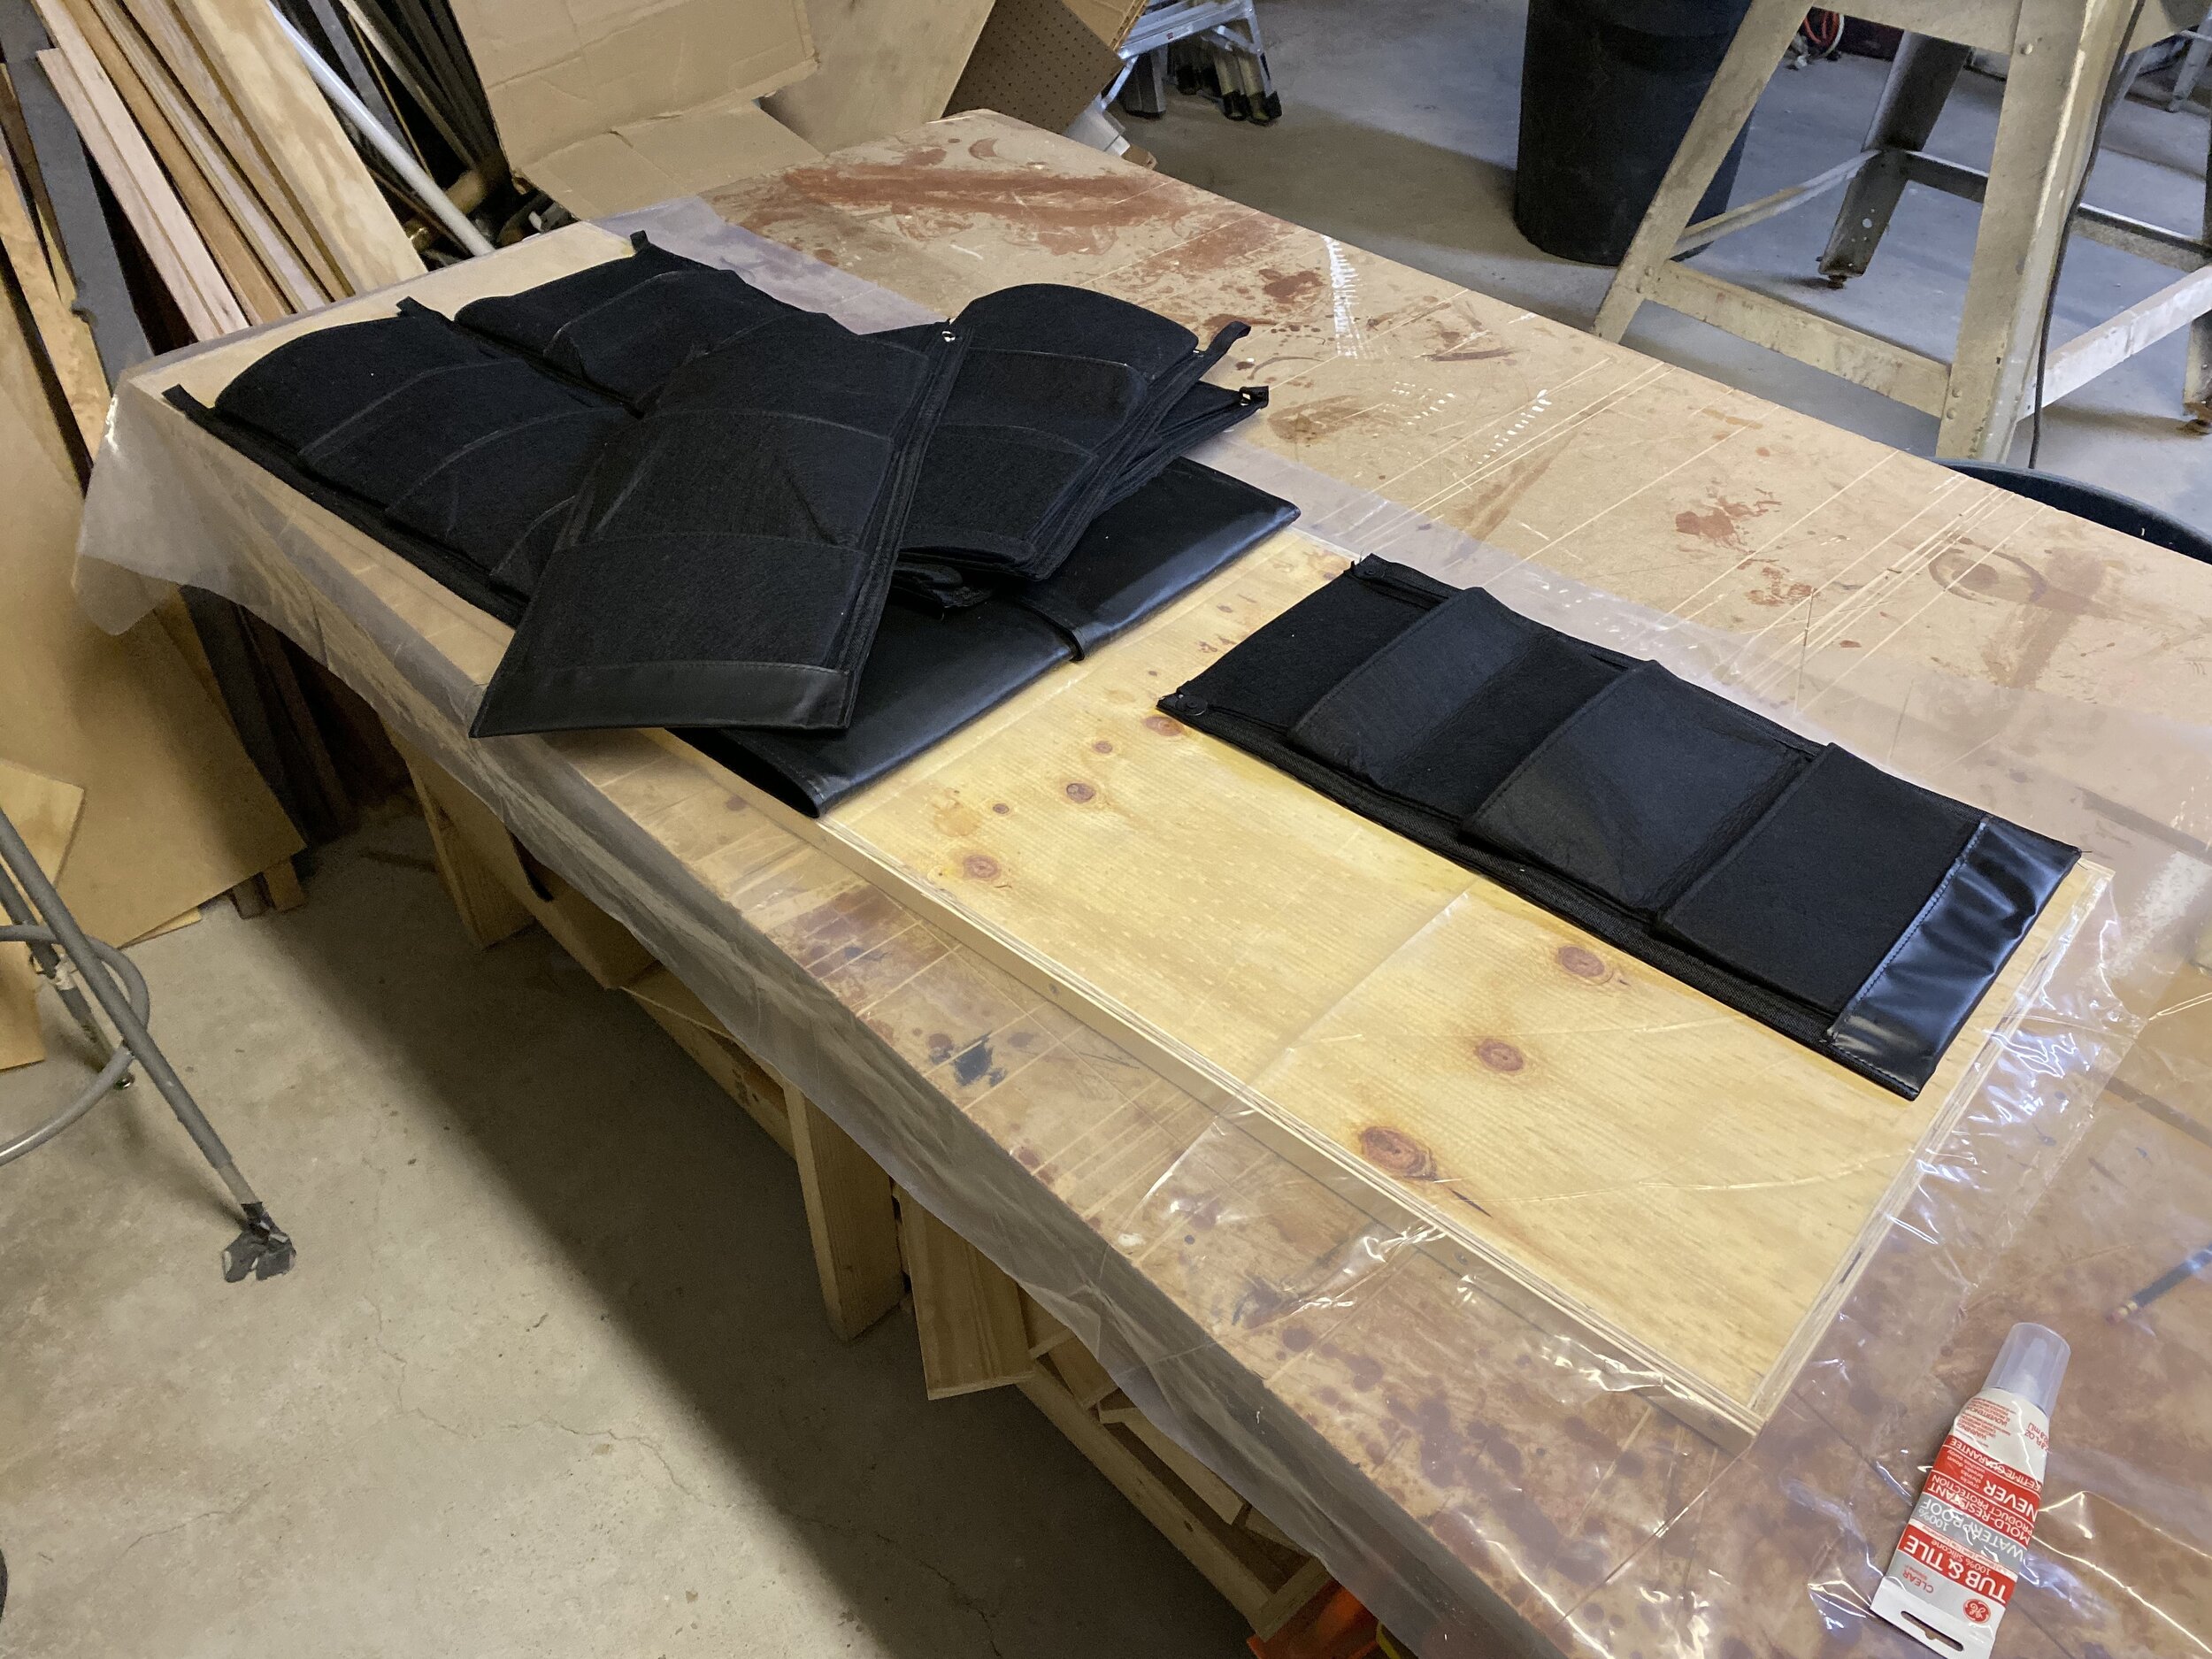
a preview of the walnut sides that will border the plant wall.

 beginning to attach the  plant pouches  to the frame. in an attempt to prevent water from ruining the frame (or the wall of my apartment) i laid plastic sheeting behind the pouches and put silicone caulk around each screw that went into the frame.
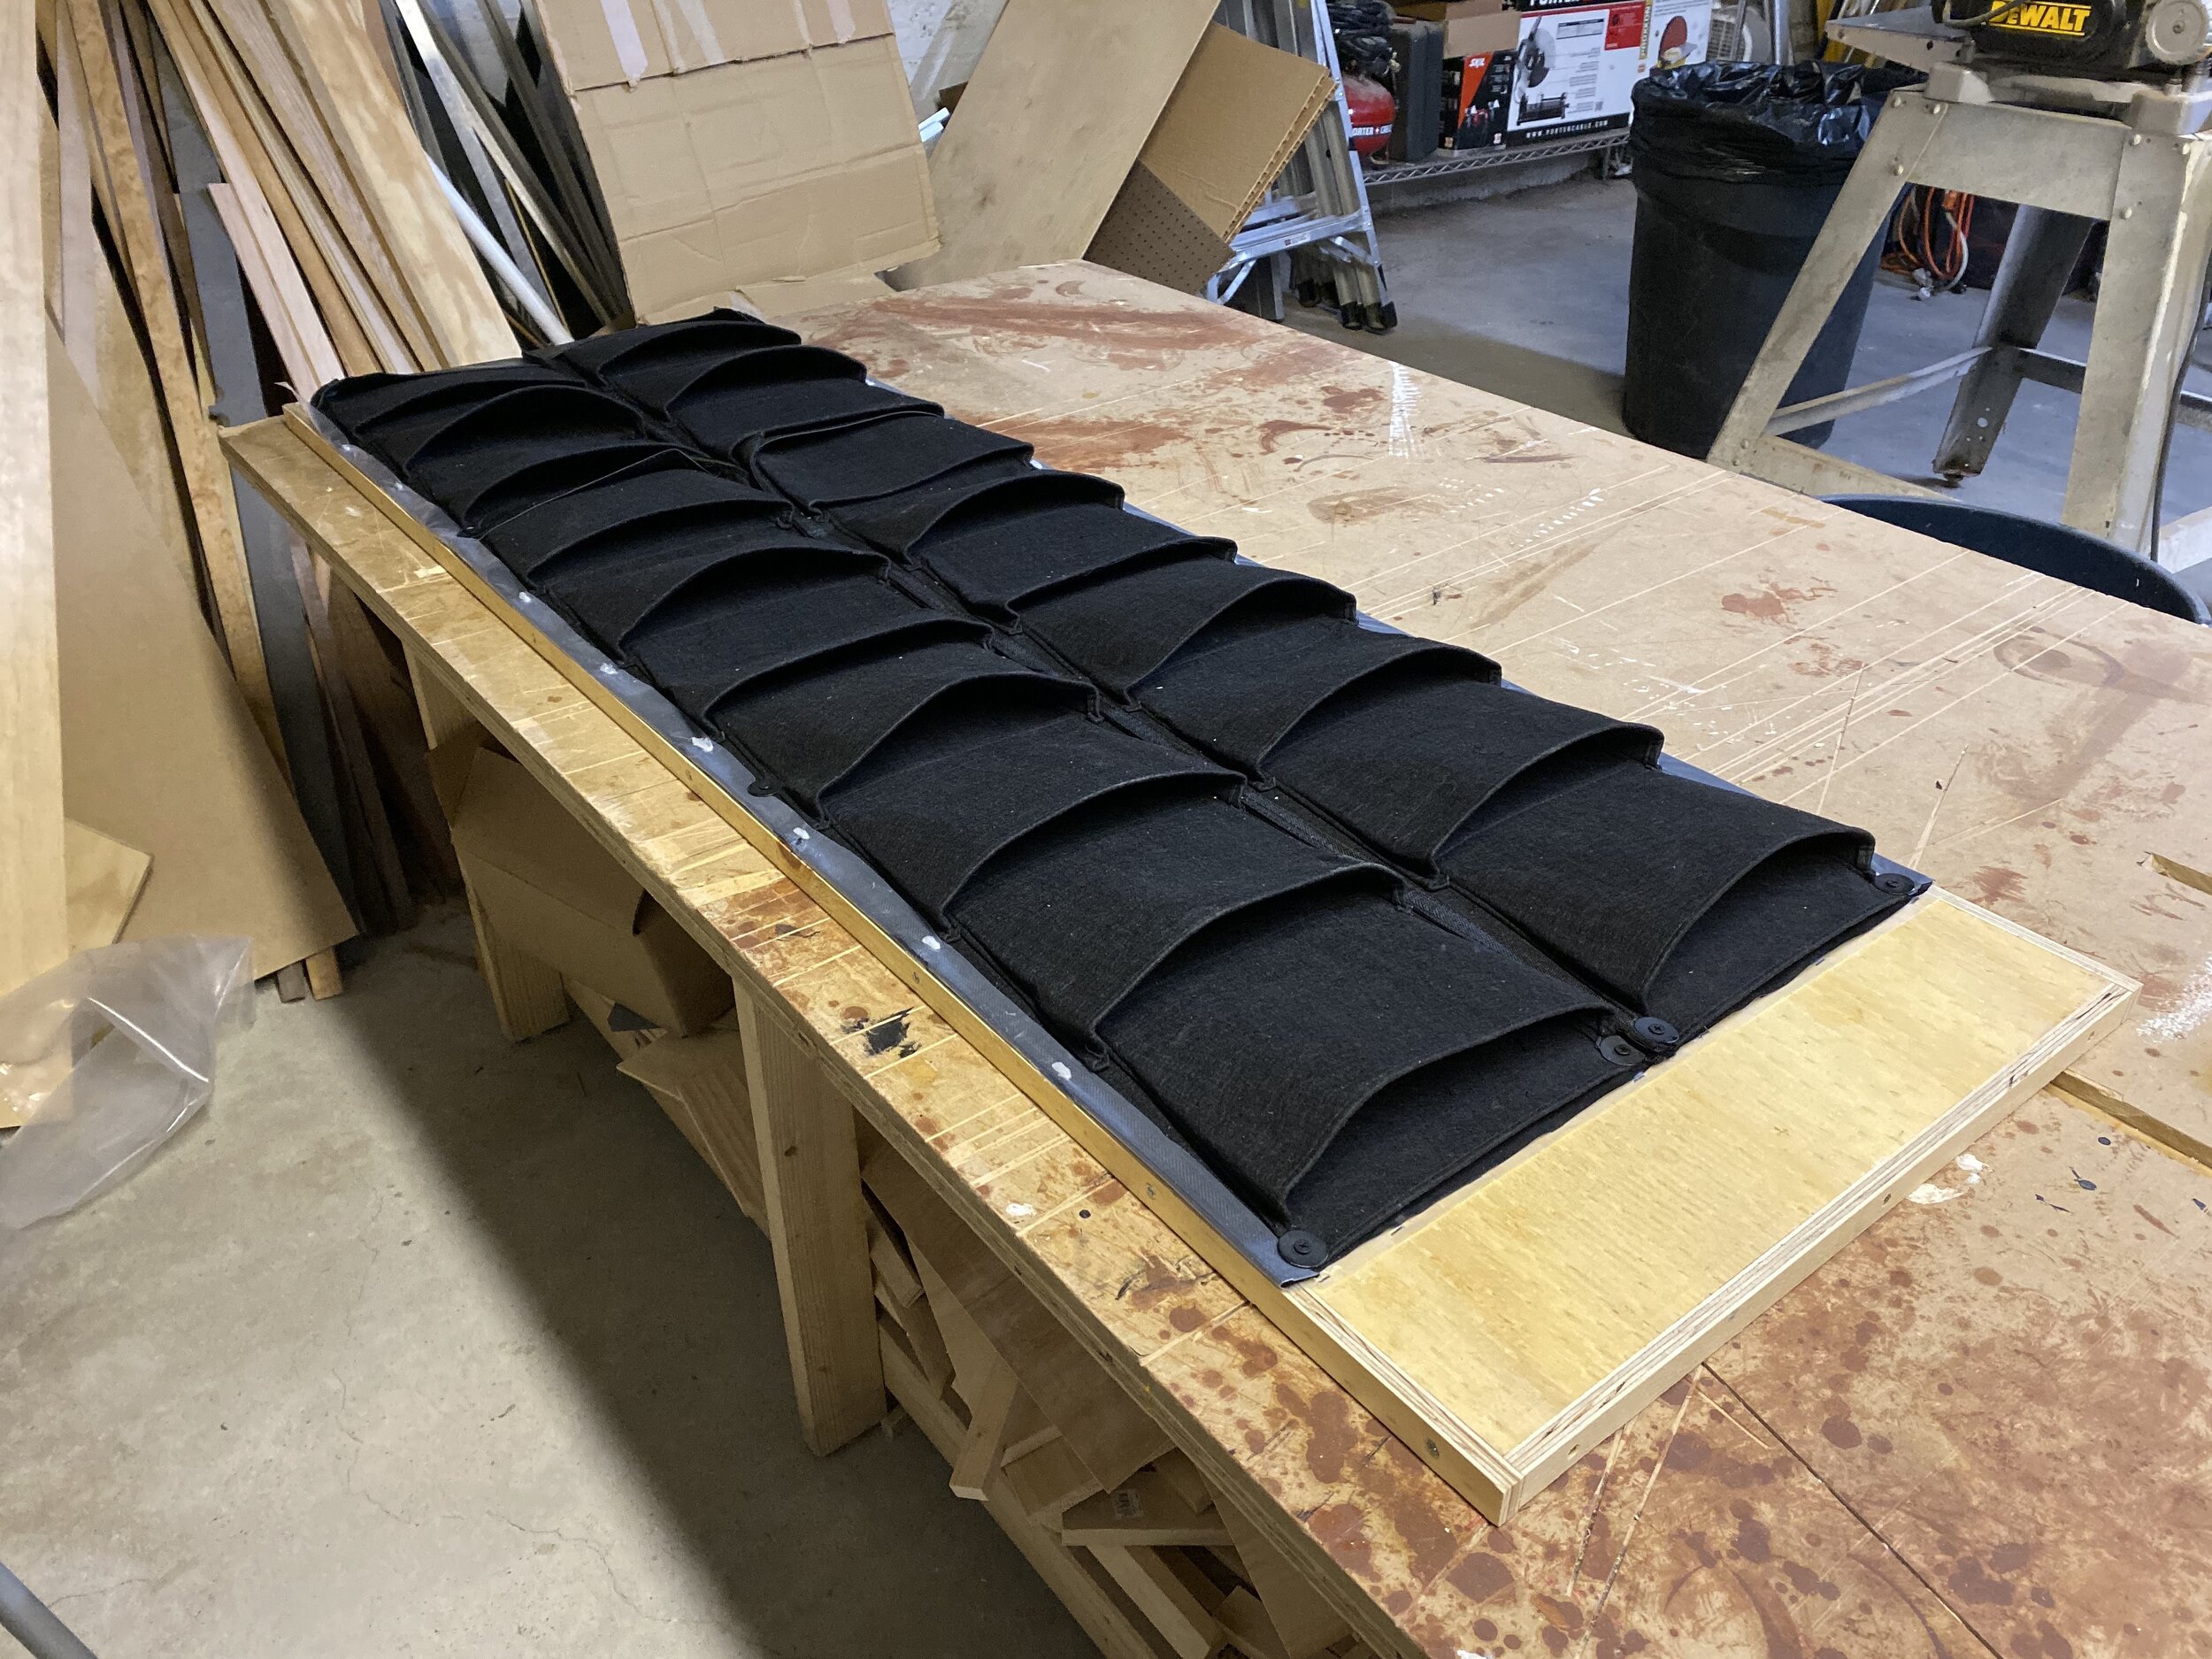
beginning to attach the plant pouches to the frame. in an attempt to prevent water from ruining the frame (or the wall of my apartment) i laid plastic sheeting behind the pouches and put silicone caulk around each screw that went into the frame.

 pouches complete. plastic sheet trimmed and stapled. staples covered with silicone caulk.
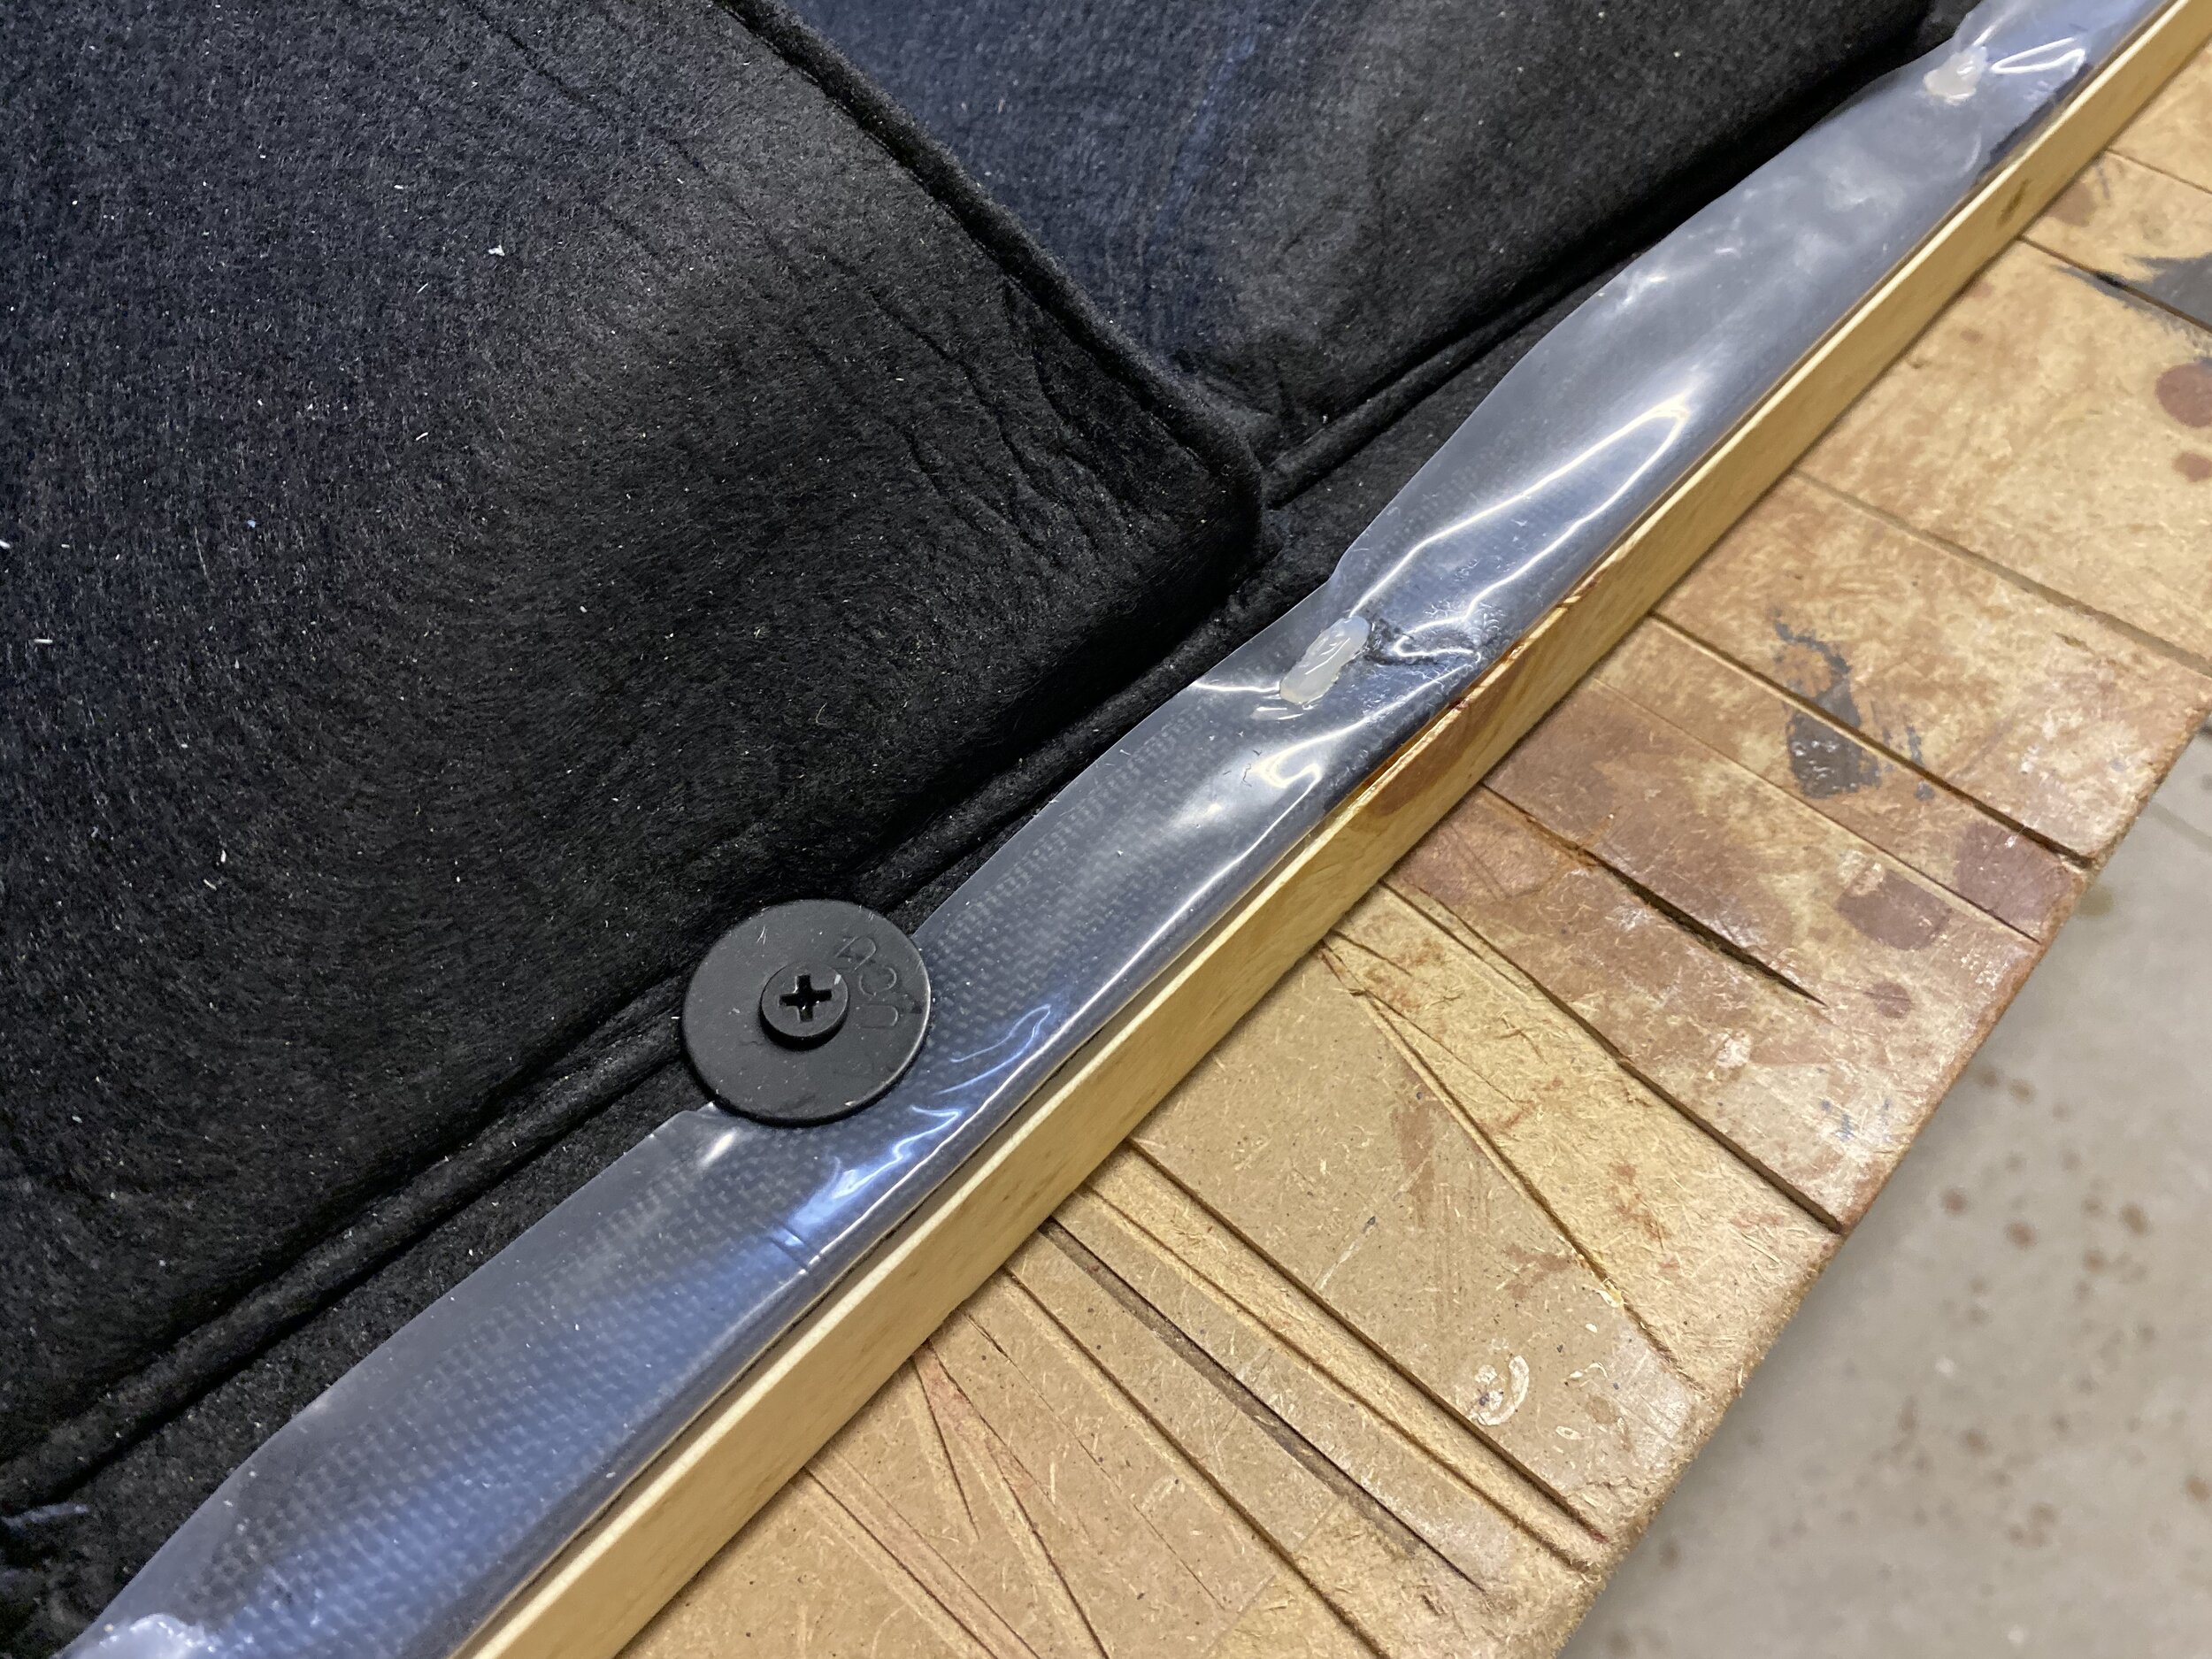
pouches complete. plastic sheet trimmed and stapled. staples covered with silicone caulk.

 let’s hope the plastic sheet is enough to keep water off the frame.

let’s hope the plastic sheet is enough to keep water off the frame.

 level and flush against the wall.
level and flush against the wall.

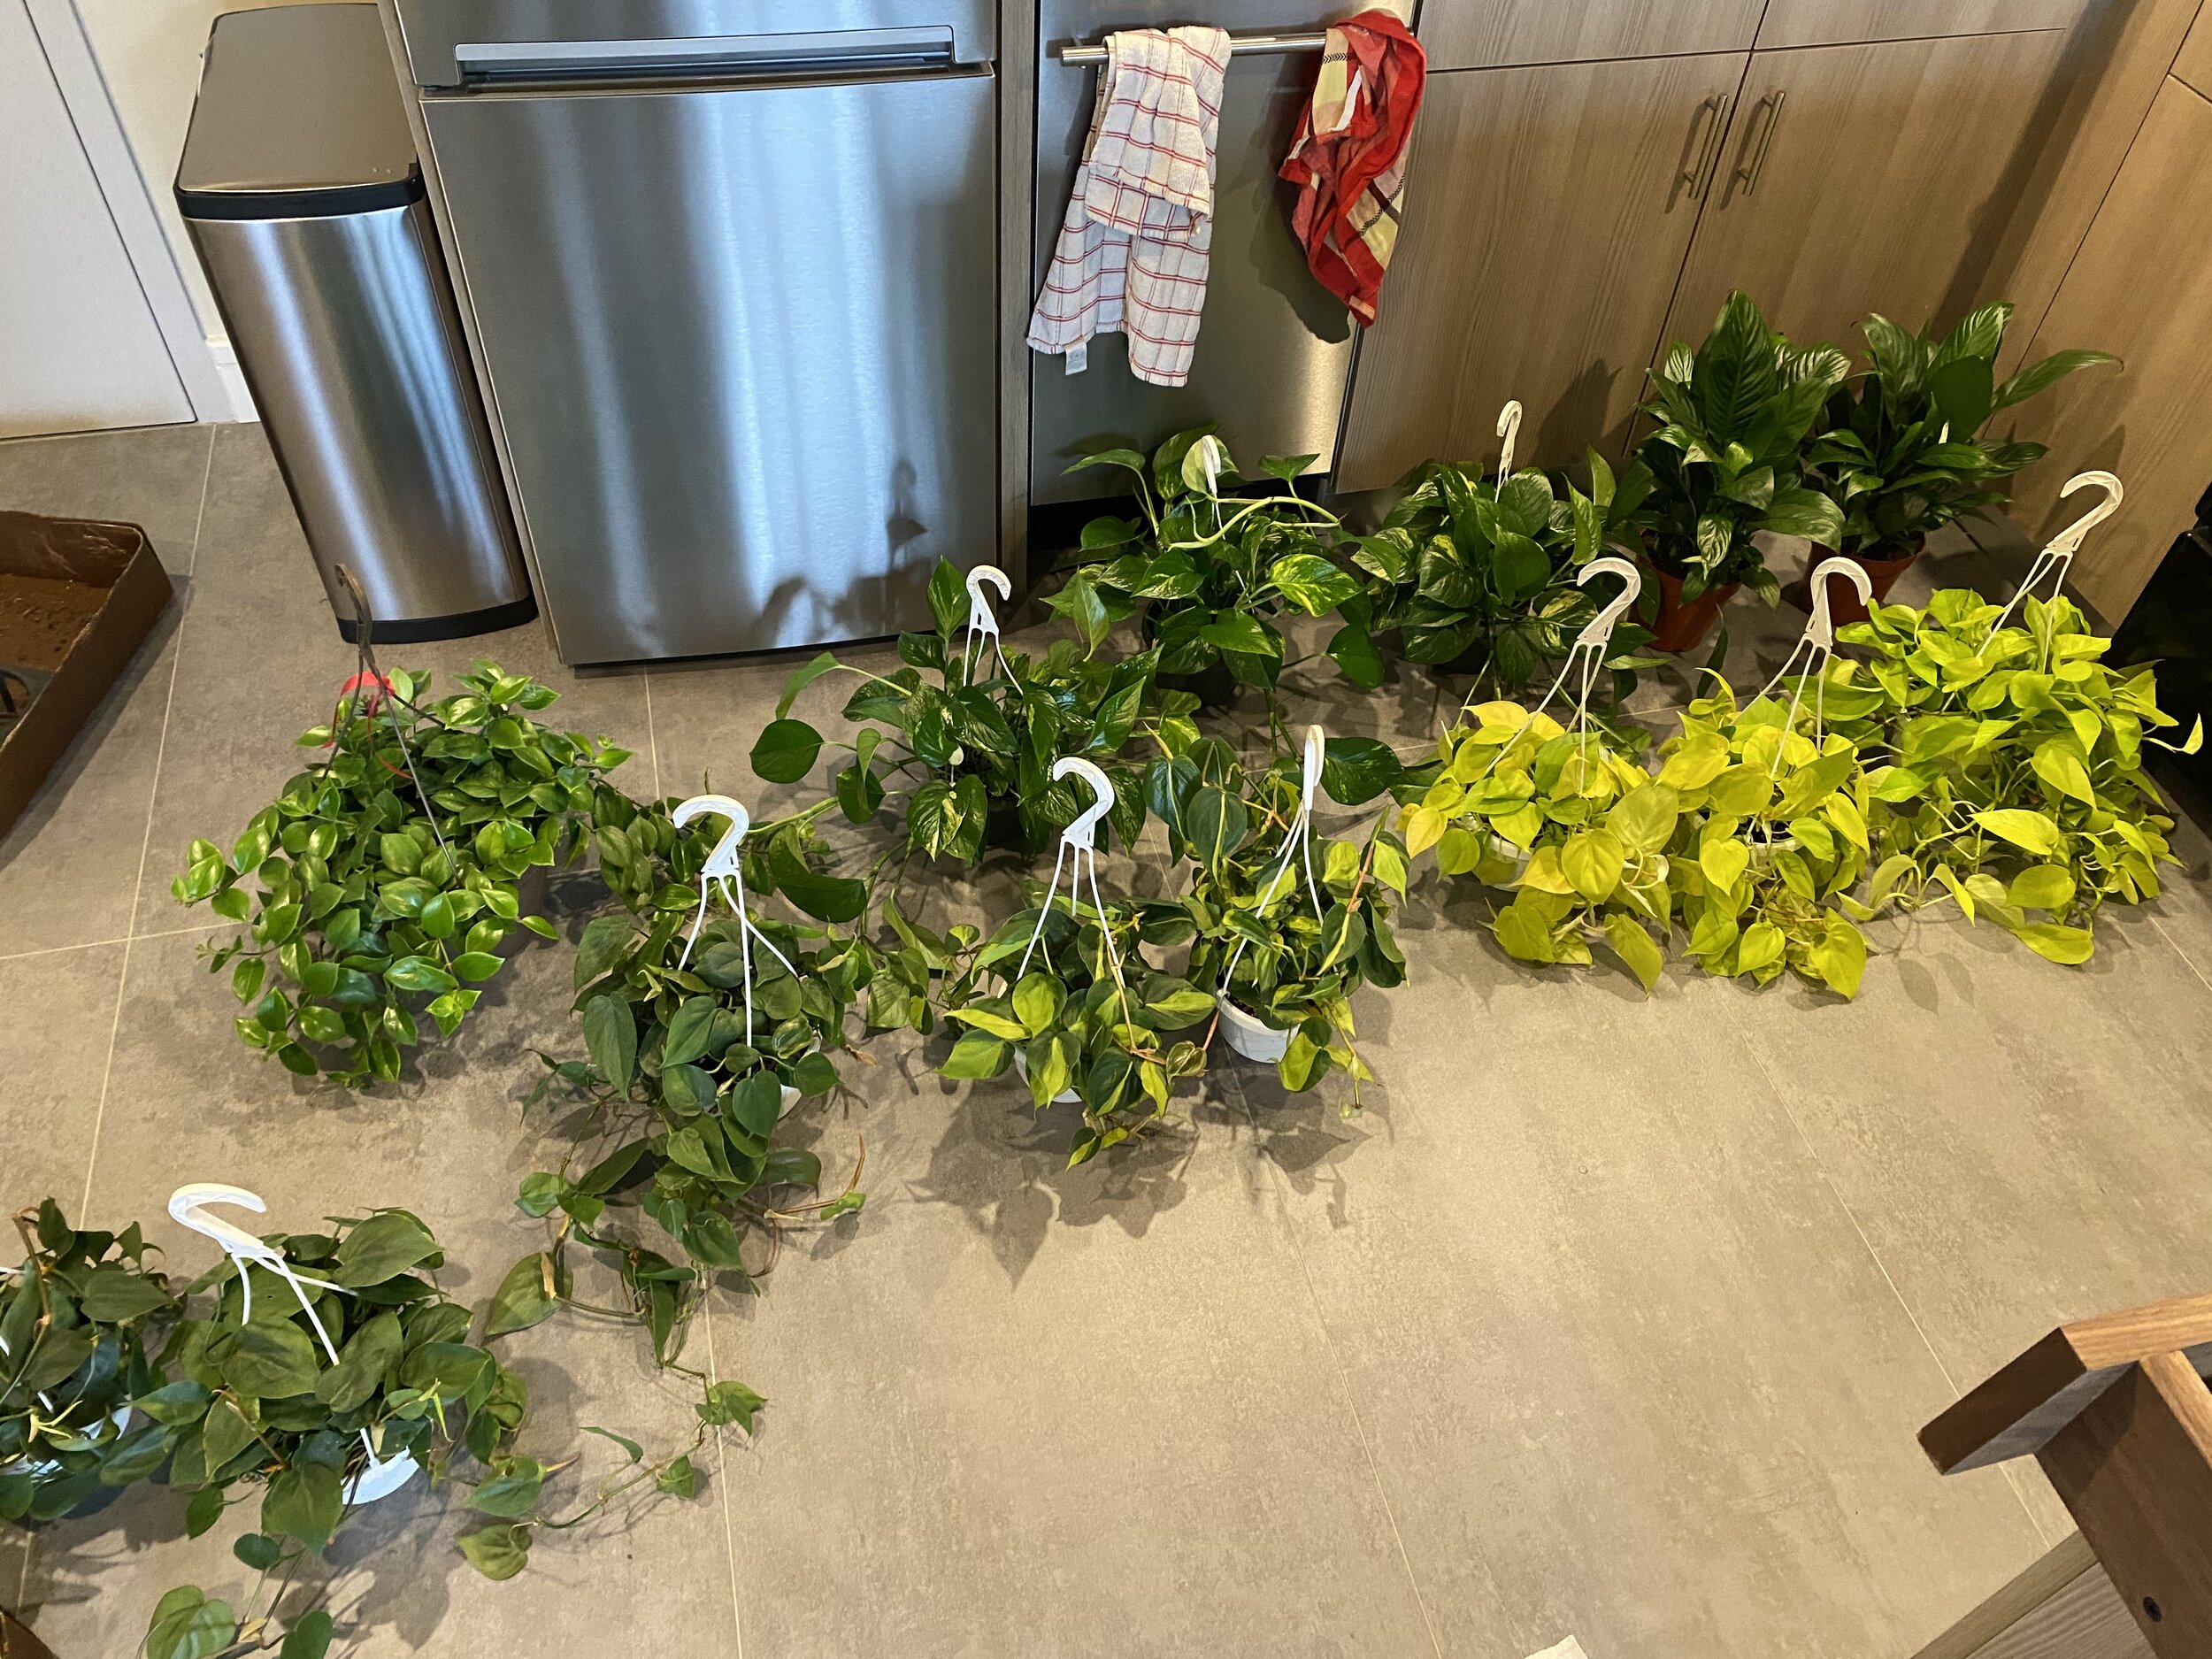
 these plant babies are ready to move into their new home.

these plant babies are ready to move into their new home.

 plants halfway done. the floor was covered with dirt by the end.
plants halfway done. the floor was covered with dirt by the end.

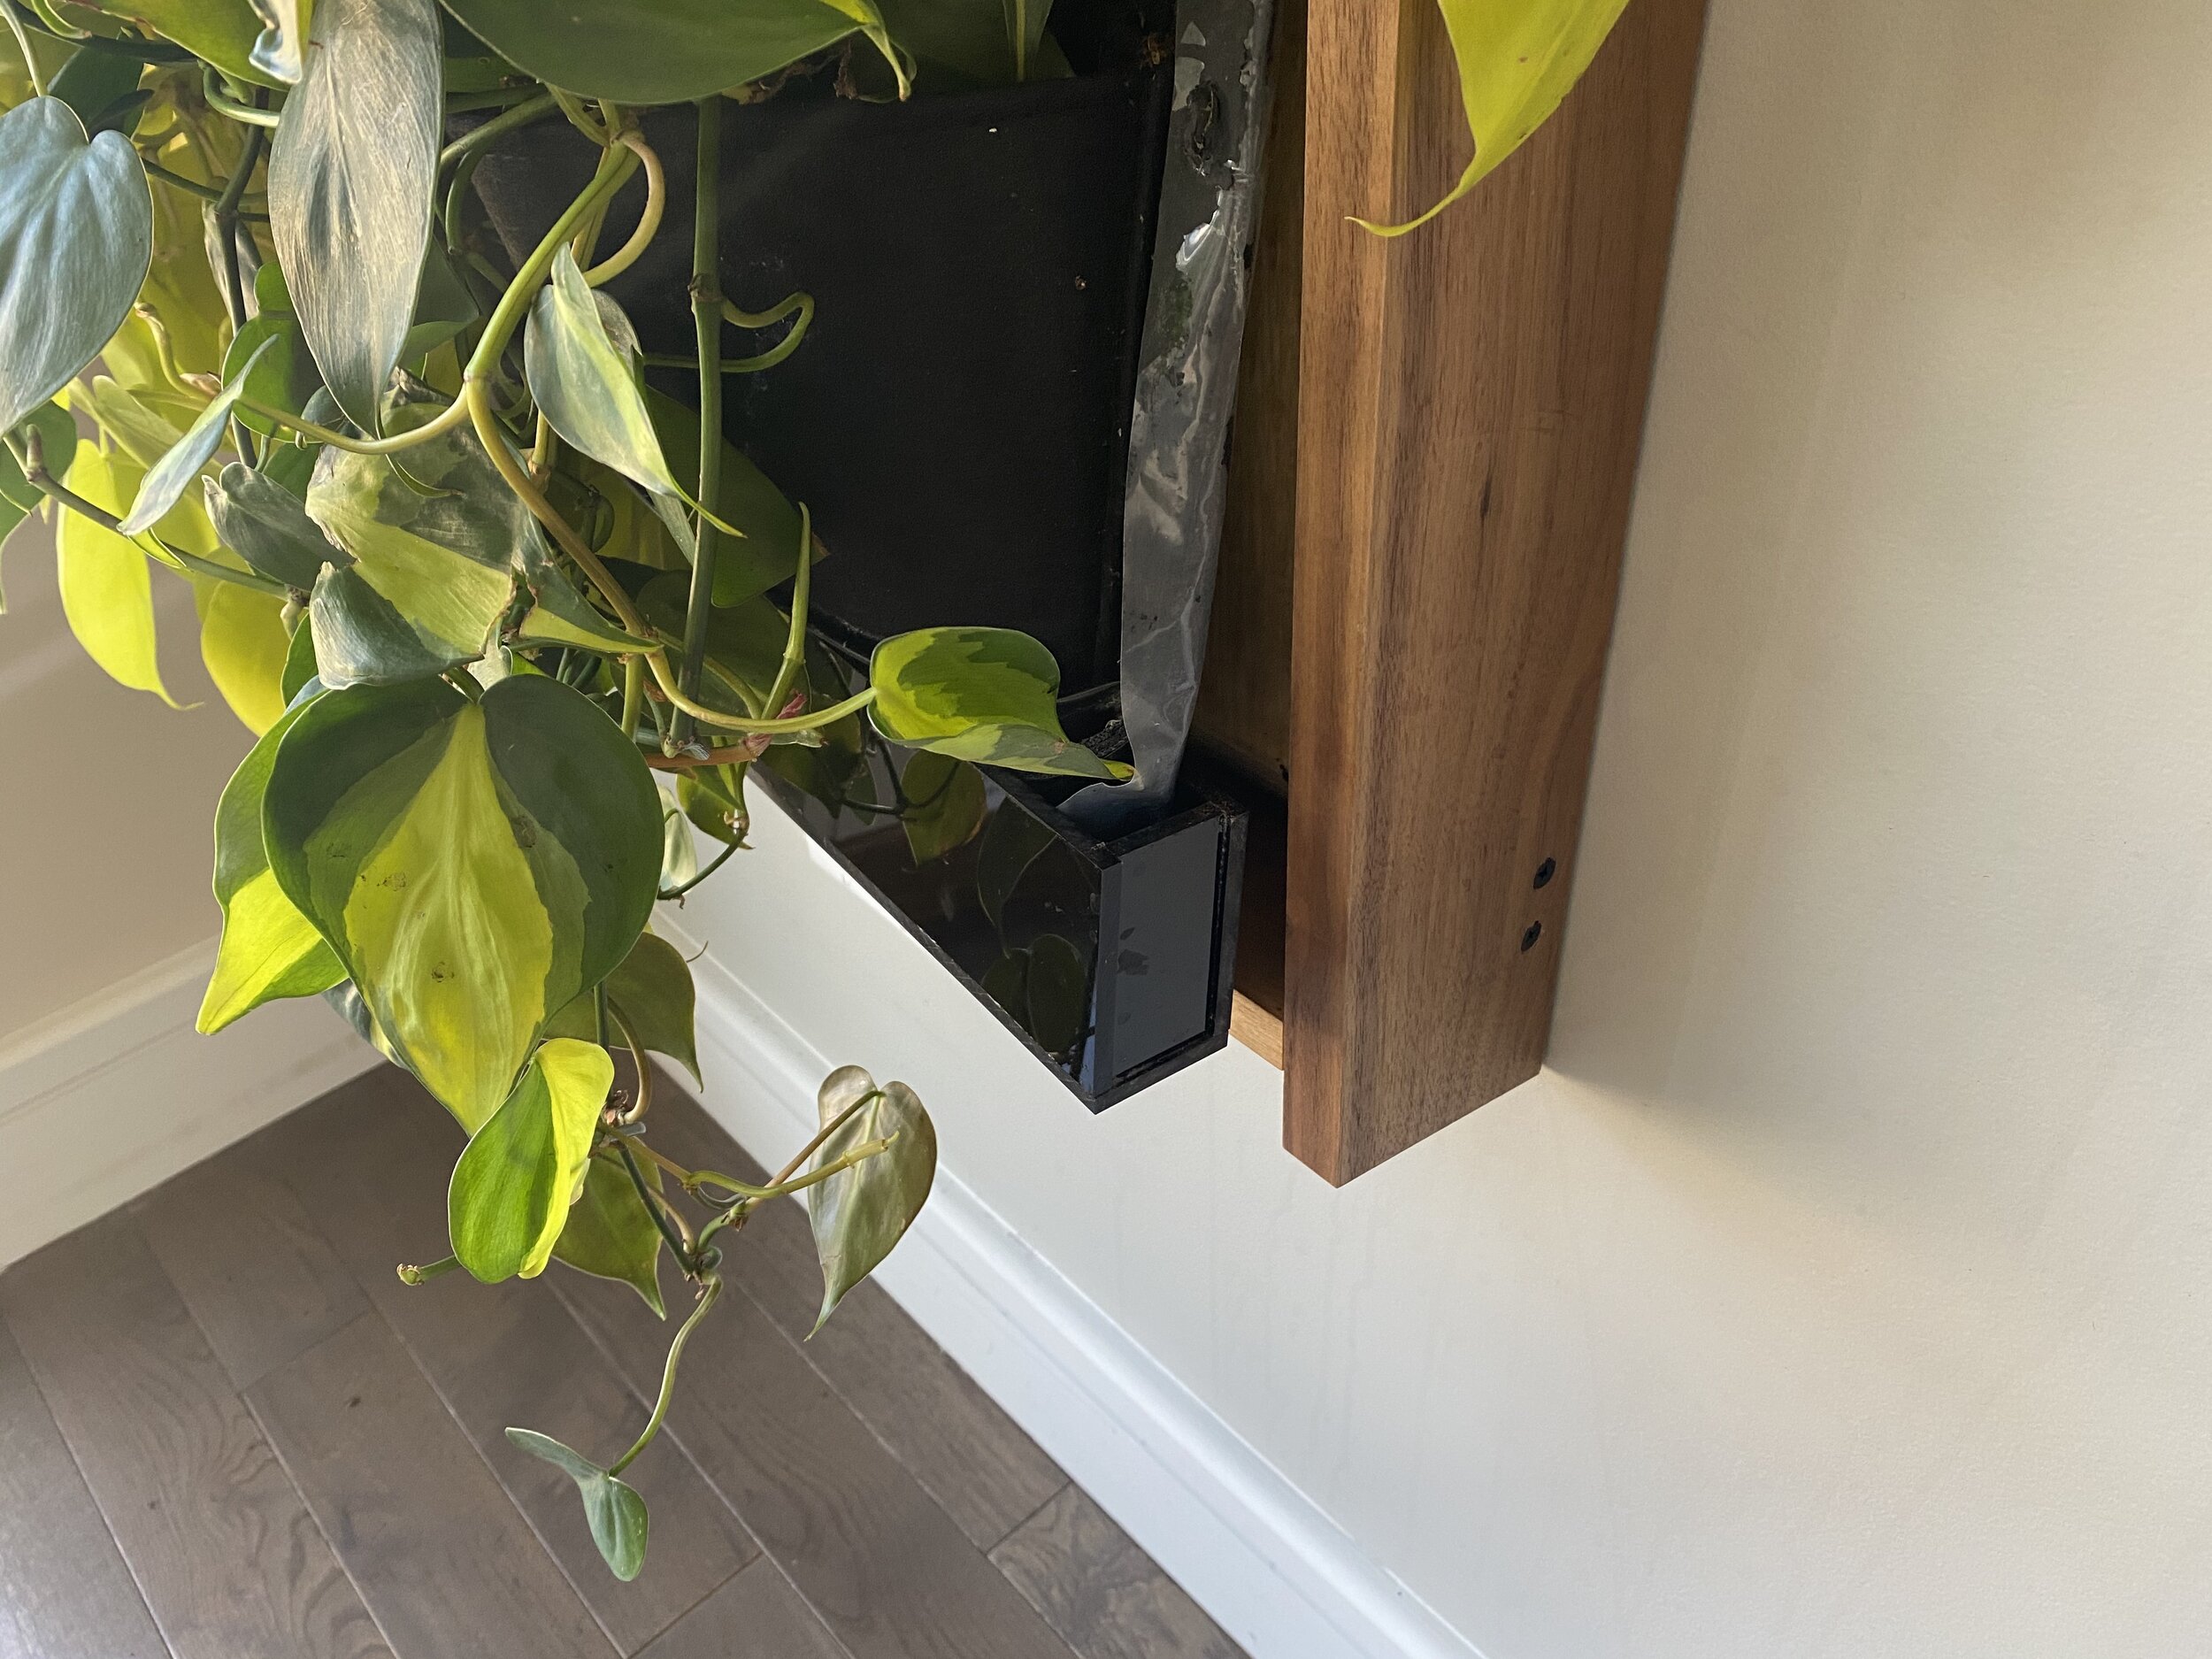
 a custom-fitted acrylic box catches runoff when watering the plants.
a custom-fitted acrylic box catches runoff when watering the plants.

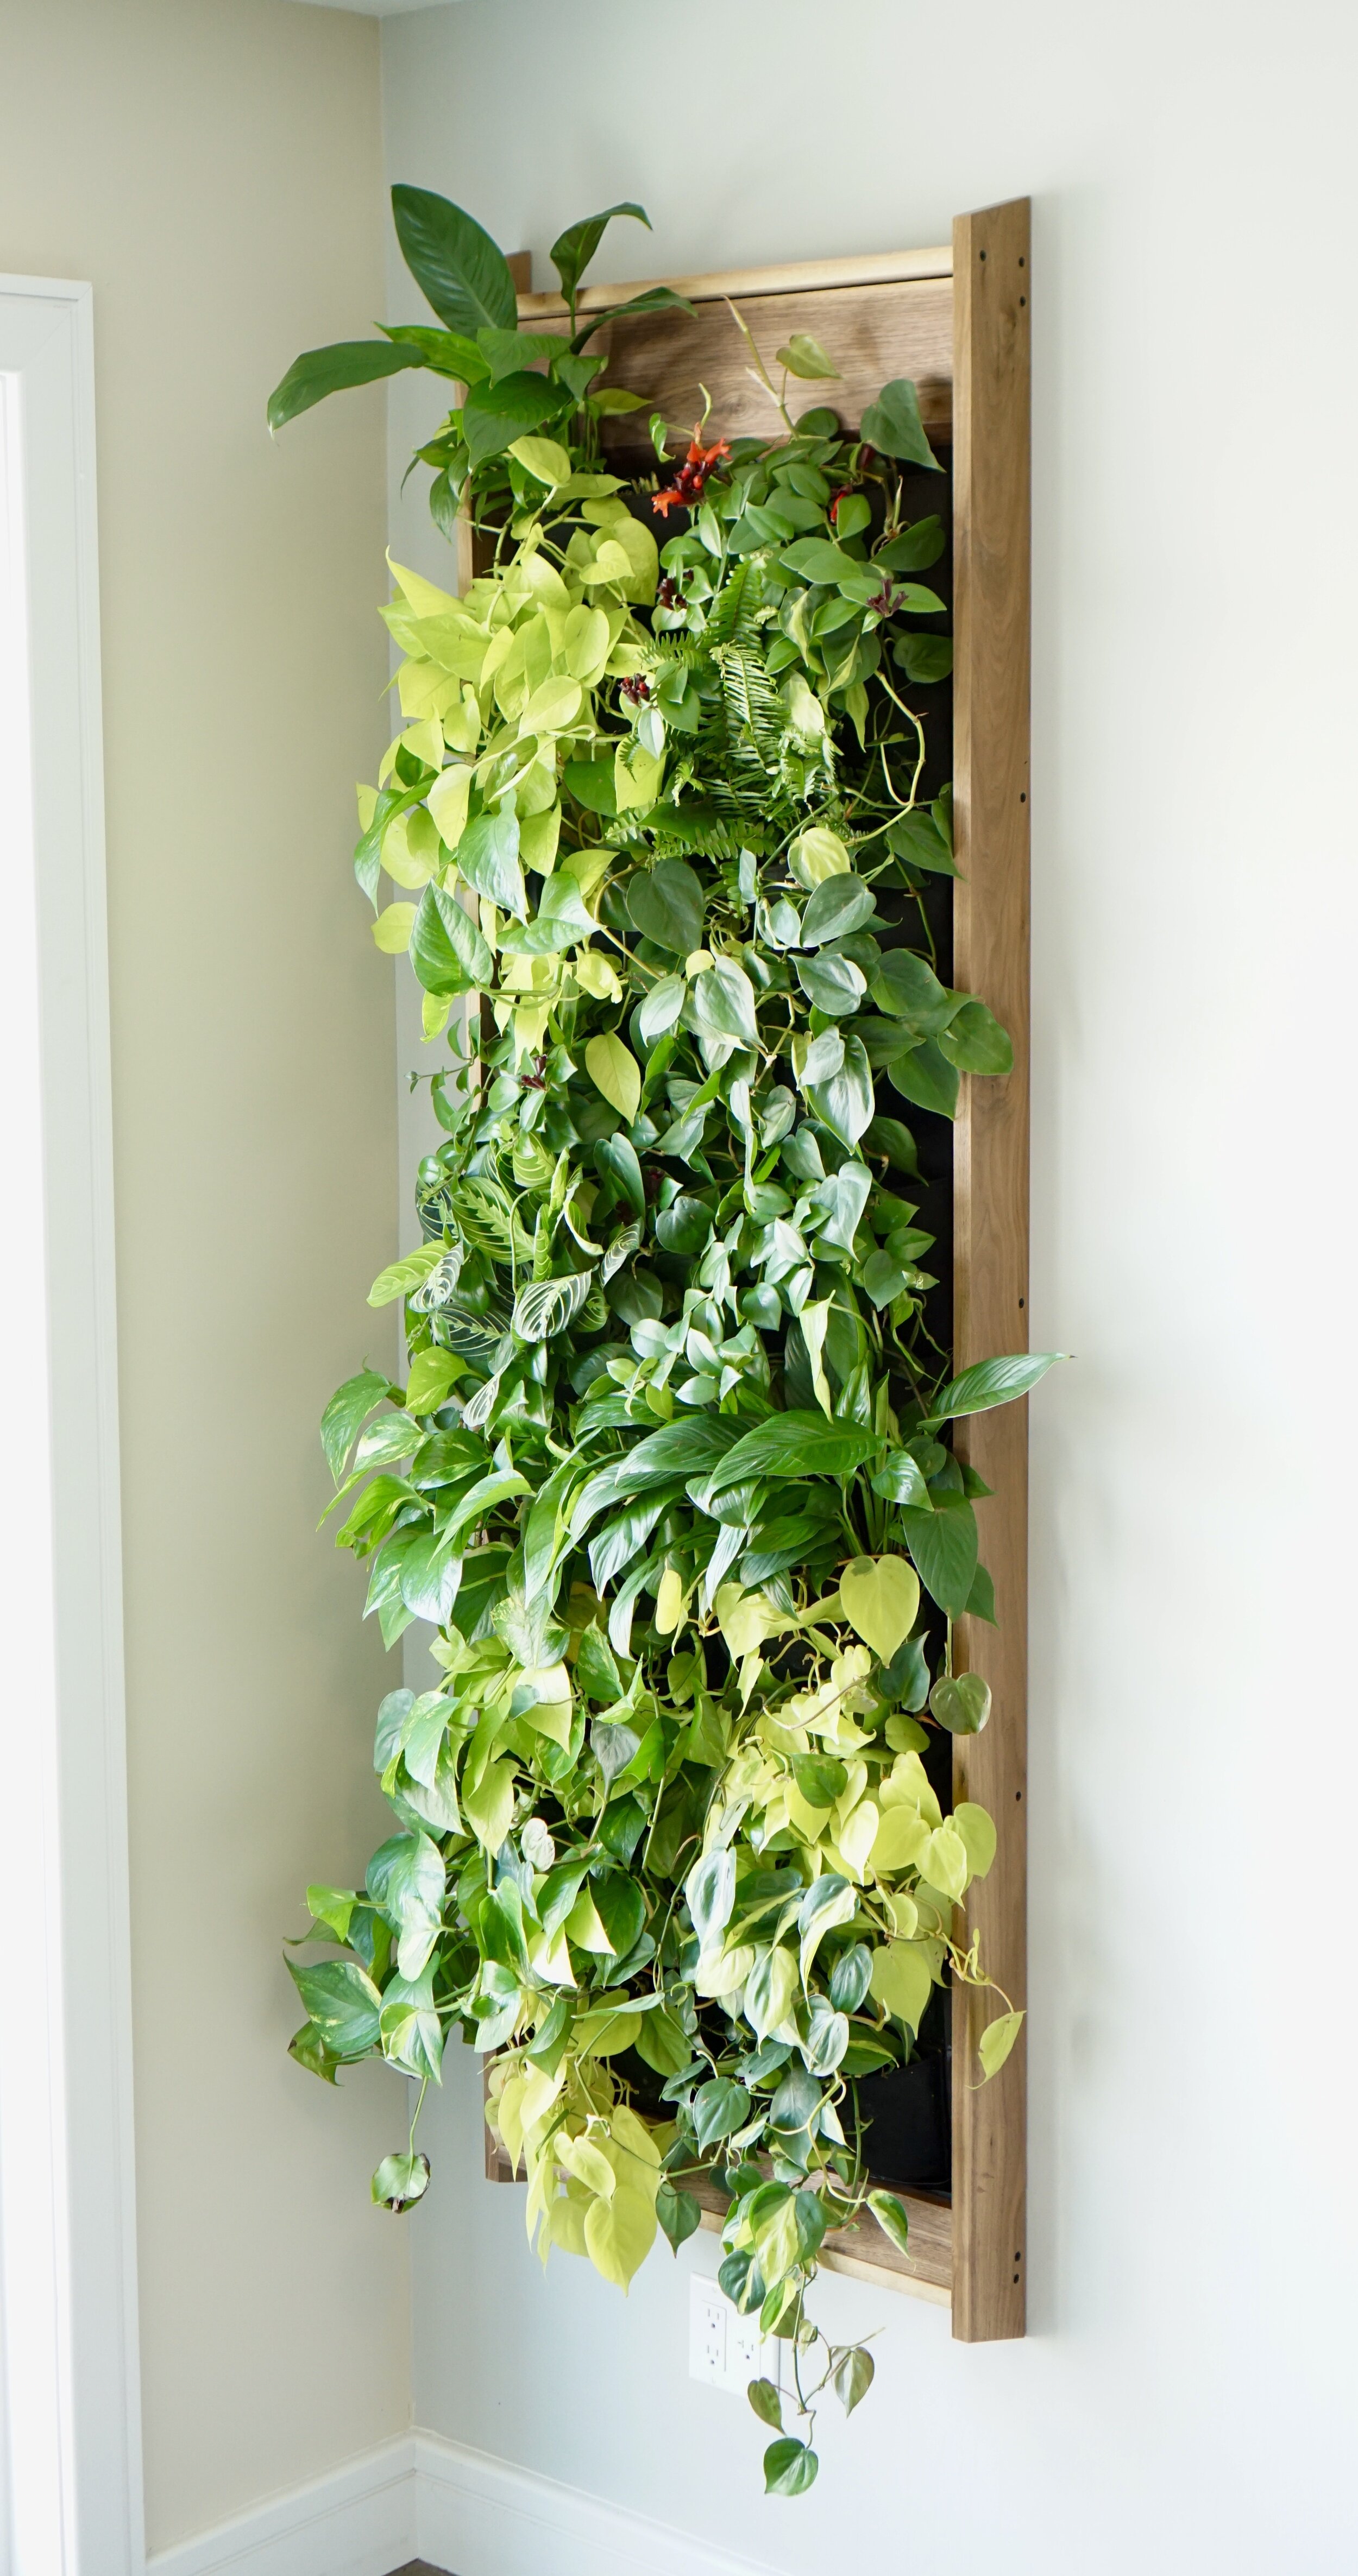
 all done.  see  gallery  for more photos.  see  process page  for construction details of other projects.

all done.

see gallery for more photos.

see process page for construction details of other projects.