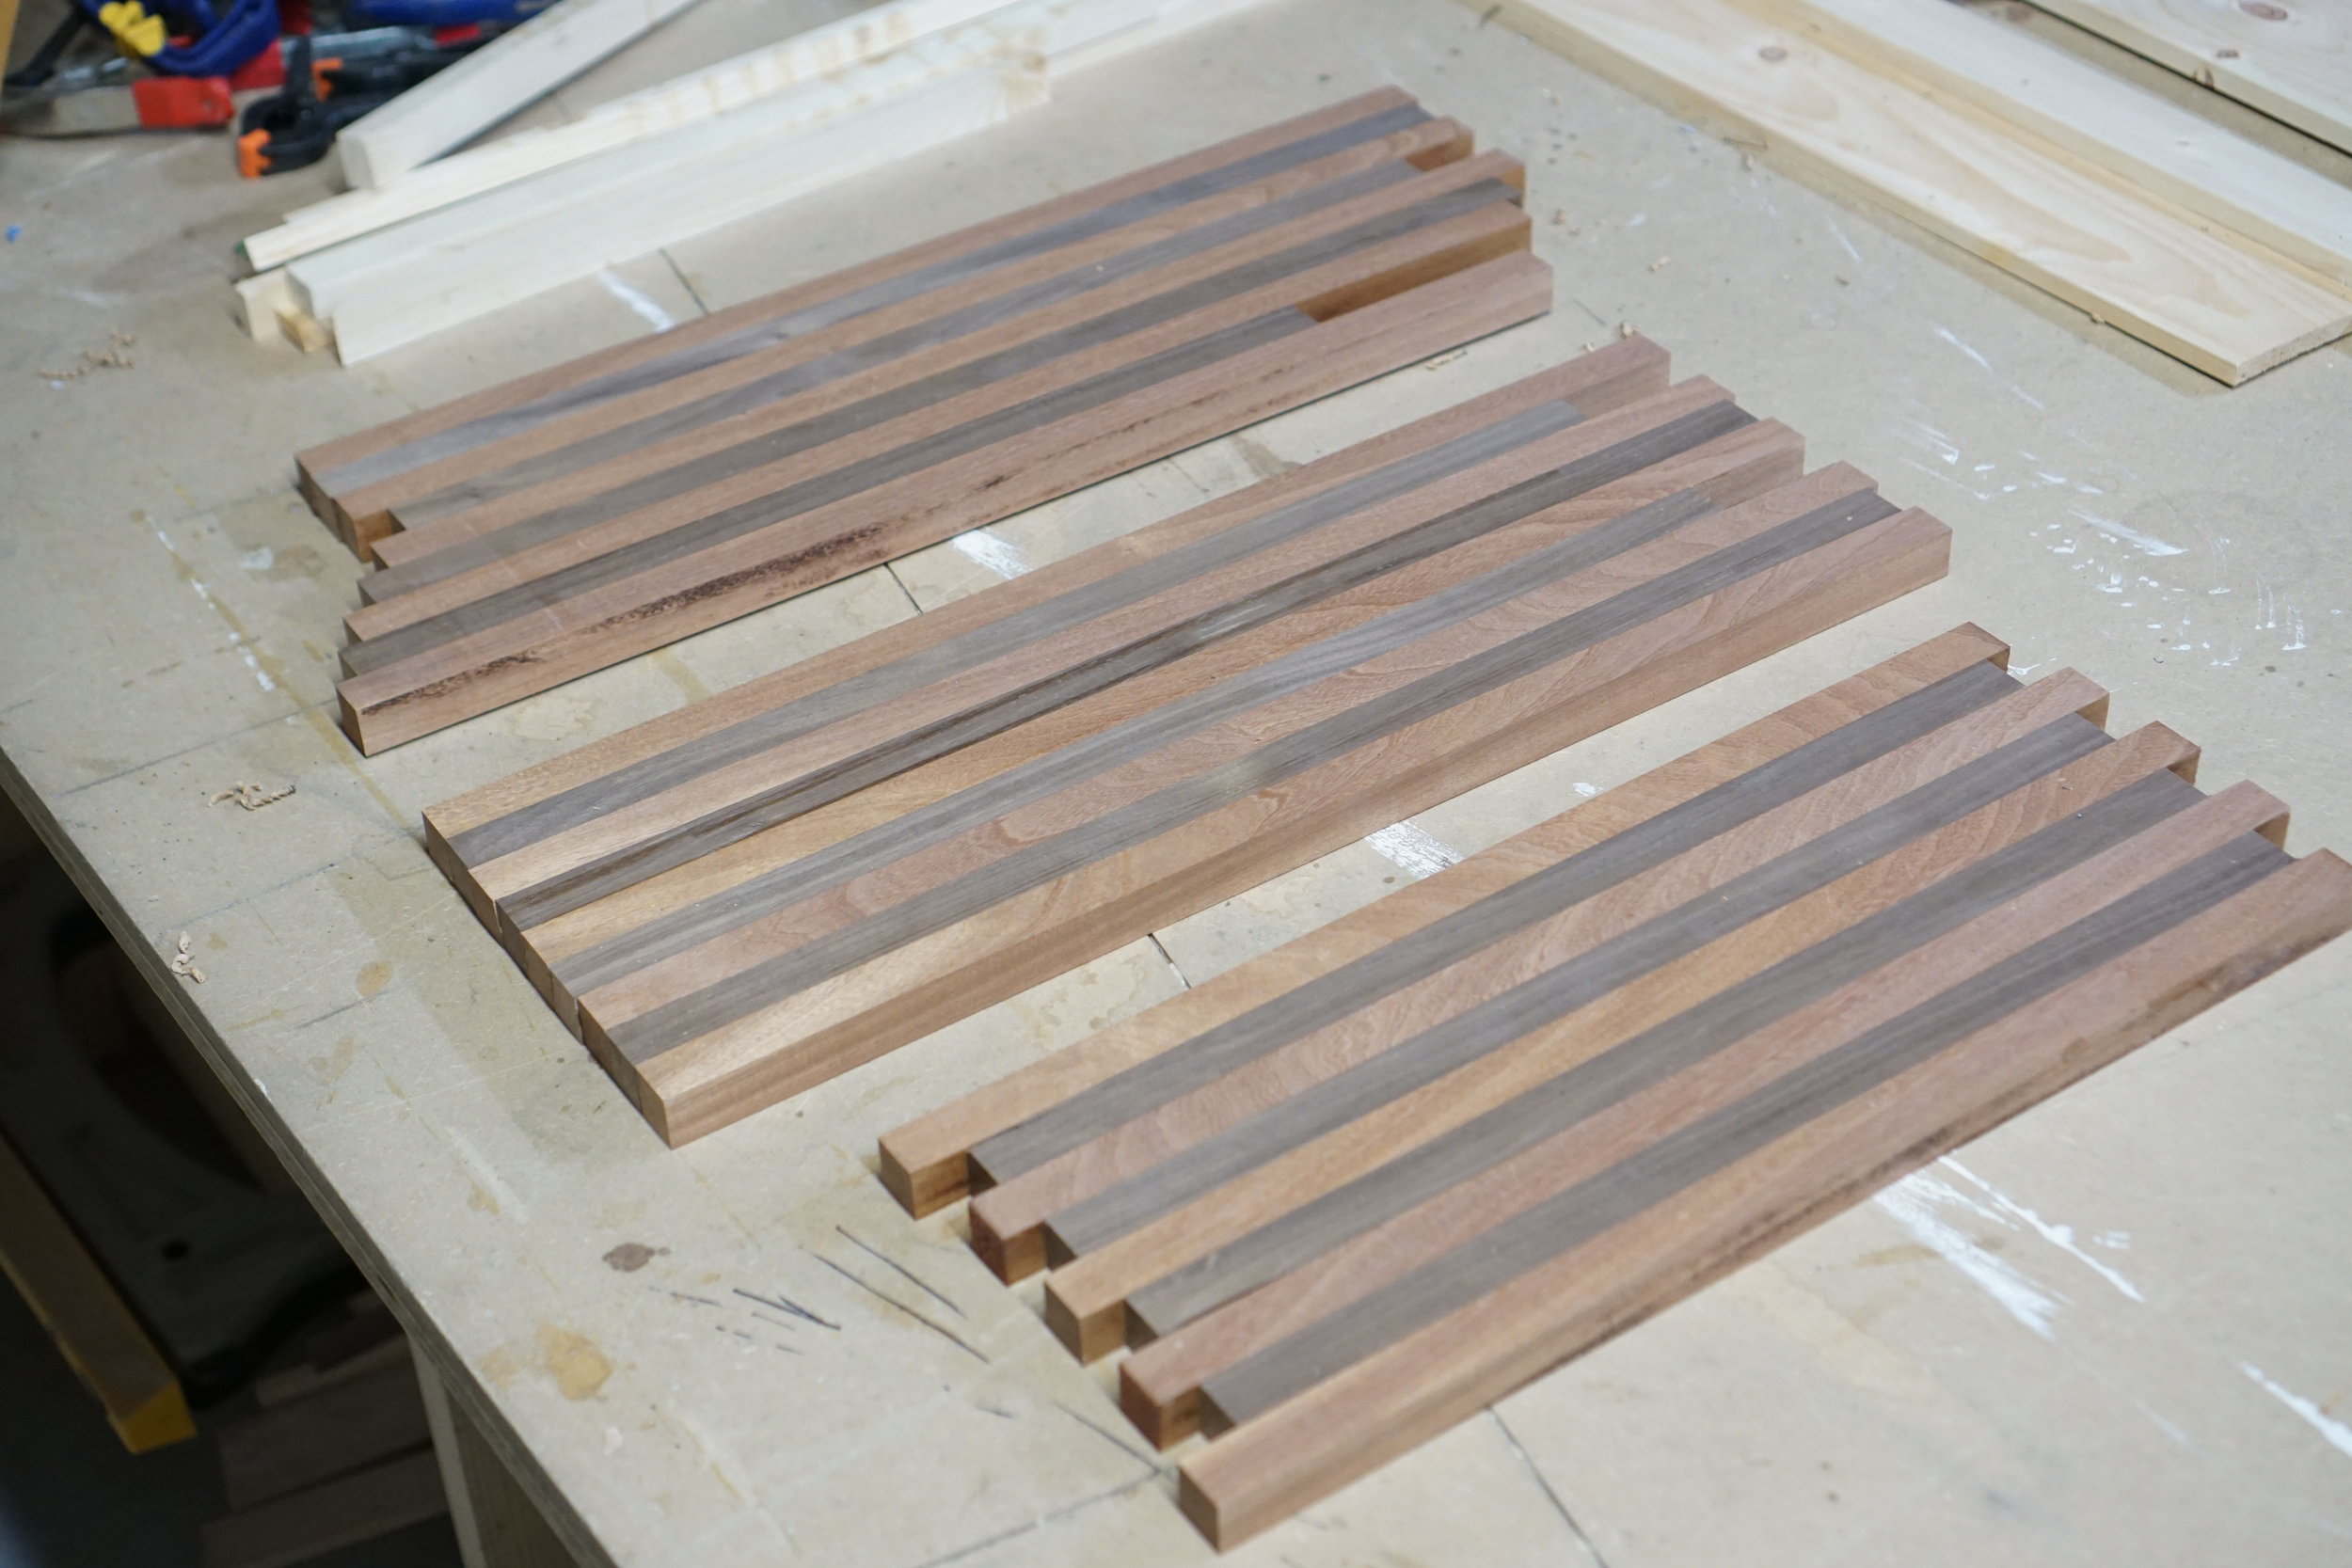


first i jointed and cut the walnut and mahogany into segments with a cross section of 1” tall by 7/8” wide. then i glued the lengths together to create three striped boards. next i planed down the extra 1/8” so the resulting boards (shown in the photo) were flat, perfectly flush, with segments that had square cross sections.
it wasn’t immediately obvious which bevel/miter angles would produce the symmetrical diamond cross section i was going for, and my attempts at 3D trigonometry were only partially successful (plus resulted in some serious brain-hurt).
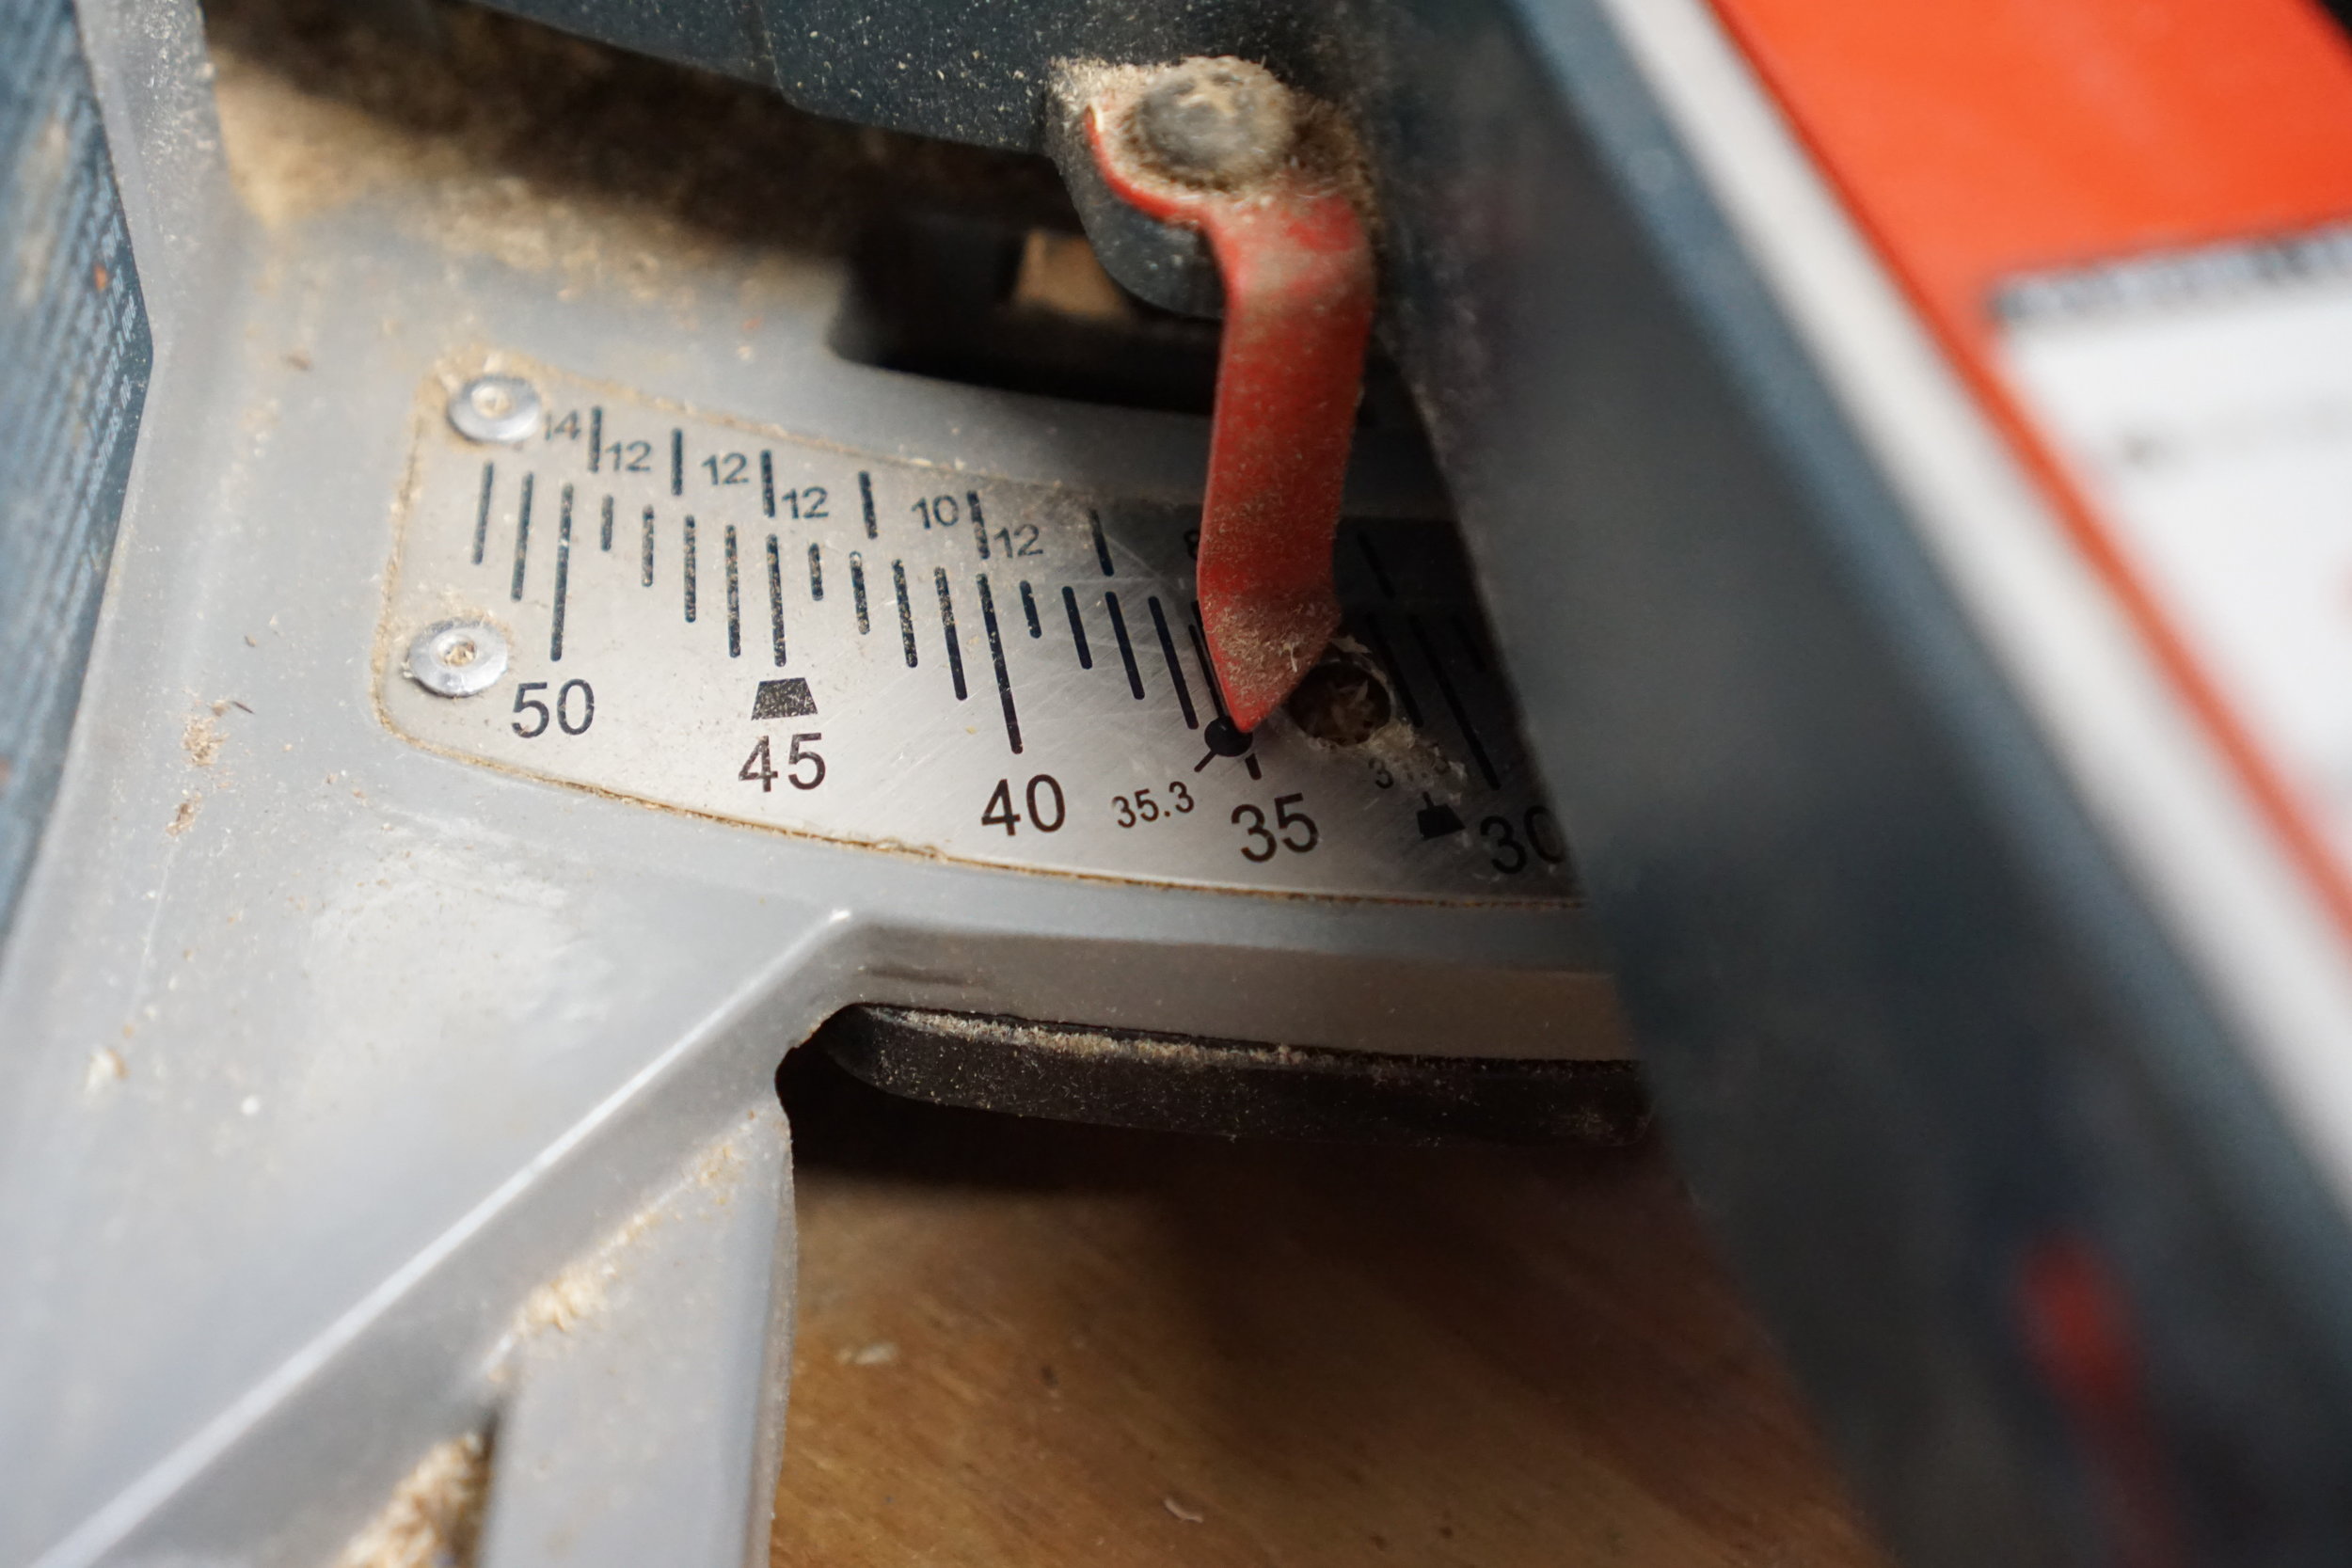
based on my initial 3D trigonometry i expected the miter and bevel angles to be the same. nope. luckily i started with test cuts. when i tried both angles at 35.3° i was left with distinctly lopsided diamonds, making it pretty clear I’d done something wrong.
after consulting the friendly people of the internet (and doing some more test cuts) I discovered that the miter/bevel angles I needed were the same as those required to cut ceiling-wall crown moulding: 35.3° miter and 30° bevel.
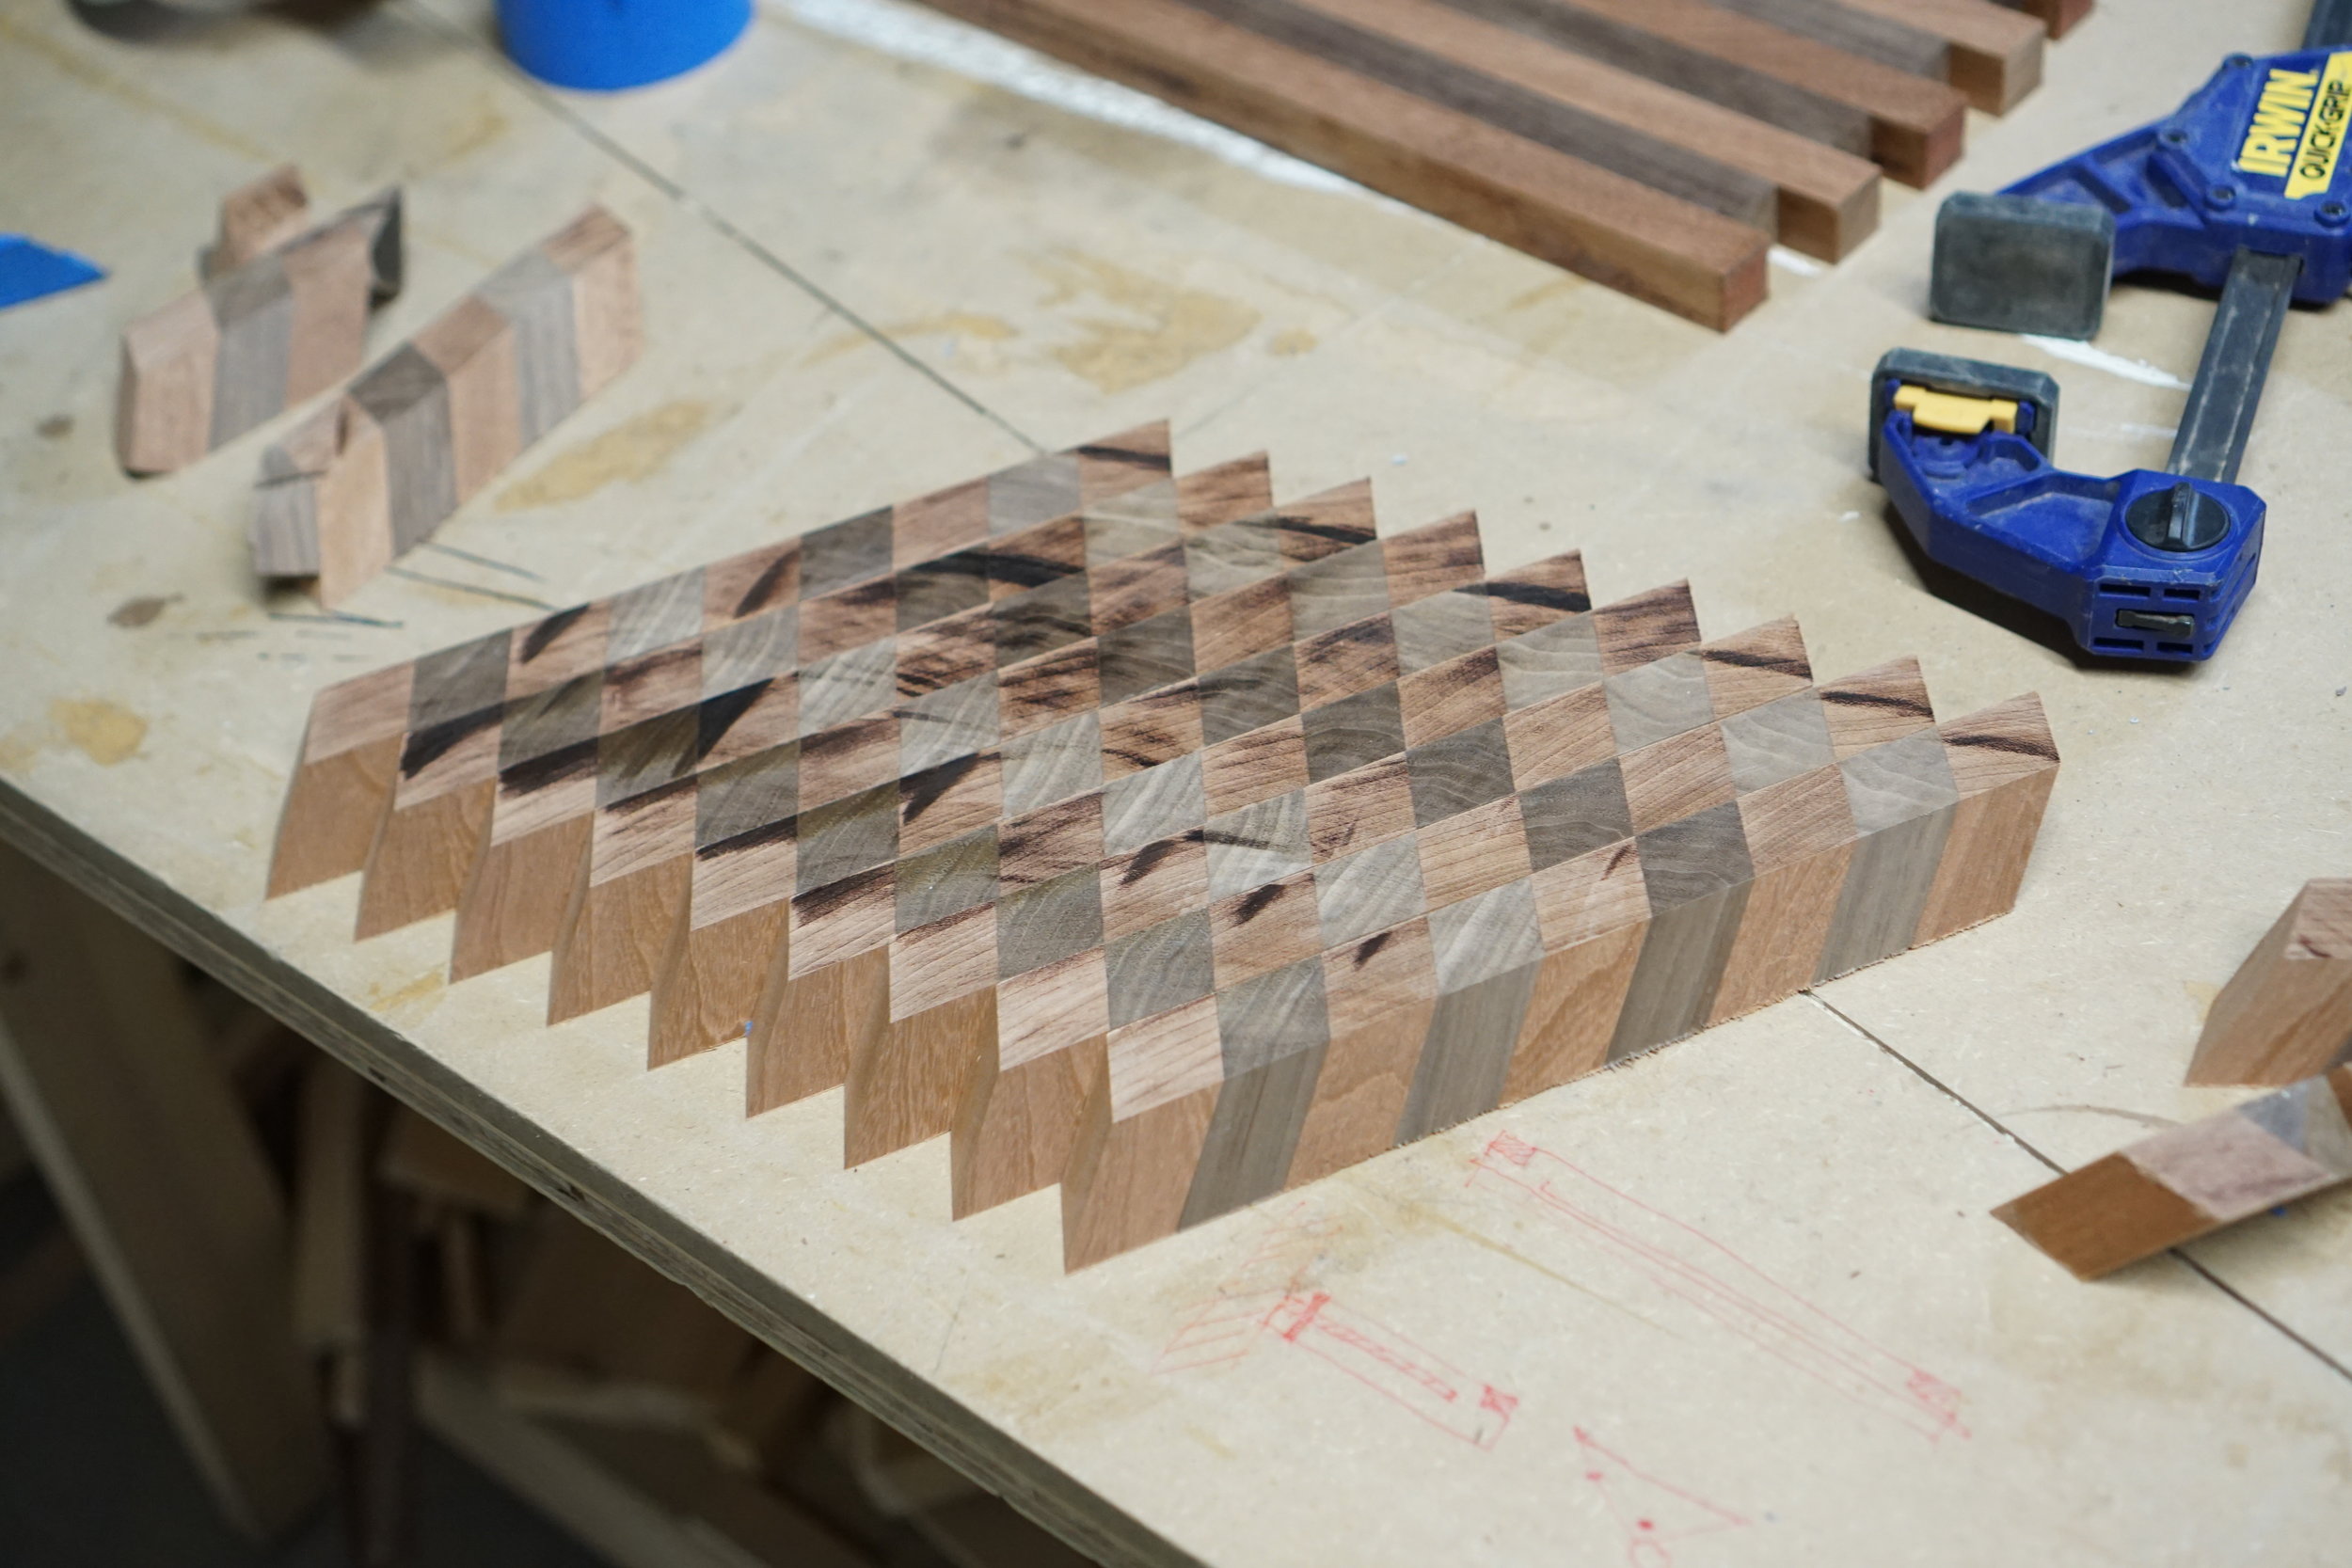
arranged the pieces for a first glance at what the final cutting boards might look like. this was a nice moment.
glueing these cutting boards together was an unexpected nightmare. i tried a few different ways, none of them free from frustration. this method of glueing two at a time offered more control, though in the end was an unnecessary intermediary step.
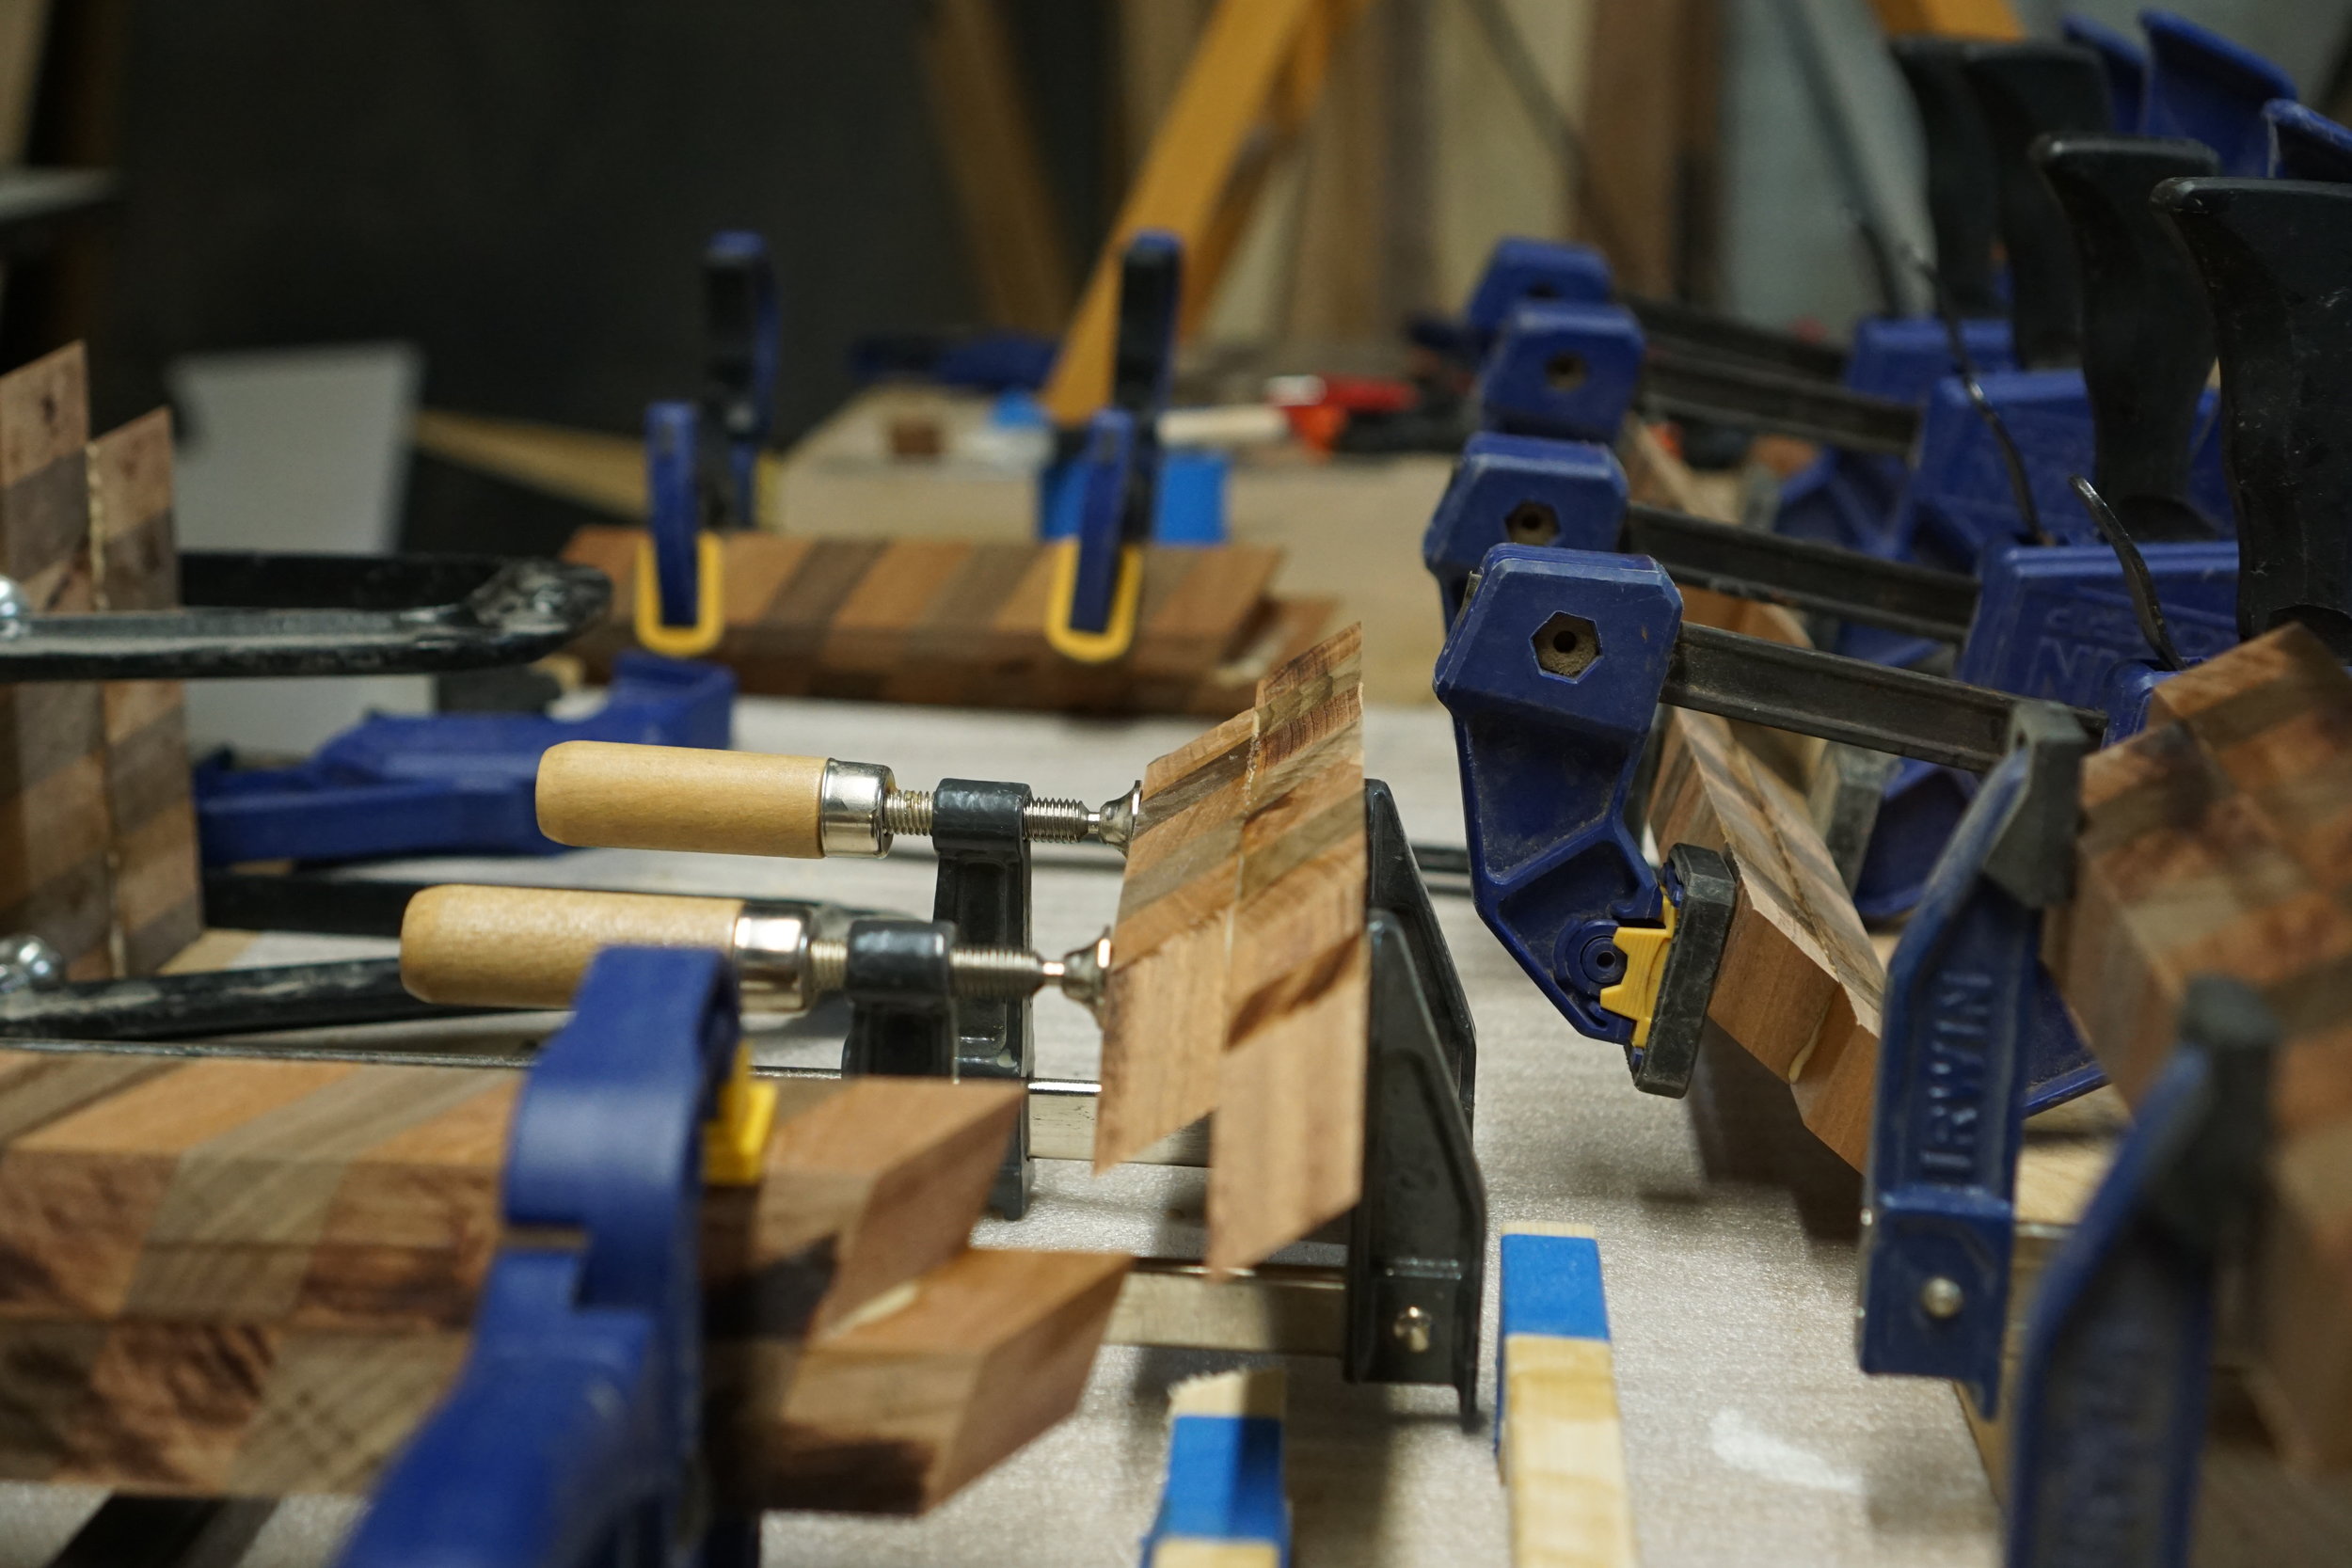
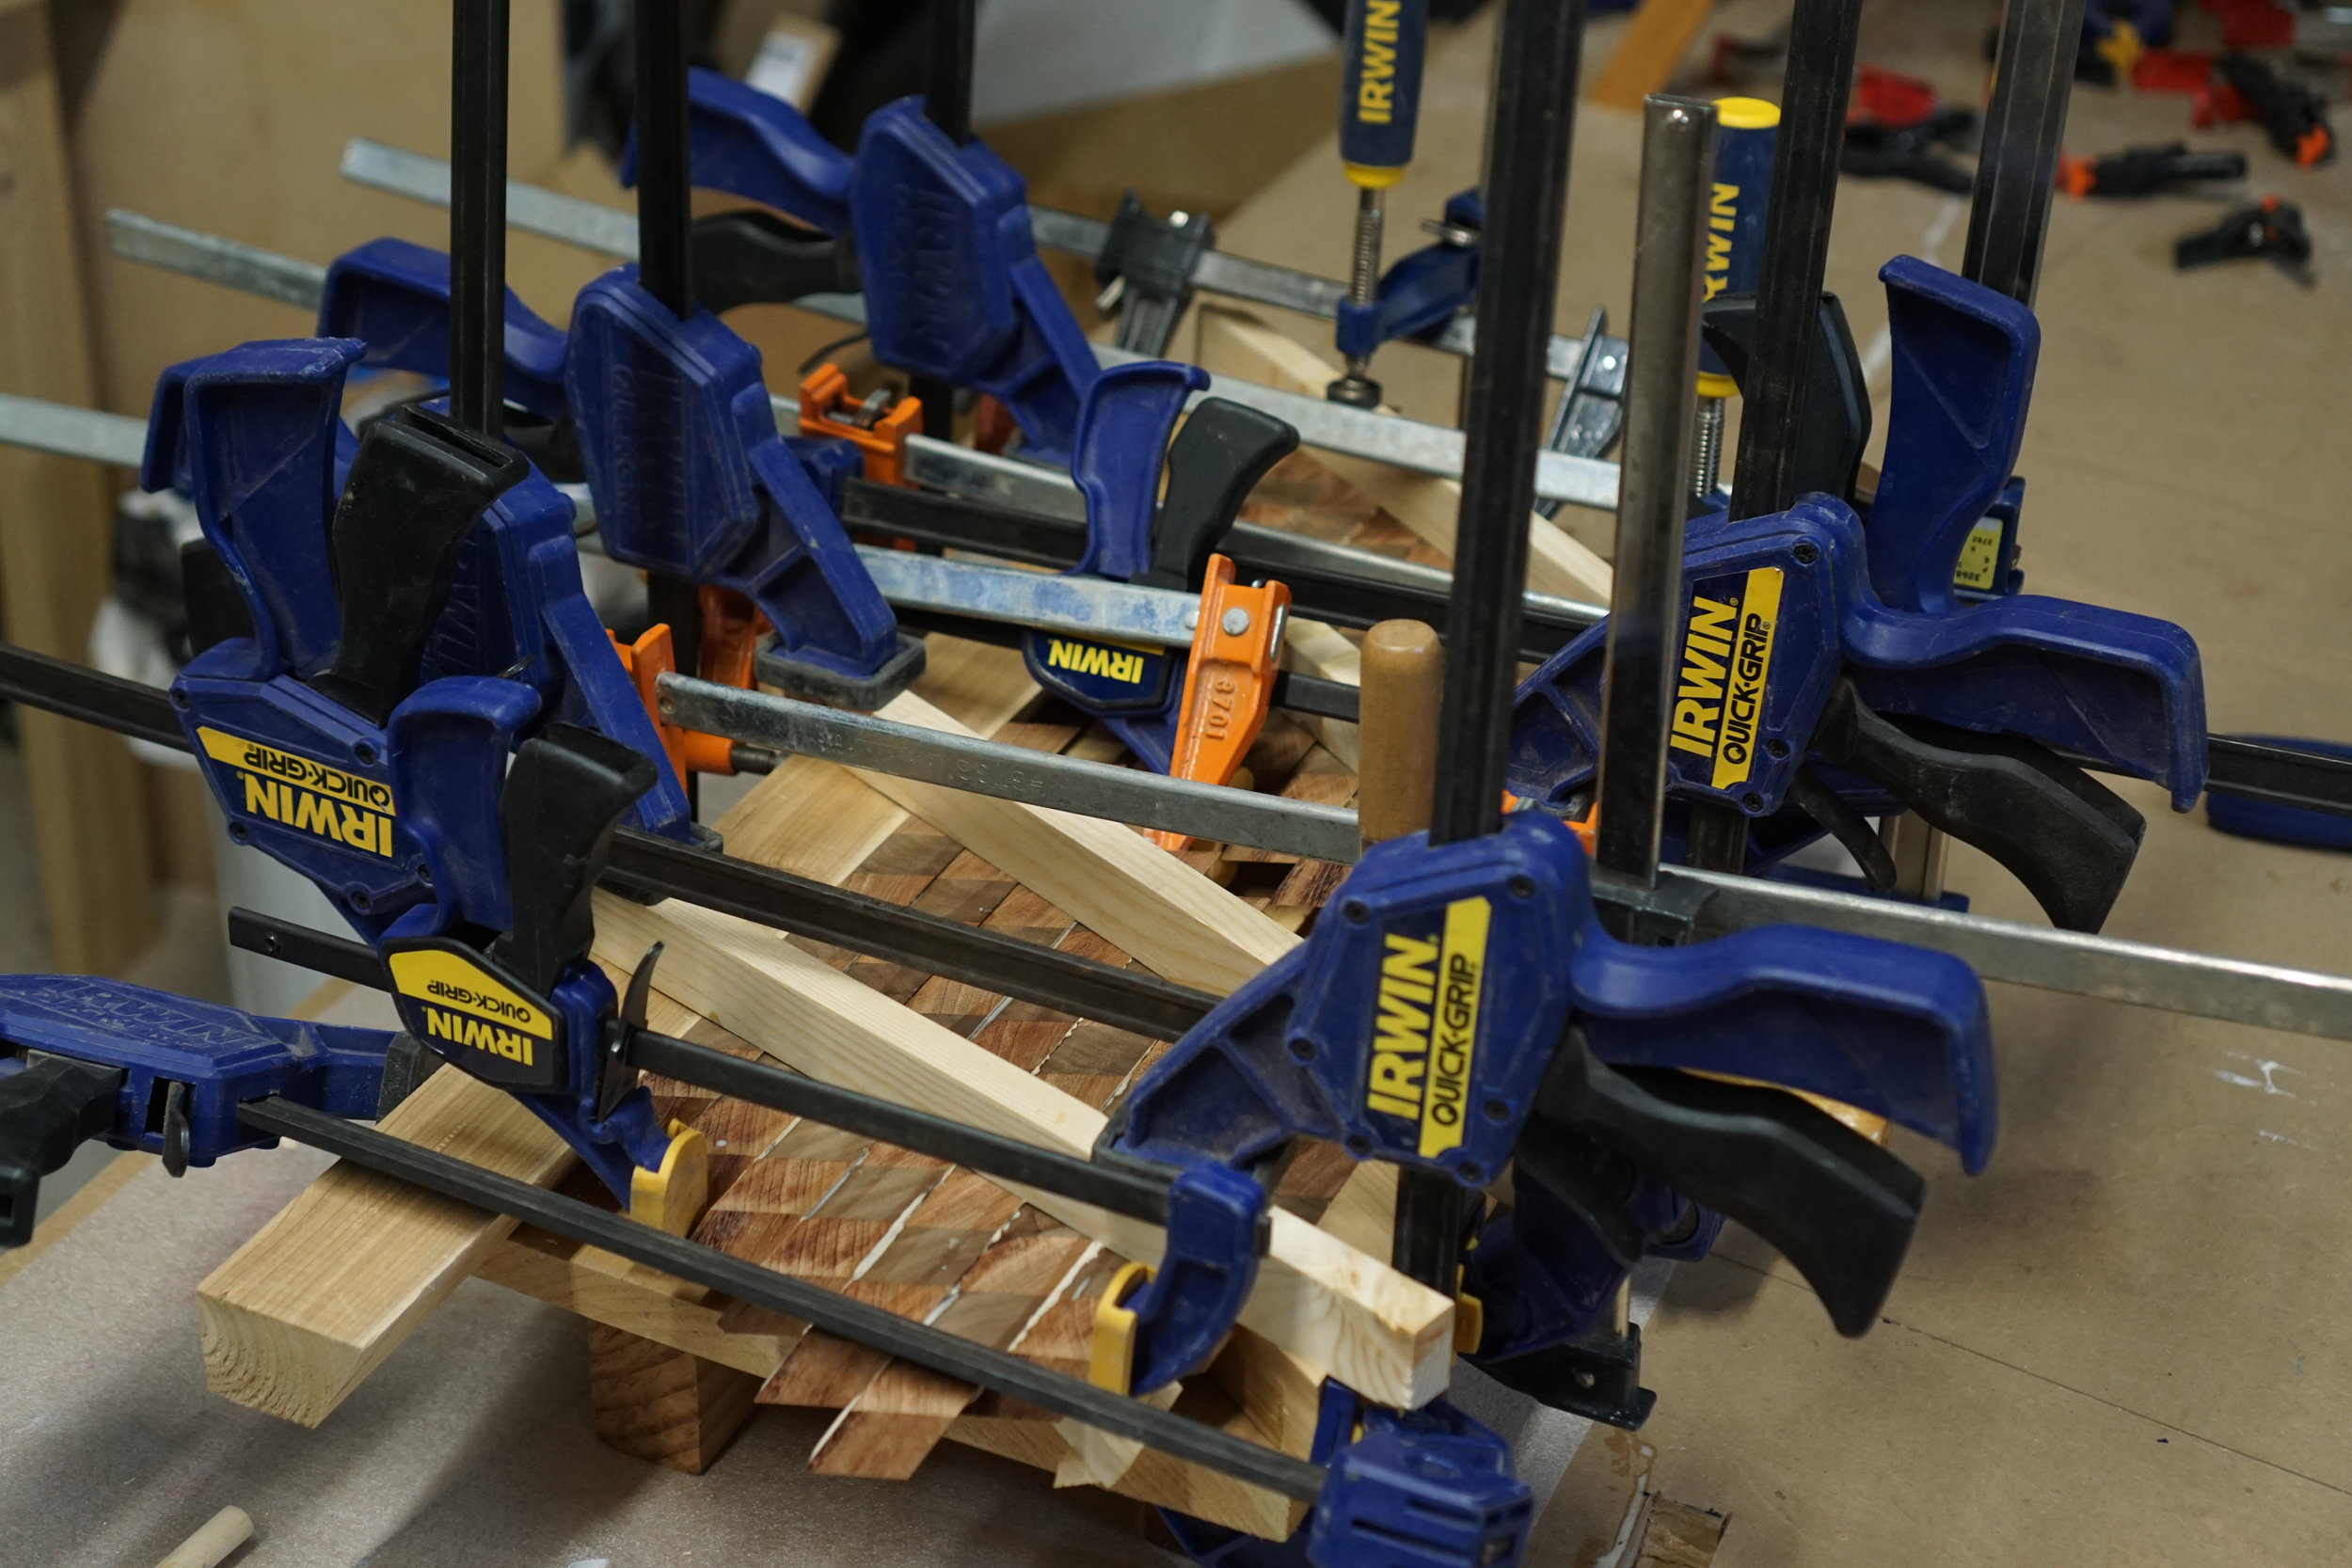
this method of building a custom jig to glue pieces together was somewhat better. but the sides being glued were at an angle, which meant they kept popping out of place when clamped together.
a veritable jungle of clamps.
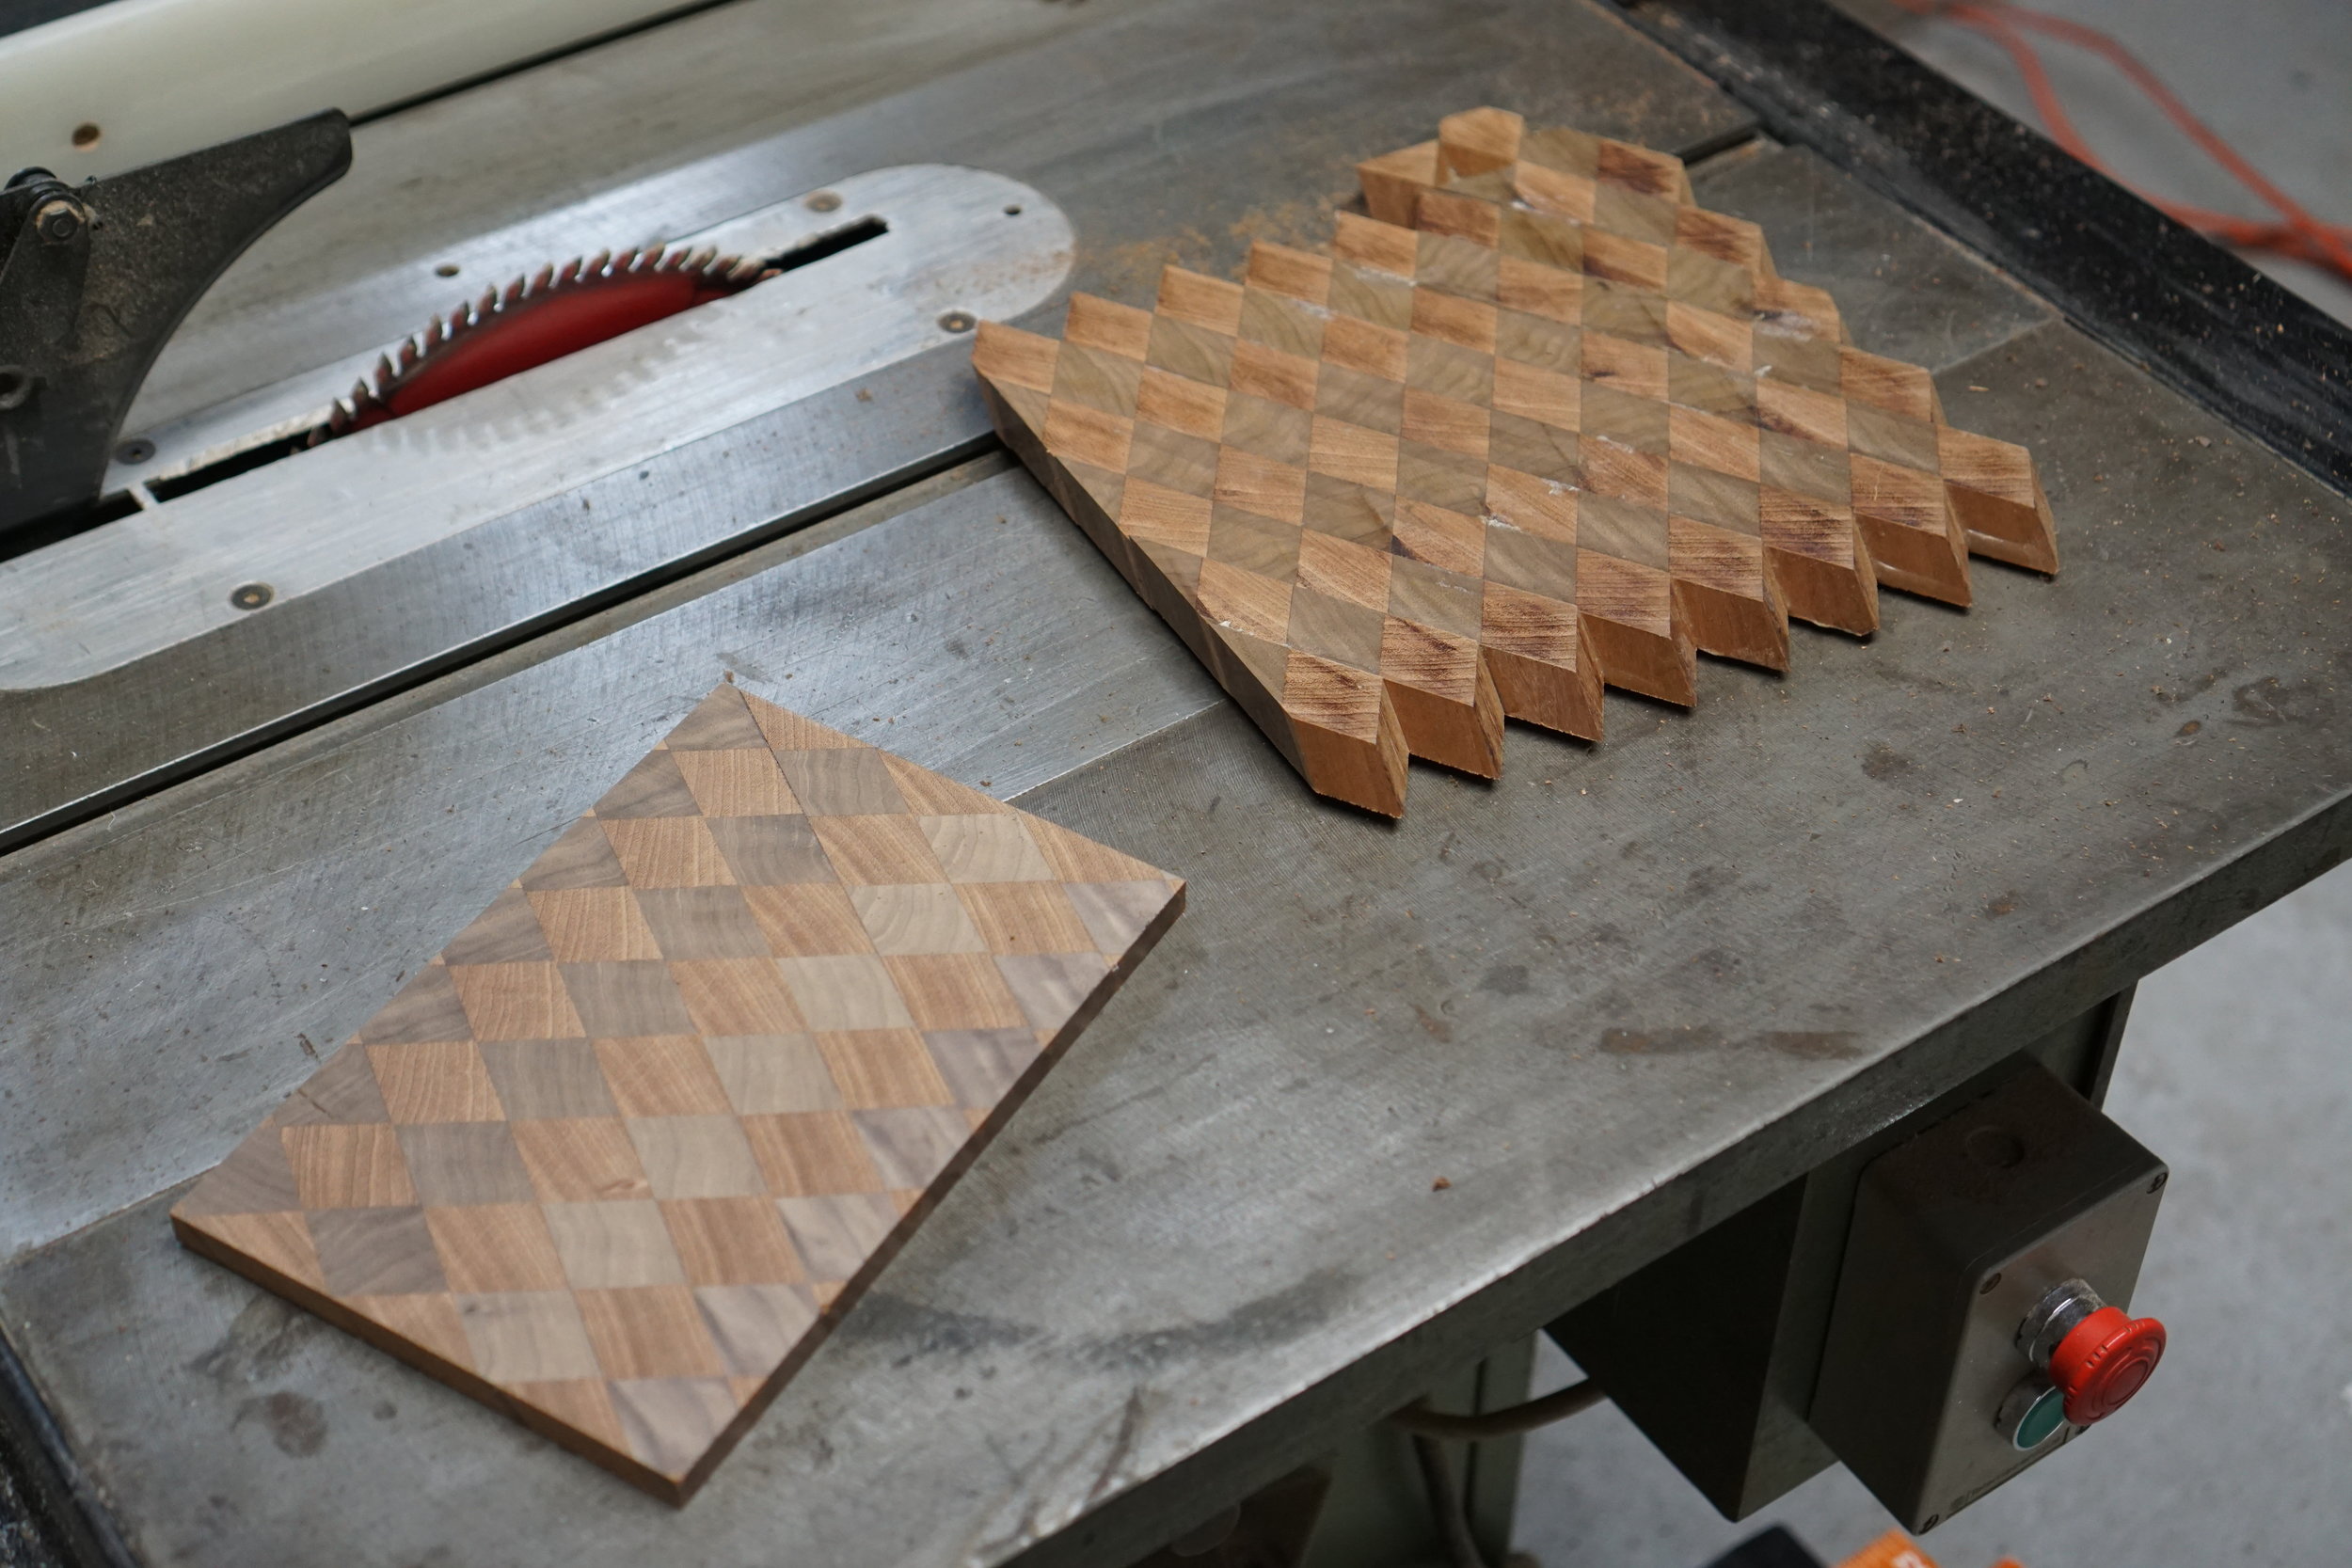
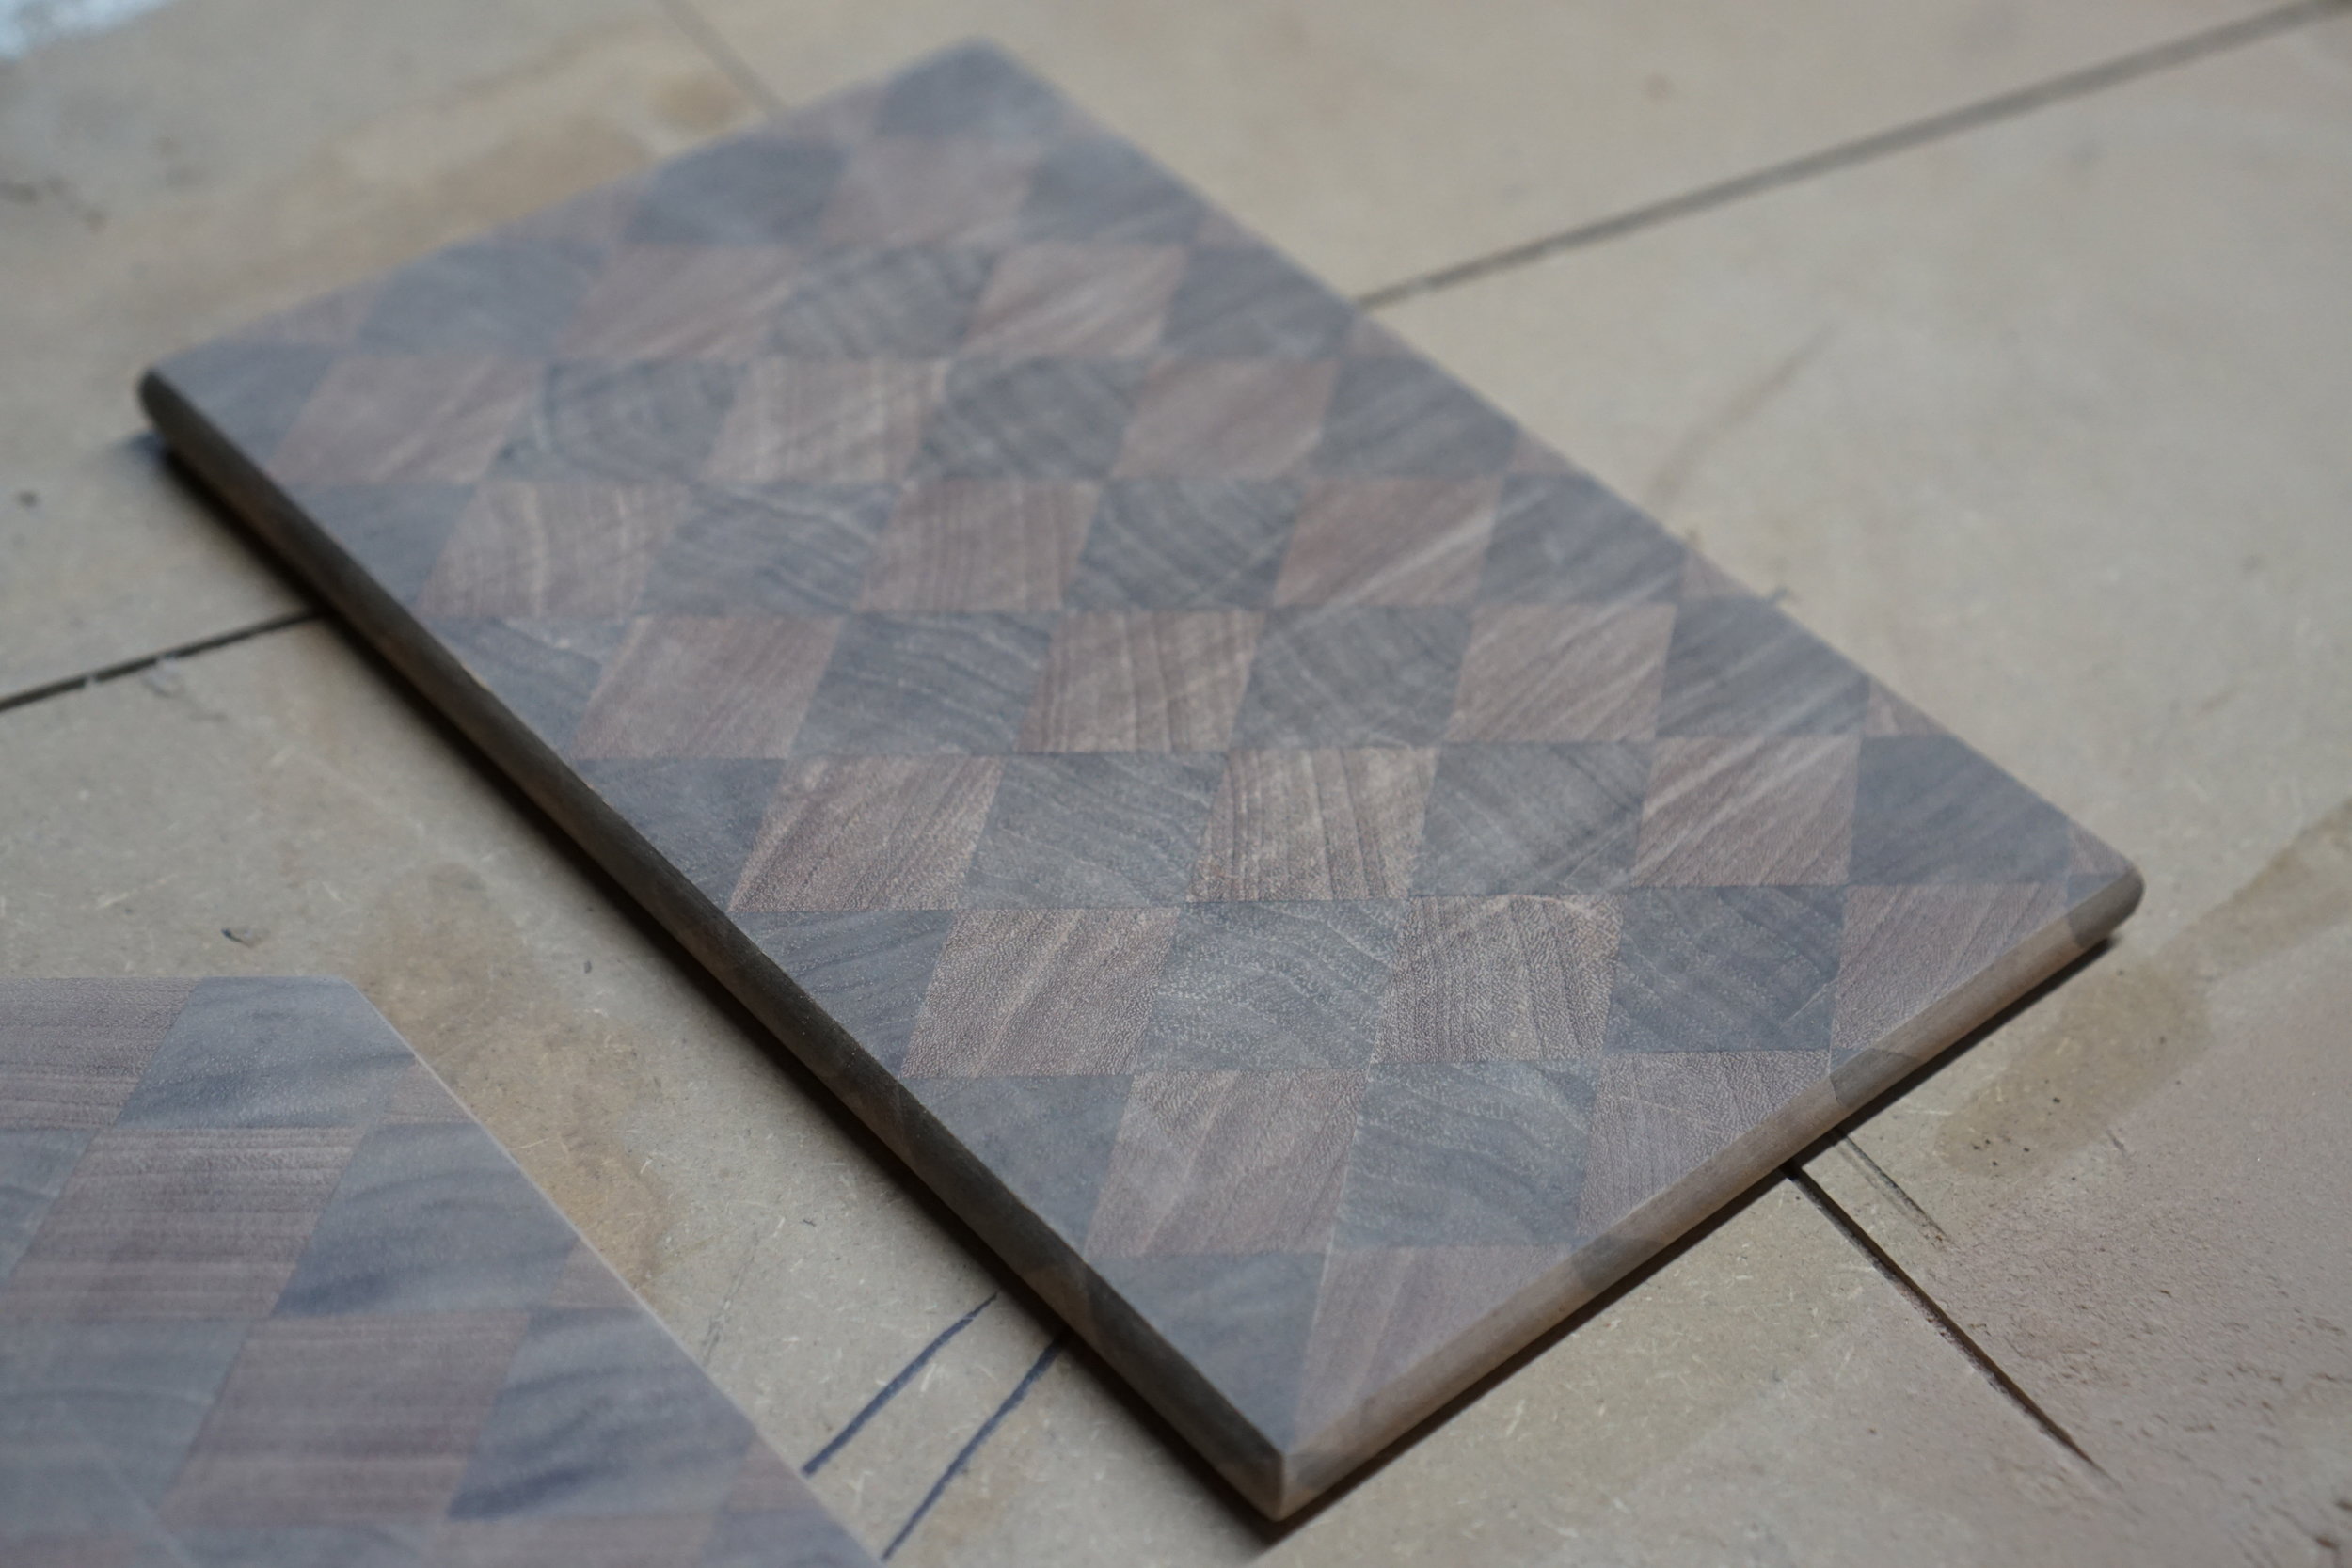
after being trimmed, jointed, and planed, it’s easy to see just how much material is lost by making the boards this way.
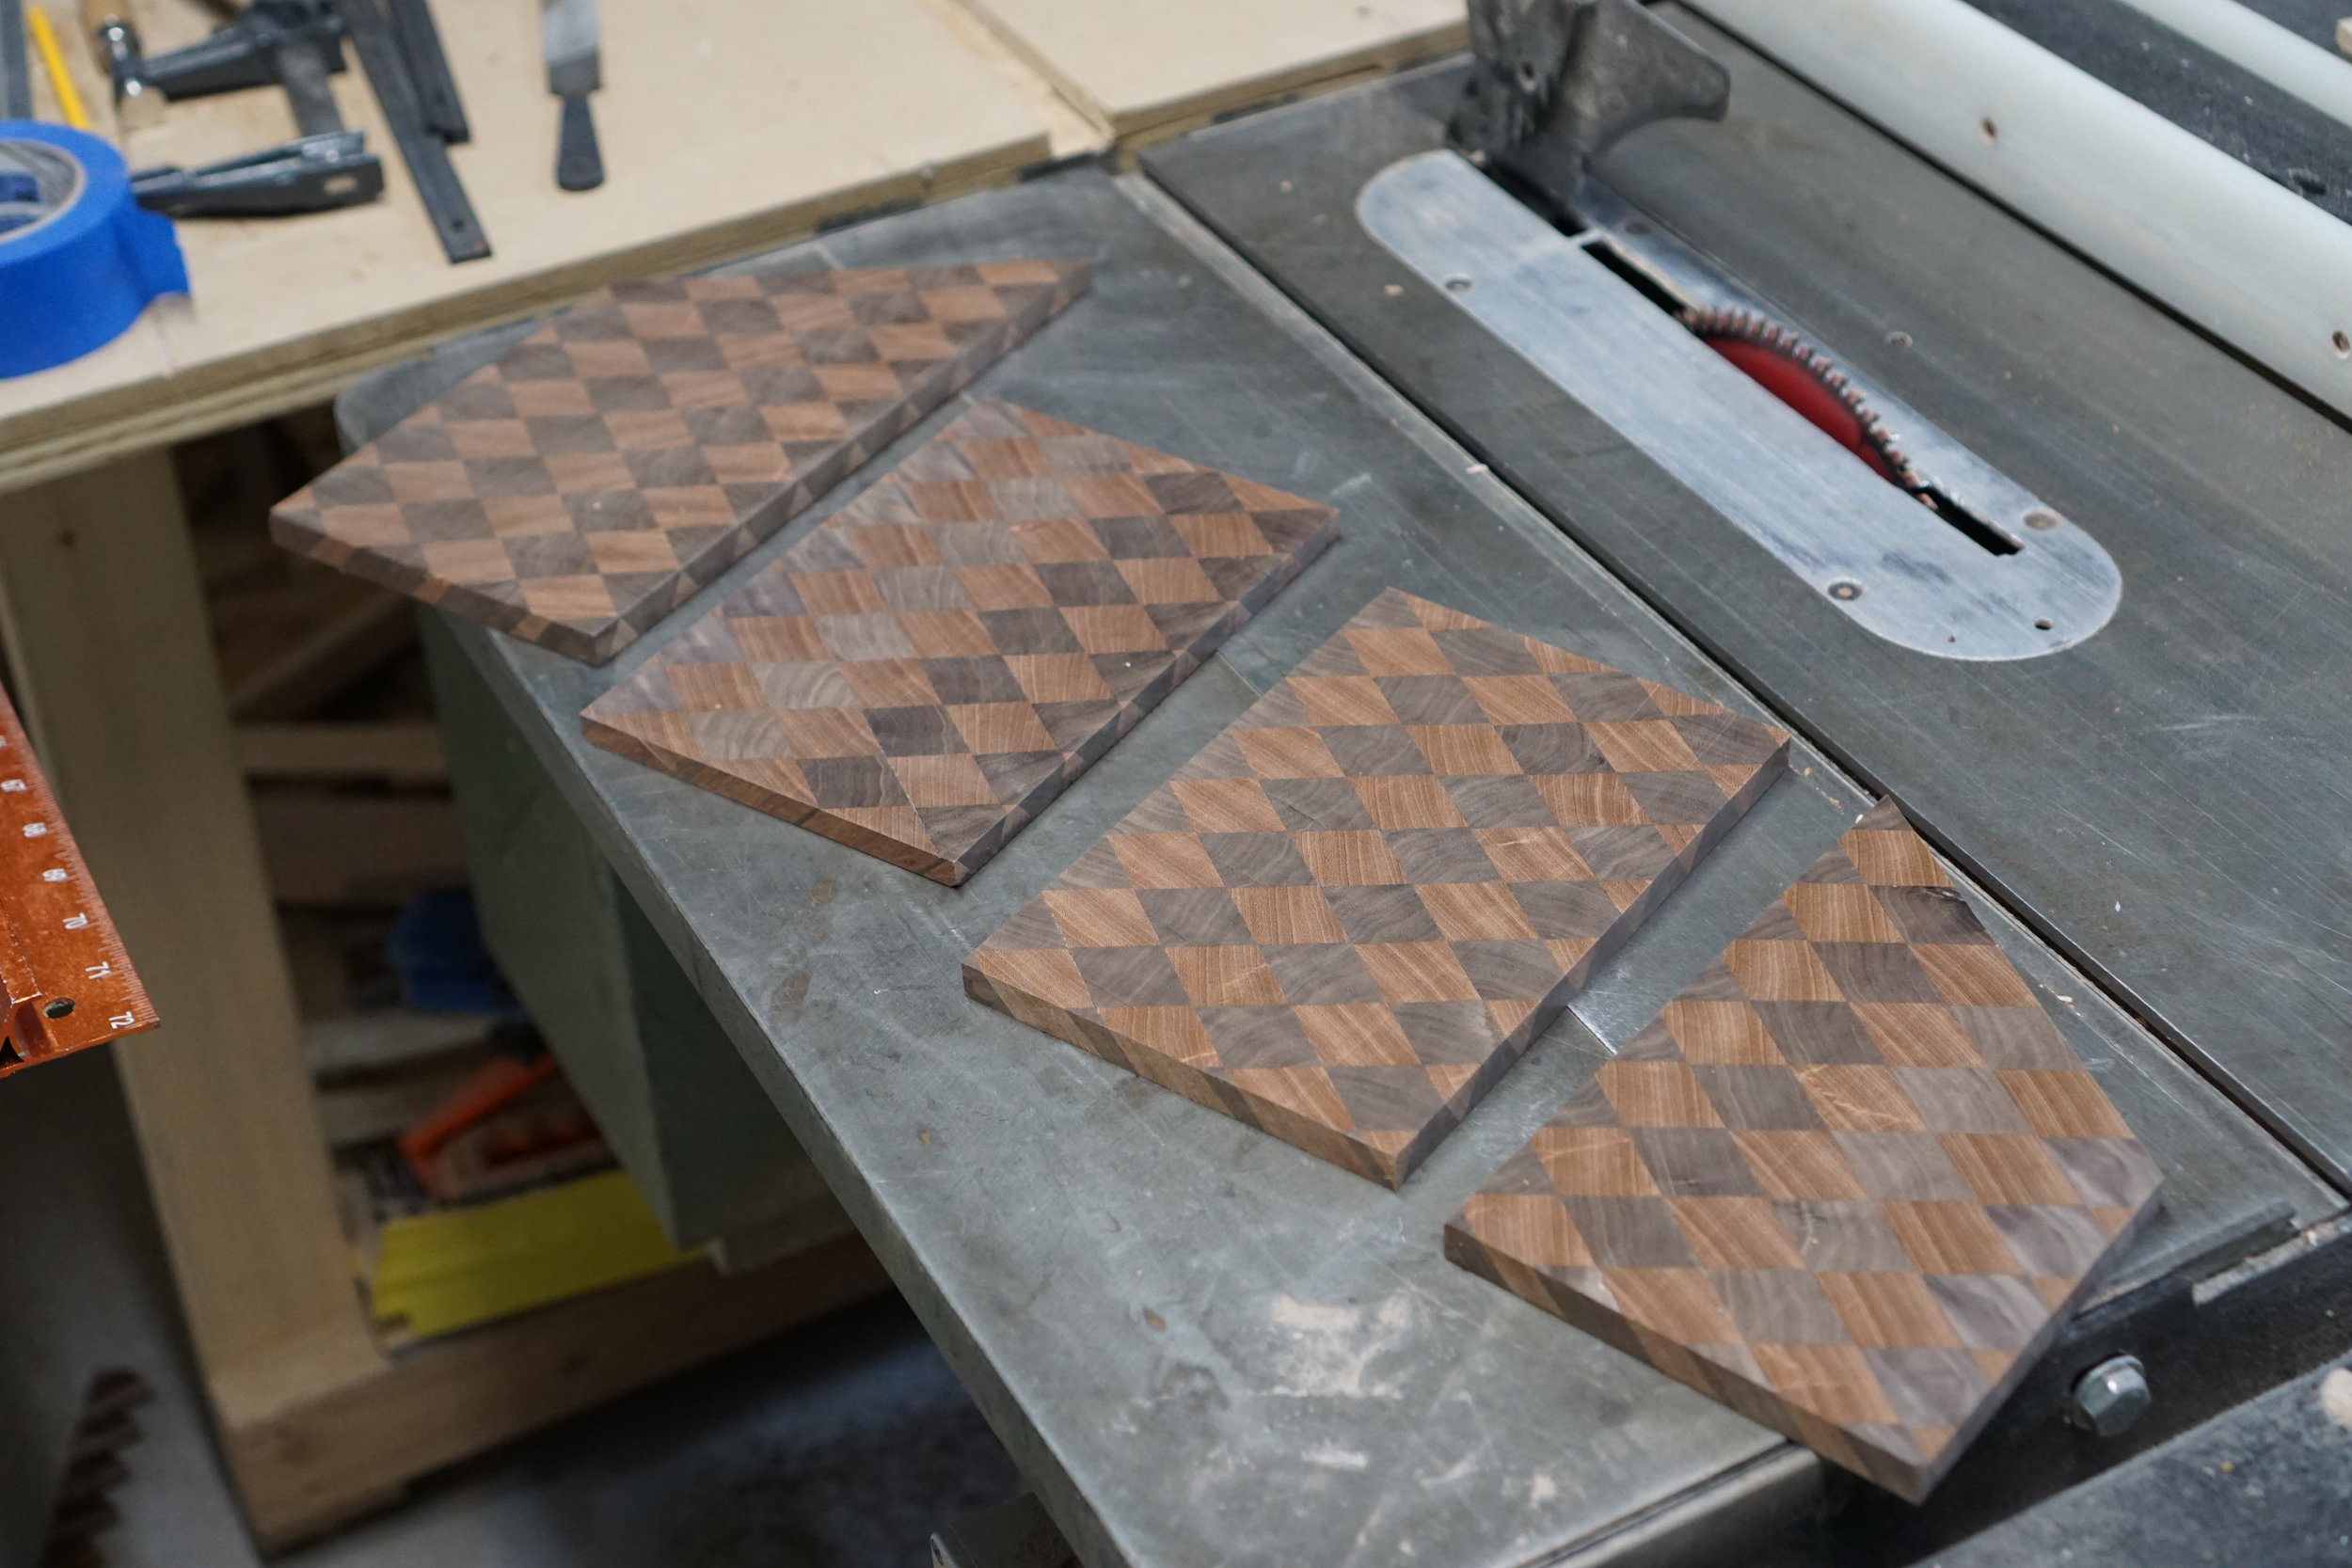
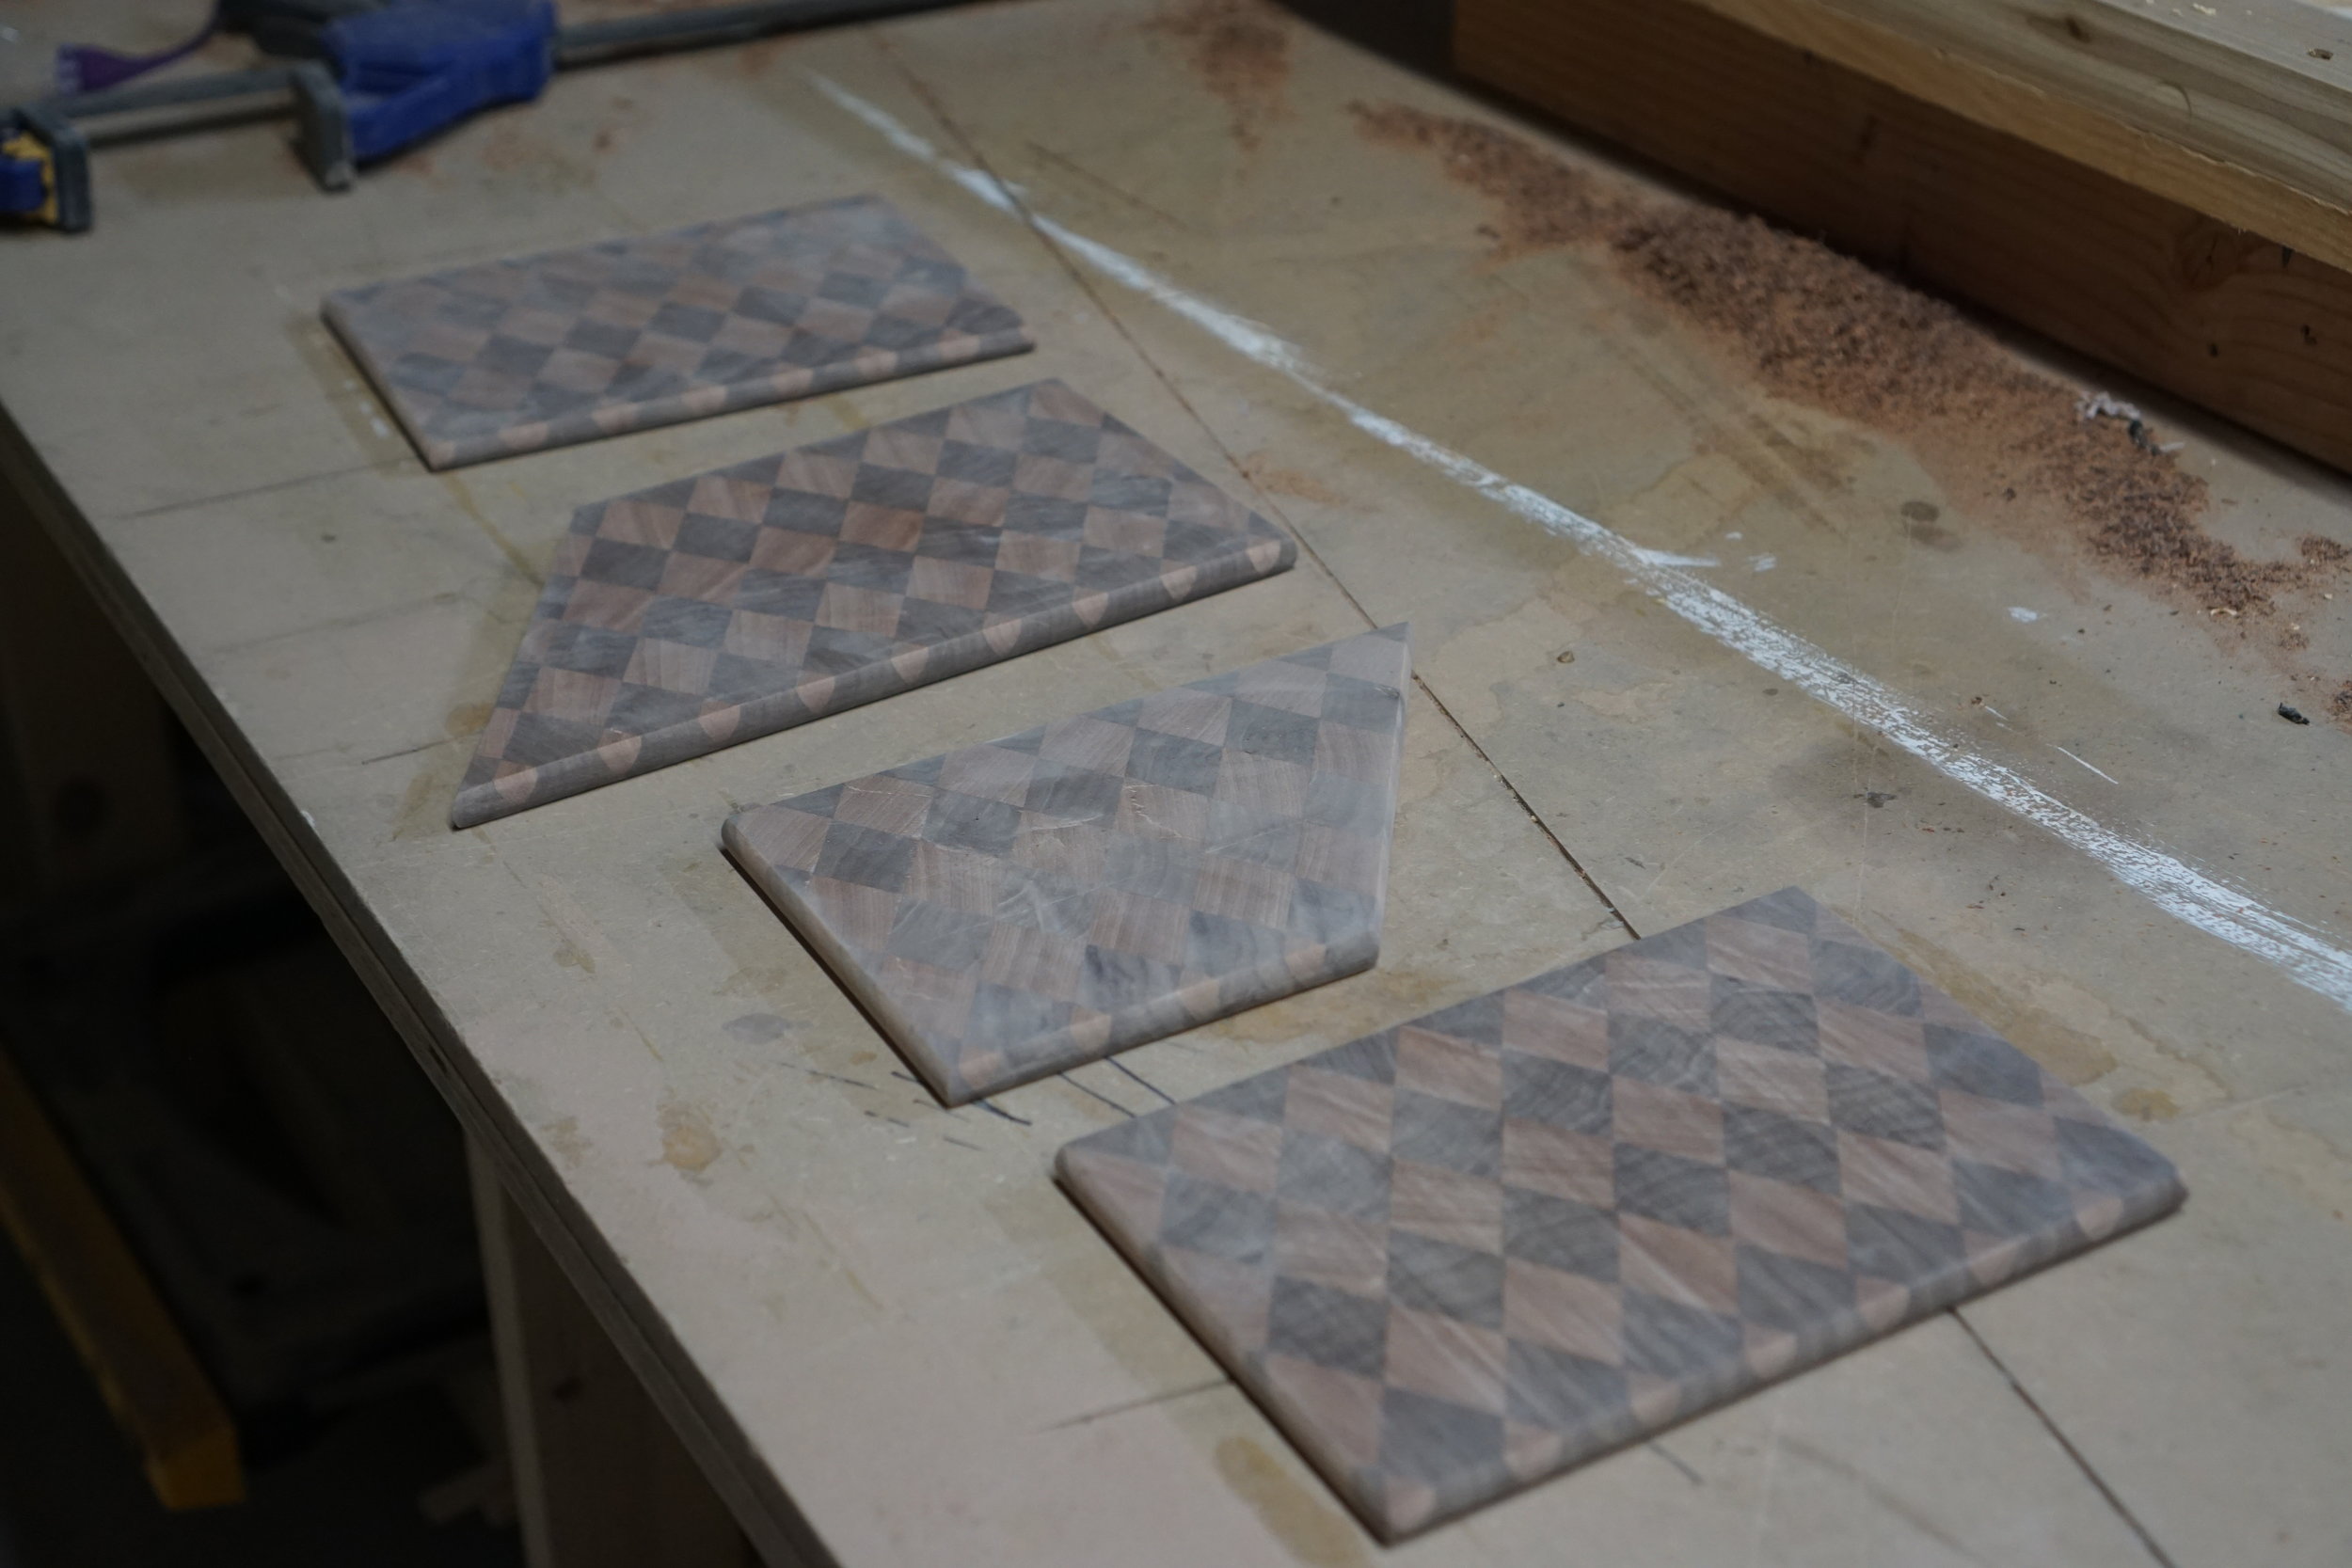
four out of six boards trimmed, jointed, and planed.
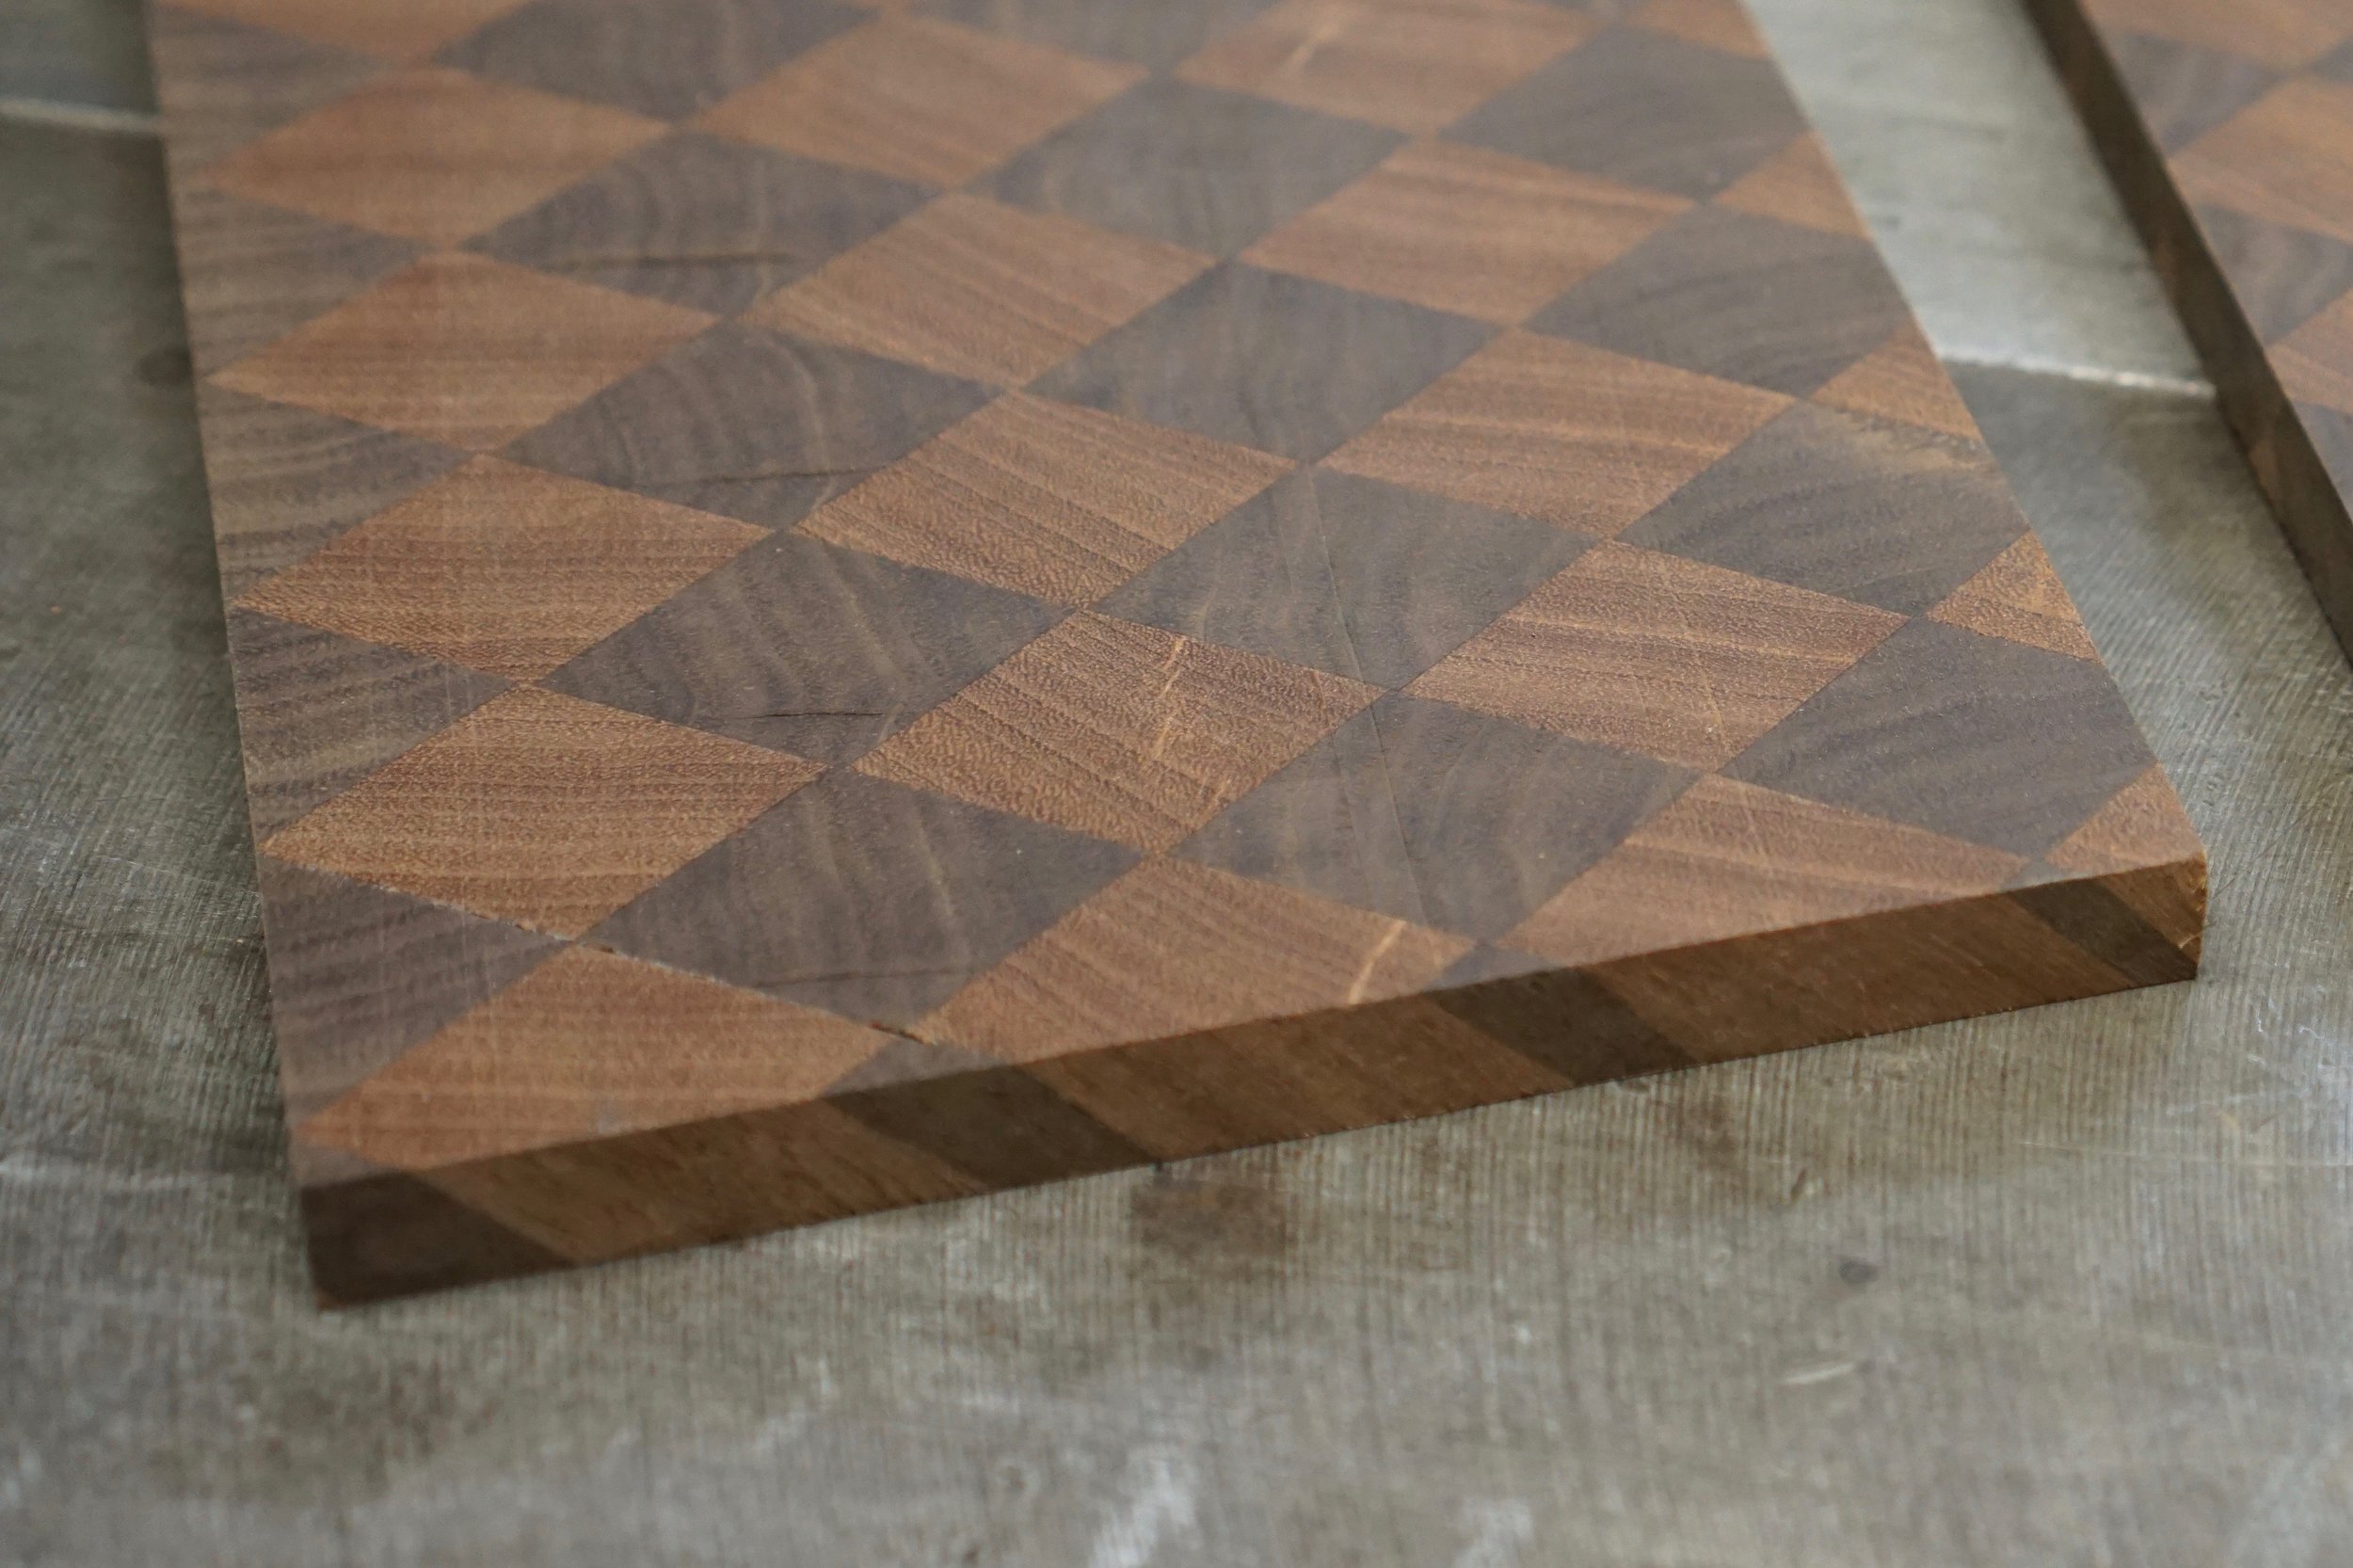
creating perfect alignment of the diamonds wasn’t 100% successful. some of the boards ended up better than others. the problems were mostly due (I think) to how much the pieces rotated and slid when being clamped and glued.
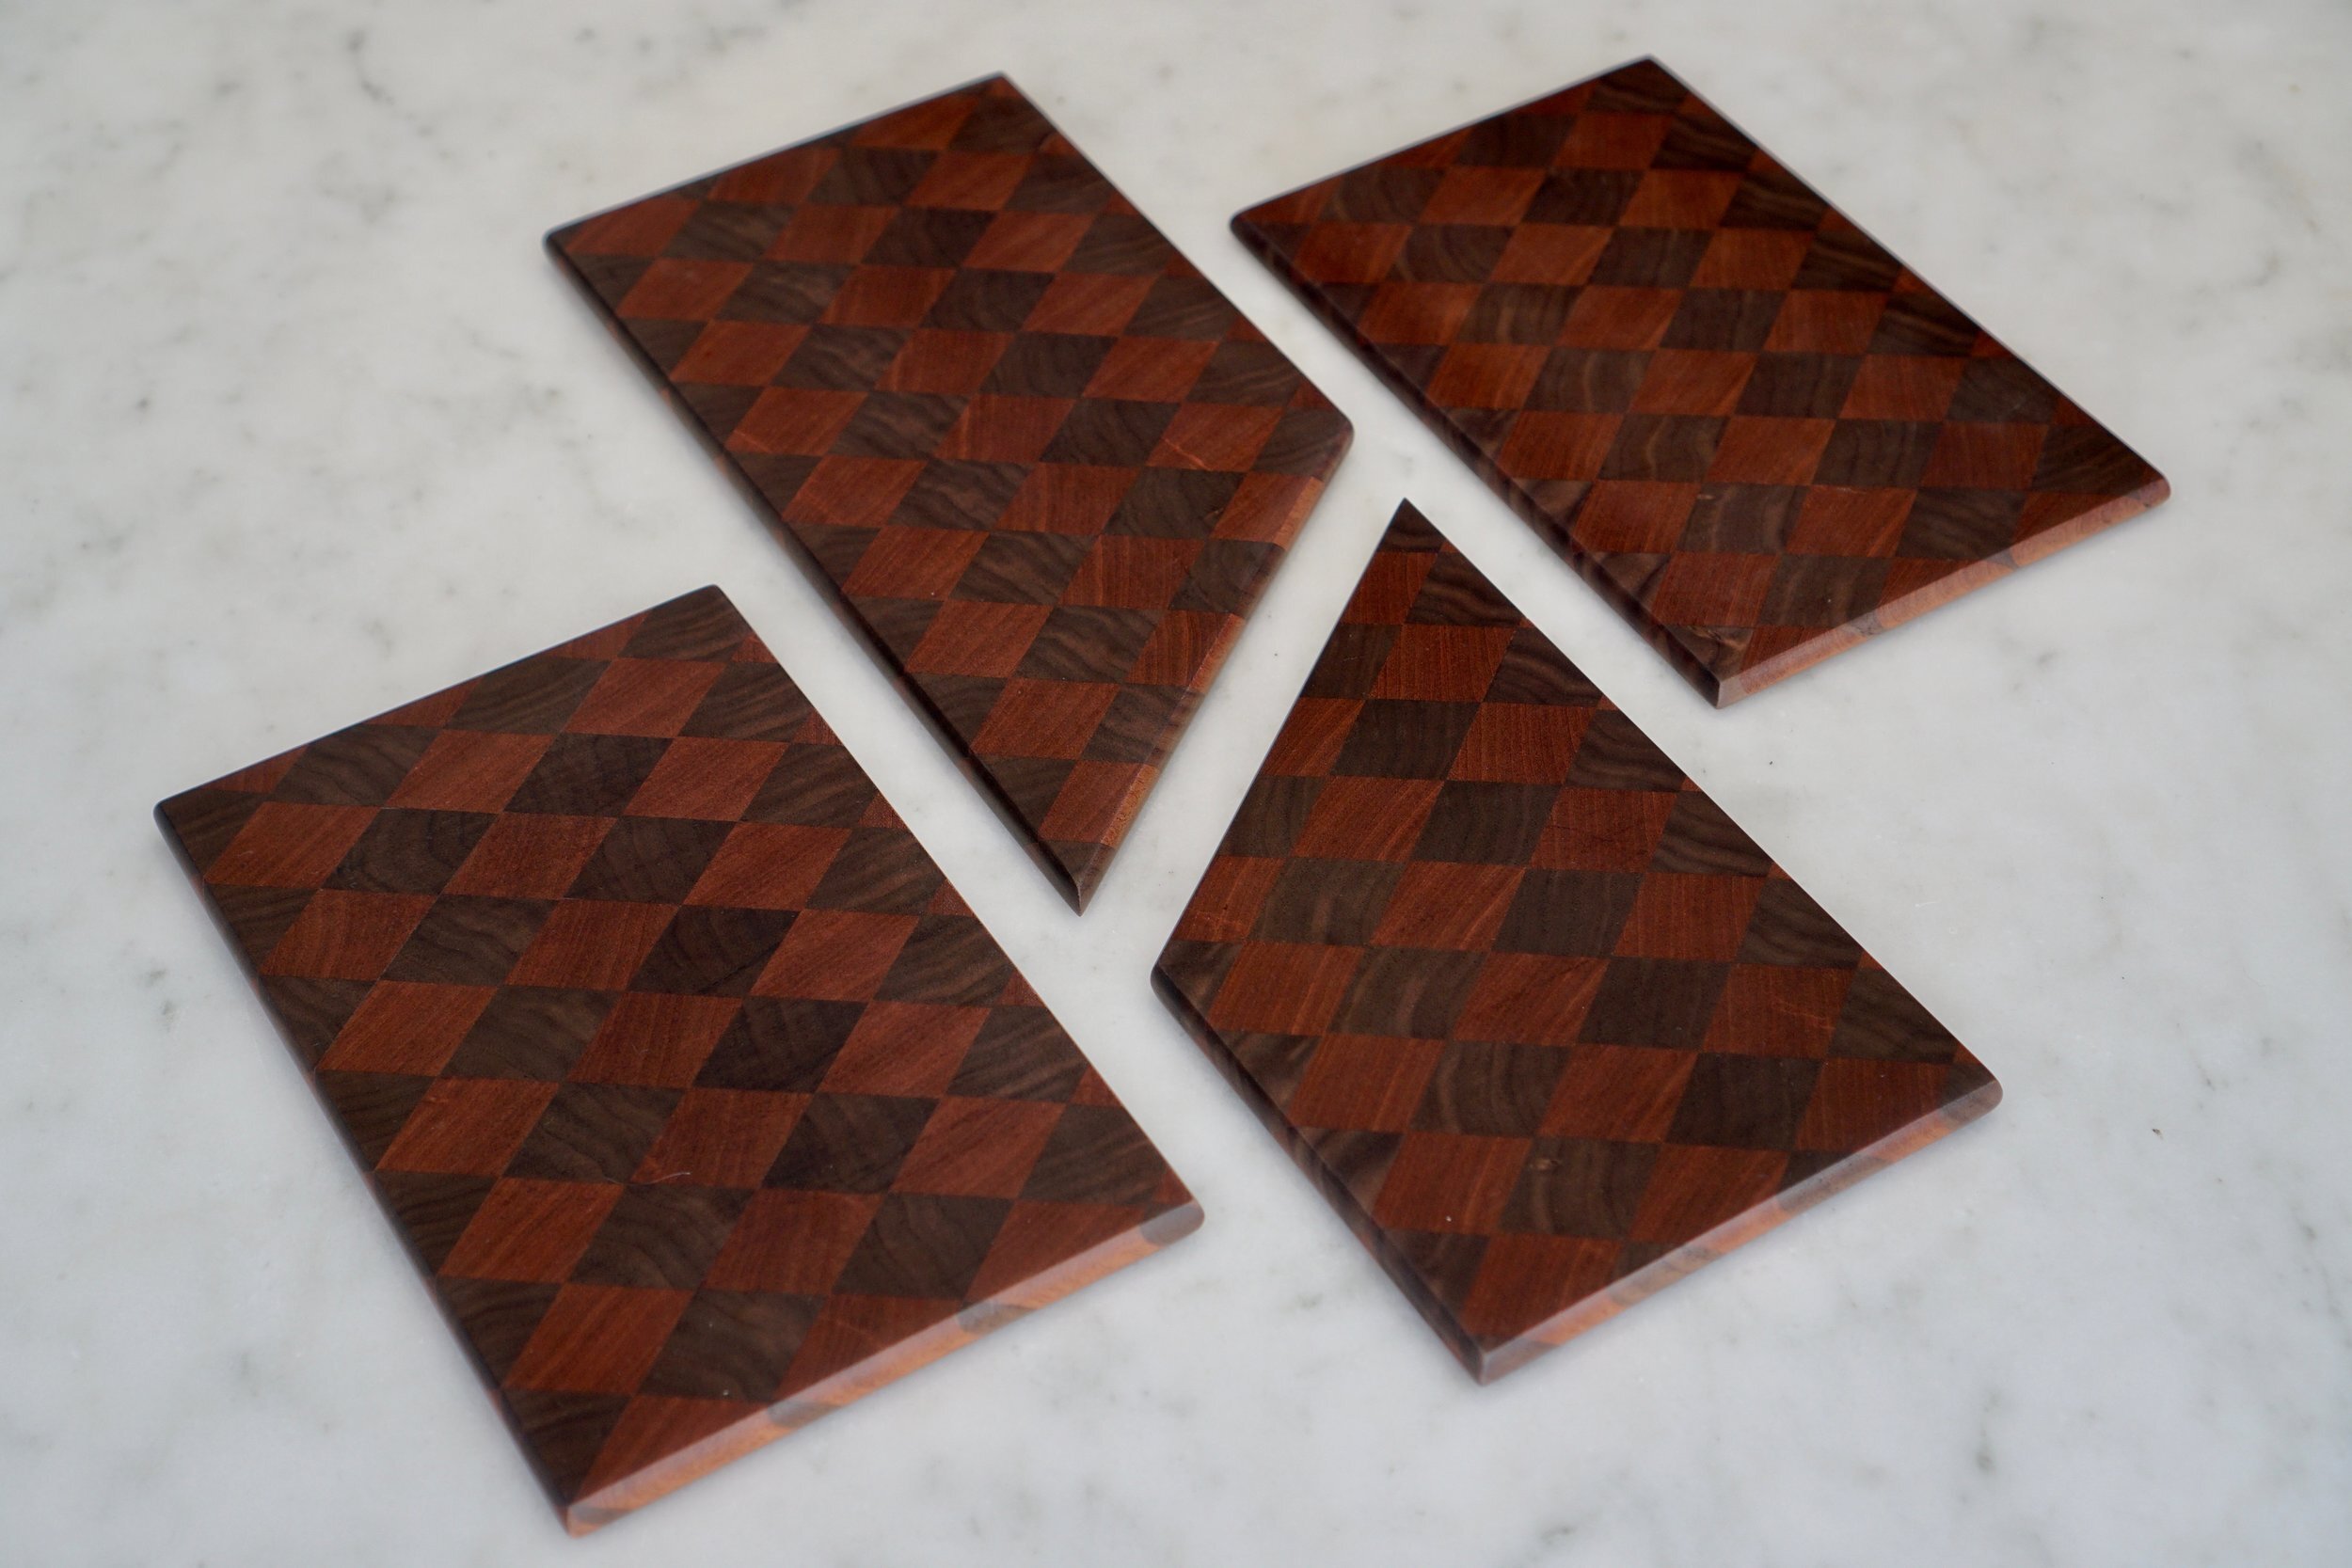
edges routed. surfaces sanded.
nearing the end.